
How to Make a Boat That Floats for School Project
Do you need to make a boat for your school project but don’t know where to start? It’s a fun way to get creative with your classmates and learn about the different parts of boats, like sails and rudders. So get out those scissors and glue sticks, and it’s time to build! First, you’ll need to gather some supplies. You’ll need cardboard, construction paper, scissors, glue, and markers. You can also use any other materials you have around the house, like popsicle sticks or straws.
You’ve been tasked with making a boat for your school project. You can choose the shape, size, and color of your boat. The trick is to make sure it floats! This blog post will provide you with some tips on how to make a boat that floats for school project.
How Do Boats Float?
If you’ve ever been on a boat, the obvious answer to this question is that they’re filled with water. While that’s true, it’s not a complete answer. Water weighs about 7 grams (0.25 ounces) per cubic centimeter if measured at 4 degrees Celsius (39 degrees Fahrenheit). Depending on the size of the boat, it could have a lot of water in it. A large yacht could have several hundred tons of water in it, while a small rowboat might only have a few gallons.
That means the average liter of water weighs 1,000 grams (35 oz). So an average-sized human would need to drink almost 15 liters or 40 cups of water to float! In reality, only 10% of the weight of a wooden canoe is made up of actual wood. Most boats are designed to sit mostly above and out of the water to keep their buoyancy. Do you feel heavier when you are wet? The same concept of wet objects being heavier than dry ones applies to people. When one’s clothes are soaked, the body is heavier and therefore feels heavier.
Most boats are filled with air and have a metal, wood, or some other material that floats and has the weight to make it sink only partially into the water. The space between the part of the boat above water and the part below water is called freeboard.
5 Boat Crafts Ideas for School Project:
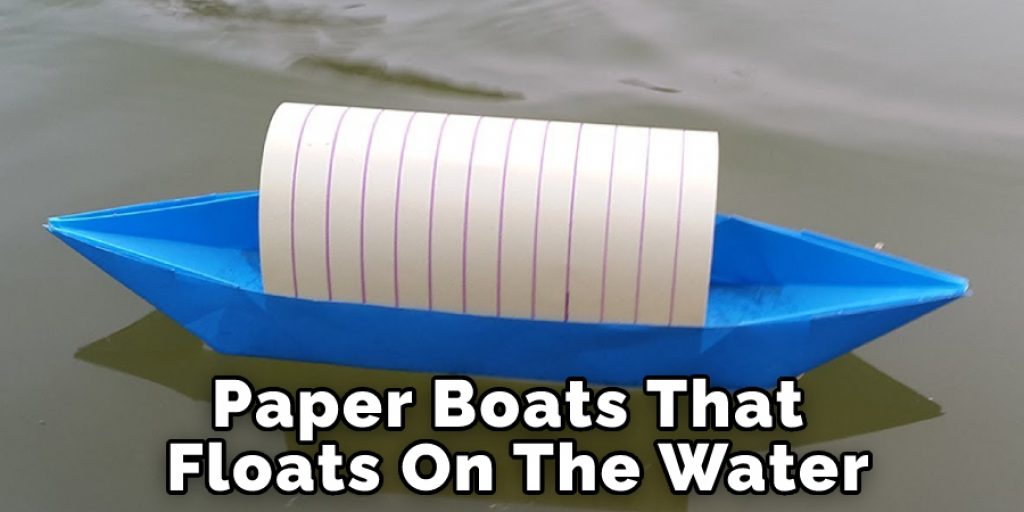
1. Paper Boat
This is a very simple boat design inspiration and can be done with any type of paper or card stock. You’ll need to cut the boat style out of your paper, glue/tape it together, and you have yourself a floating vessel! To make it more advanced, you can add a rudder to steer the boat. You can use this same idea to make a paper airplane!
2. Sailboat
You’ll need some tape, thin cardboard (or any material that floats), and a sharp knife to cut the shapes out for this boat. The first step is to make your boat sail. Cut the shape of the sail out of thin cardboard and use random pieces of paper as patches for the sail material to look more like a sail. Once your sail is done, you’ll need to tape it onto the boat (use duct tape because it’s strong and hold heavier objects). If you find that your sail won’t cooperate, try wrapping another piece of paper around it as a patch, so it sticks better.
3. Balsa Wood Boat
You’ll need a piece of balsa wood, sharp scissors, glue, and some paint (you can also use colored markers for decoration) for this project. First, cut out the pieces for your boat’s basic structure. Then using glue, attach the pieces to make the hull or body of your vessel. Once that is done, paint or decorate the body. When finished, you can test out your new boat by putting it in a container of water to see if it floats! If not, maybe try making adjustments to the overall shape.
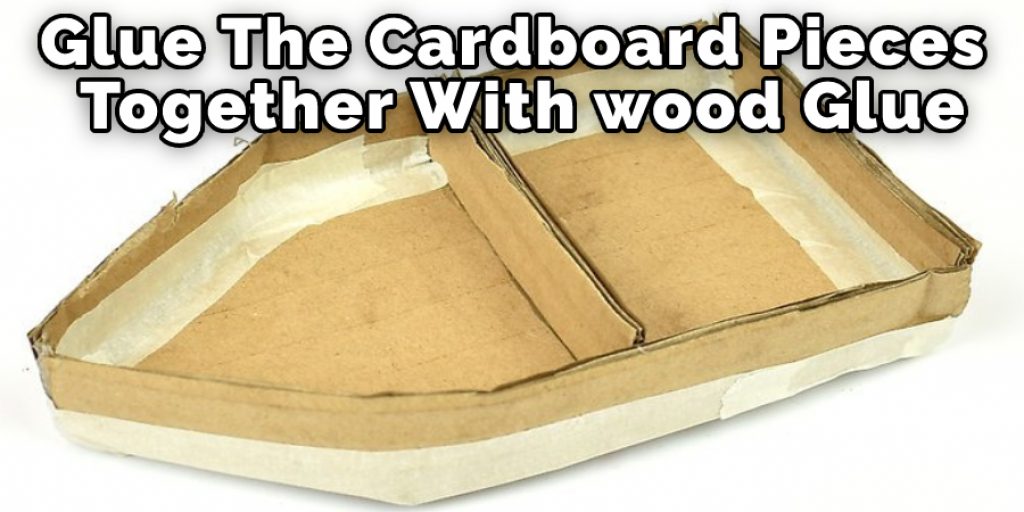
4. Cardboard Boat
For this project, you’ll need 1-2 boxes that are larger than your paper (cardboard, card stock, or newspaper). Cut the cardboard into a boat shape and then decorate as you like. For example, you can paint it; add stickers/decorations to make it more interesting.
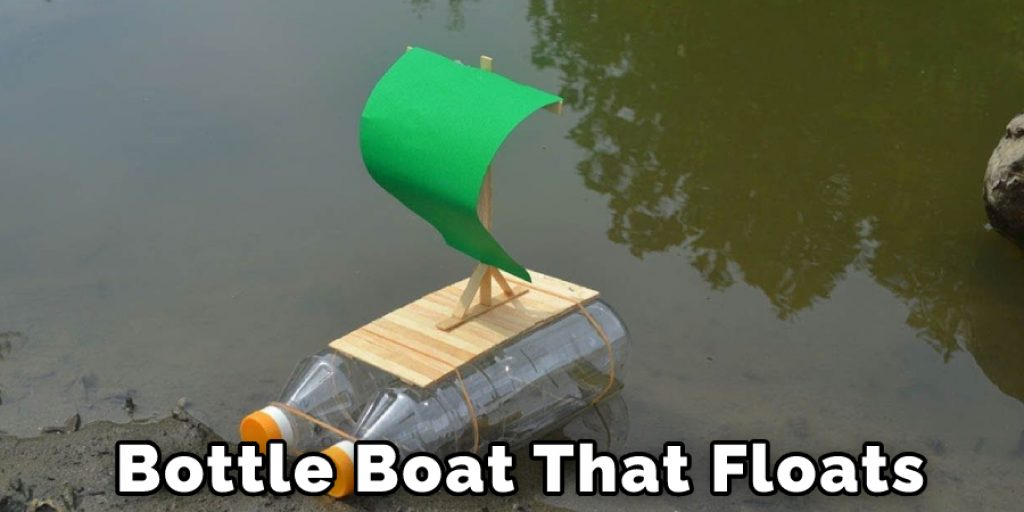
5. Bottle Boat
For this project, you’ll need empty water bottles that can be cut in half and some duct tape. Once all the pieces are cut out, stick them together with duct tape to make a boat hull. Use larger pieces of cardboard or plastic for the sides if needed, so your boat has a sturdy base to stand on top of while it’s in the water.
Materials Needed:
- Paper towels
- Cardboard box or other types of container
- Paints, markers, and stickers
- Water or crayons
- Plastic spoons or sticks (optional)
- Construction paper
- Glue stick
- Scissors
- Ruler or tape measure
- Pencil (for tracing shapes)
Instructions: How to Make a Boat That Floats for School Project
Step 1:
Take your cardboard box and cut off all the flaps, so it is just a rectangle-like piece of cardboard. Then draw a picture of what you want your boat aesthetics to look like on the front and sides (this will be upside down when you put them on).
Step 2:
Decorate your boat with paints, markers, stickers, and/or crayons. Turn your cardboard roughly upside down on top of a piece of paper (make sure you trace the outline with a pencil). Then trace around it with a pencil. Cut out your boat shape from the paper, but not all the way so that there is some extra room to fold up. See drawings for measurements and details.
Step 3:
Add small circles to the front end (starting from the top of your paper), so there are three layers on each side. Then add a small rectangle to one side of this, where it almost meets up with another circle shape at the bottom layer. Also, add two extra circles to the bottom panel that doesn’t have any other shapes on it yet (see drawing for details).
Step 4:
You’re going to want to start filling in all these blank spaces between these panels with more shapes. See below for details about how many you’ll need and which shapes they should be.
Step 5:
Add shapes and glue down your boat. In the end, you’ll want to put a little flap on the inside so that it will hold itself together better after gluing. Once everything is glued down, add some more extra shapes or decorations. You can also do this on top of your paper in any places that stick out.
Step 6:
After your entire boat complete has been decorated, gently fold up and crease the edges of your paper underneath where they meet each other. Then cut off the excess paper from around the two bottom panels (the ones with rectangles on them) so there’s only a little bit left to fold up against your cardboard box (this is what holds your boat materials together).
Step 7:
Now you can test your boat out! First, put it in a container of water to see if it floats. If not, maybe try making adjustments to the overall shape or just adding something to make it more buoyant.
Step 8:
In this step, you will need some water and some plastic spoons or sticks (optional). First, place about 2-3 drops of food coloring into your paper towel square (or other material). Then add 1/4 cup of water. Finally, if you want a little more color, add another drop or two of food coloring.
Step 9:
Next, take your boats and put them face down on top of the colored cloth for about twenty seconds or until they are soaked in all the color from underneath. This step is optional, but if you have room indoors to do so, hang up your boats or other decorations to dry. You can also let them air dry by just leaving them out in a place with good ventilation.
Step 10:
Lastly, once your boats or decorations are dry (or if you skipped the food coloring step), you can tape a piece of construction paper on them to have something sturdy to stand on while they’re in the water. Water and cardboard tend to warp and get torn up after being in the water for long periods of time, so this is just a precaution to ensure your projects don’t end up looking ruined because of it.
How to Make Homemade Boat for School Project With Just Paper:
Step 1: Take your paper and make it into a rectangle. Draw what you want on the front, and top side of your boat, then cut out those shapes and glue them onto the paper to create tiny pieces of cardboard glued on.
Step 2: Create little holes for the oars, which can be any stick or pencil you have around your house. Draw two triangles at the bottom with one point touching each hole. if not, just draw a straight line.
Step 3: Make sure that you add extra strips across the back where you put your hands because it bullies real fishermen so they won’t overuse it.
Step 4: Finally, take some tap water and pour it into your boat. If it floats then you have a successful model otherwise, make changes to make it more buoyant such as adding more cardboard or sinking material.
Conclusion:
Make a boat that floats for your next school project. Follow the instructions on how to make a boat that floats for school project and see if you can beat the record! It will have everything a good ship needs-it’ll float, it’ll have sails and oars for rowing, and best of all, it’s made out of recyclables!
It’s time to get out those buckets, sponges, cardboard, and fabric scraps because we’ve got to make an awesome DIY floating craft for you. This super simple tutorial will teach you exactly what you need to build a boat with just some basic materials and it only takes few minutes from start to finish. Don’t forget to share your projects with us!


