
How to Make Pueblo Houses for School Project
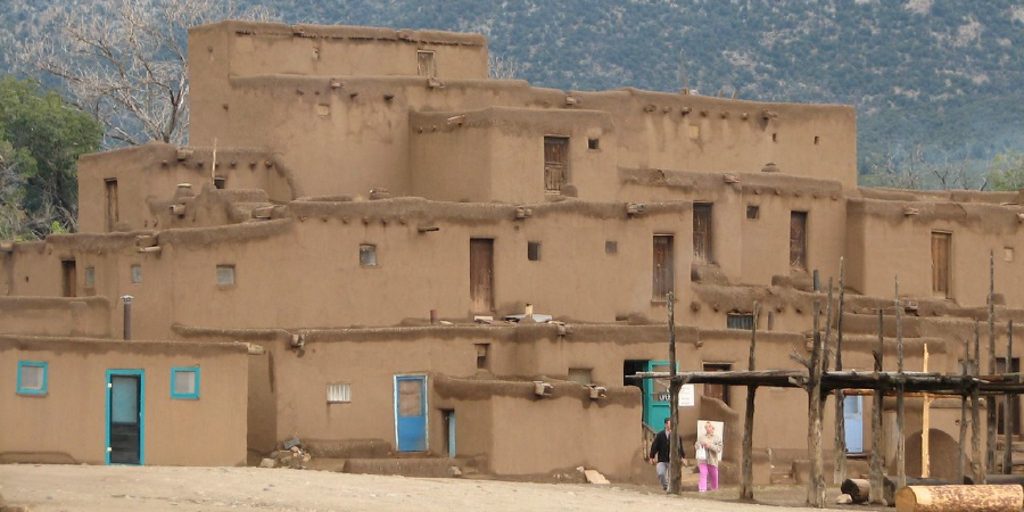
The Pueblos are thousand years old Indian culture. They were generally found in the Mesa Verde Area, which is located in the Southwest corner of the world. Utah, Colorado, Arizona, and New Mexico were their living place. The most interesting thing about Pueblo is its living place.
They usually lived in distinctive homes that were made of stone, wood, and adobe. The roofs of those houses were flat, and sometimes they can be found in multi-stored buildings. They use ladders to reach the top.
However, making the Pueblo houses is fun and can deliver a unique taste of the rich history to your kid. Now, the question is how to make Pueblo Houses for the school project? Let’s find out!
How to Make Pueblo Houses for School Project
Building this historic home will help your child visualize the history and how the village looked in ancient times. The good thing is that making the pueblo houses is easy and requires only a few things. So, let’s have a look at them!
Step 1
First, you will need to take a piece of plywood and cut it to size. We will use this as the base, but you can also use thick cardboard. Once you have cut the base, you can paint it light brown.
Step 2
Now, arrange the pieces into a rectangular form to turn Pueblo village. For this, take the taller boxes and position them at the back. Then take the shorter boxes and place them at the front. This will represent different stories of the boxes. Once you have fixed the alignment, tape them with one another by holding them. You can also use glue to fix the village on the baseboard.
Step 3
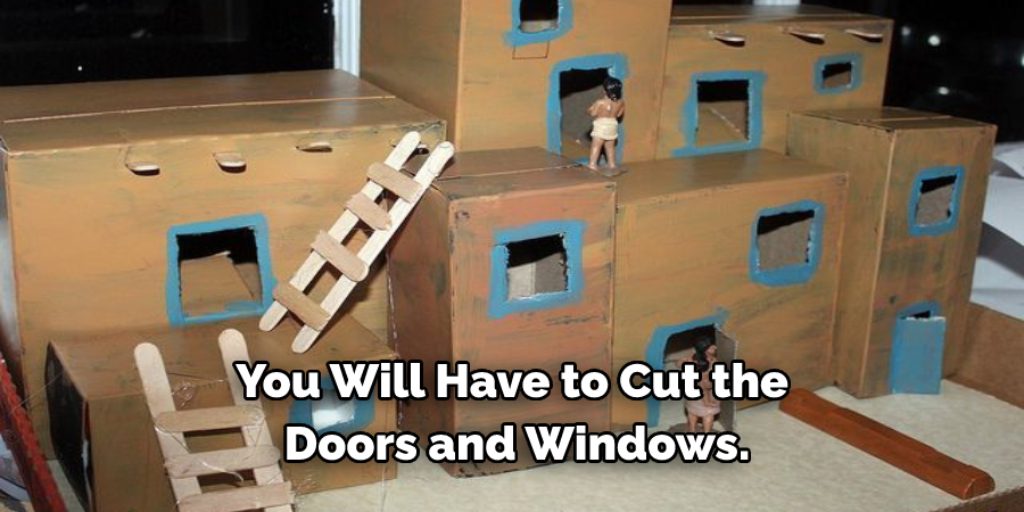
Next, you will have to cut the doors and windows. So, take a knife and cut them up. It will be better if you leave this part for the adults.
Step 4
Now that the base is ready, you can start applying clay to it. Be careful not to cover the doors and windows you cut earlier. Make the clay smooth by using your hand to get an authentic look from your creation. Now, use a toothpick and drag it across the clay. This will make some cracks and give your design an aged look. When it is done, let the clay dry.
Step 5
Paint the clay that you have applied on the base. In this case, we will recommend you use reddish-brown color. After completing the painting process, let it dry properly.
Step 6
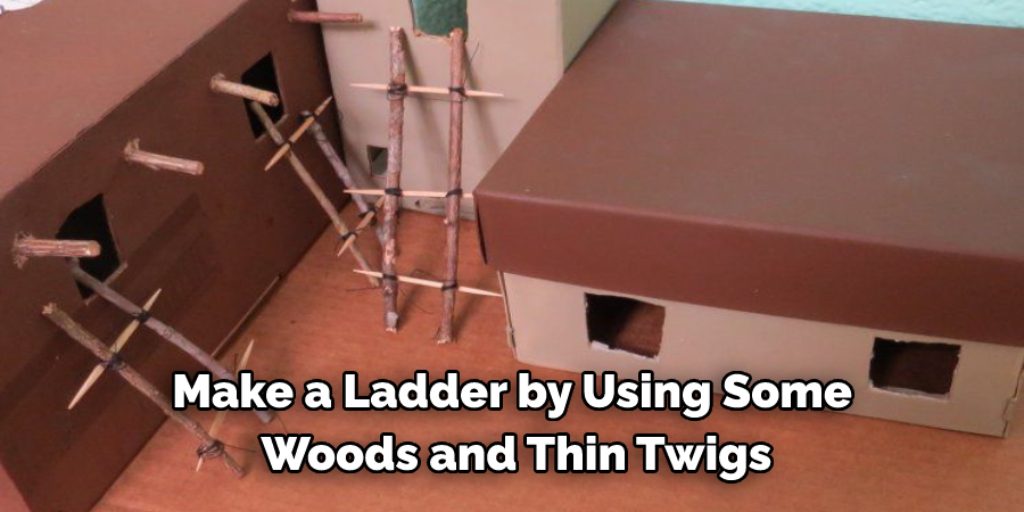
After that, make a ladder by using some wood and thin twigs. Cut several short and two long pieces, and set them up just like the original ladder you have seen.
Step 7
Use the rest of the clay to make some shapes of Pueblo Indians. Let the figures dry, and then apply paint to them. Later use them on your creation.
More School Project – How to Make a Waterfall for School Project


