
How to Make a Book Rack With Cardboard
Introduction
There have been many variations of the up-ended box throughout history – a simple container that can hold, protect, and carry goods. Some people think that these boxes are just ordinary products to store various household items or gifts.
But actually, they play an important role in our daily life, because sometimes we need such devices for storing small things or even big stuff as books. Book racks are not only intended for organizing your library or study room but also for decorating them. For example, people place bookracks on bookshelves to divide large numbers of books into different groups by topic or author.
Thus, it makes it easier to find the required books. IN this article, I will discuss how to make a book rack with cardboard.
What Is a Book Rack Made of?
There are different types of book racks and each of them has its own material:
Cardboard Book Rack –
this type of racks is made from cardboard and available in many colors;
Wooden Book Rack –
wooden products last for a long time, so most people prefer them over other materials such as plastic or metal. But they are not cheap because they require special skills for making;
Organizer With Glass Doors –
this type of product looks like a cabinet, and it has doors that allow you to see what is inside without opening the door up completely. This advantage helps make it look neat on your study table or bedroom wall;
Metal Book Rack –
if you need something that will fit your modern design, this style of book rack may be exactly what you are looking for.

There are different types of material available for each look or function, so make sure you choose the right one based on your needs. For example, cardboard is probably the cheapest, but you should consider its durability as well. On the other hand, wooden products last longer, but they require more time and special skills to be made properly.
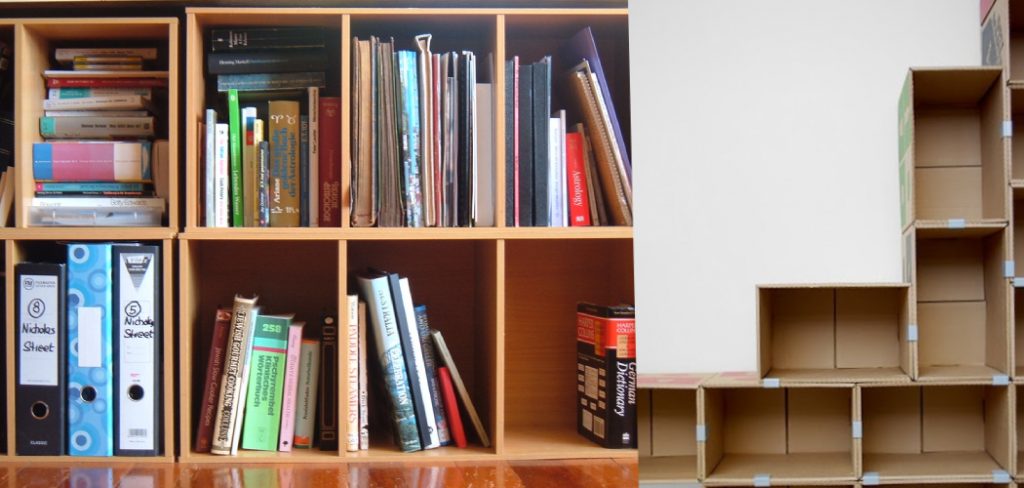
Why Use Cardboard to Make Book Rack?
The ends of a cardboard sheet can be easily folded and creased, resulting in the creation of a box. The corrugation allows the cardboards to keep their shape when held together at the sides with glue or tape, forming bookshelves.
This makes it easy to stack boxes on top of each other when you need more shelves. It’s cheaper than buying specialized materials for your book rack. Depending on your skill level, you may find that it is free as you are using things that may otherwise be thrown away.
You can also paint the cardboard. It is easy to do this without using good quality white paint and a sponge brush. You can purchase these cheaply or use something you have at home that you no longer require, like an old kitchen sponge brush.
If you feel that your skills are more advanced, you could design a book rack from scratch with the cardboard and any other items that you find handy and paint it however you prefer.
Problems With a Cardboard Book Rack
The only problem with making a cardboard box into a bookshelf is how to keep books within its grasp without them sliding out of place when someone selects one for themselves, and they are pulled forward.
This will be solved in part by taping the top flaps down, but there should also be a bottom that will hold books without allowing them to fall out and hit the ground. The other reason for needing a bottom is that when someone pulls a book off your cardboard shelf, they may lift it from its front.
This could cause the top flaps to come open, thus revealing their contents. To avoid this, there should be some way of securing it shut below, so no one will know what’s inside unless they first pry it open through the top.
Step-wise Guide on How to Make a Book Rack With Cardboard
Step 1:
Get some cardboard boxes, preferably large ones. It can be used to make great book racks. If you don’t have any at home, then you can always go around asking your neighbors if they have any lying in their house, which they may be willing to share with you or give away for free. Usually, people want them out of the house and will happily participate if someone is taking them.
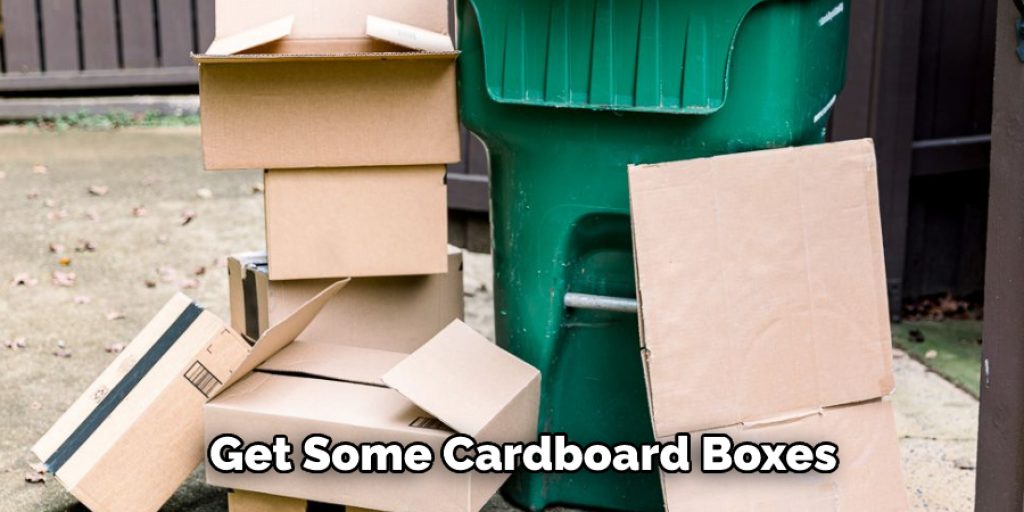
Do not even bother paying a single penny as they would probably feel more guilty in accepting money from you rather than giving it away for free. So ask and collect the boxes that people are getting rid of. You need 3 boxes to make this book rack, which I will name “XYZ” here because I forgot its real name.
Step 2:
Once you collect the boxes, it’s time to make a book rack using cardboard. Begin by standing up all three of them side by side and tip them back to lean against each other with their ends touching. Ensure that when you do this – there is no gap at any corner between the edges anywhere.
You can also staple or tape any loose flaps if required at this stage because we have not attached anything yet, and there may be some gaps here and there, so I will ask you to either staple/tape or brush those areas with hot glue just in case. It doesn’t matter how much work you put into this as long as your result looks close. Once you are done with this, proceed to the next step.
Step 3:
Now that you have lined up your three boxes and made sure they are touching each other at all corners (if required), it’s time to tape them one by one together.

Stand up your box A and place it on its side such that its edge is facing towards box B, which is also standing upright, and then tape it along the top edge so that no gap can be seen anywhere between both of these two boxes. Make sure there is a slight overlap over both sides also. Do not forget to fold down any flaps if necessary or otherwise simply trim them off later.
Step 4:
Once you complete taping the top edge, move to its bottom (which was down while standing it up) and tape it along the entire edge. There are very slight gaps that have been left between this box at its corners but don’t worry about that because we will be filling those gaps later on. This is just a rough guide that can also be used for other book racks, boxes, or furniture projects using cardboard.
Step 5:
Now tape Box B to A so that once you stand them together – there is no gap anywhere. To do this, first, stand up Box B vertically and make sure it’s touching all edges of Box A with your fingers. Then tape both of its edges to Box A . Do not forget to fold down any overlapping flaps or trim them off later.
Step 6:
Directly after taping the bottom edge of B, it’s time to attach C along the top edge. So stand up your Box C vertically and tape along its edge. Again, there are slight gaps at corners but don’t worry about that because we will be filling those gaps with cardboard sheets and hot glue later on, so just make sure no parts overlap or leave a gap anywhere.
Step 7:
Once you attach C to B, it’s time to tape the remaining edge of Box C . Stand up your box and tape along its edge.
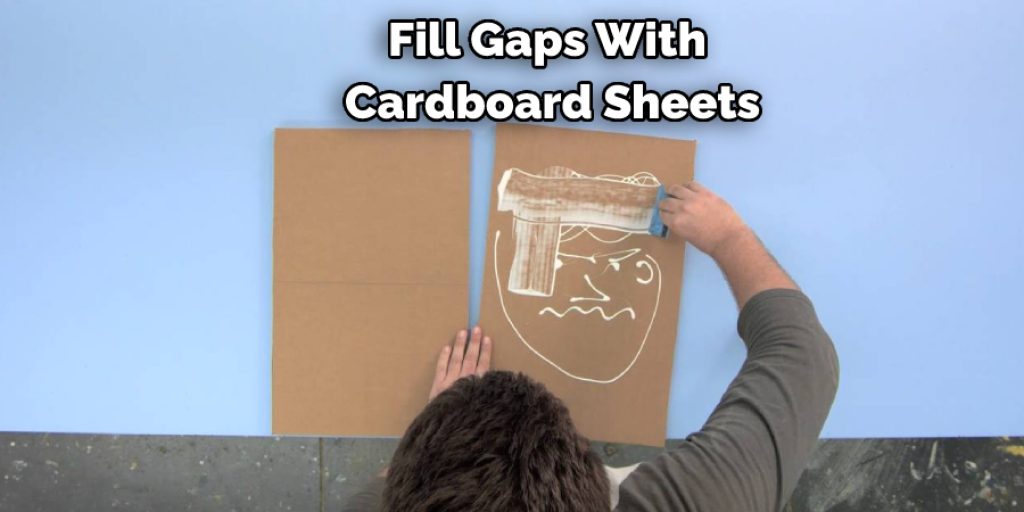
Step 8:
Now that we have attached all 3 boxes at their edges – it’s time to add a few cardboard sheets using glue & cardboard scraps. Start by cutting out random-sized squares from these sheets and randomly paste them over sides.
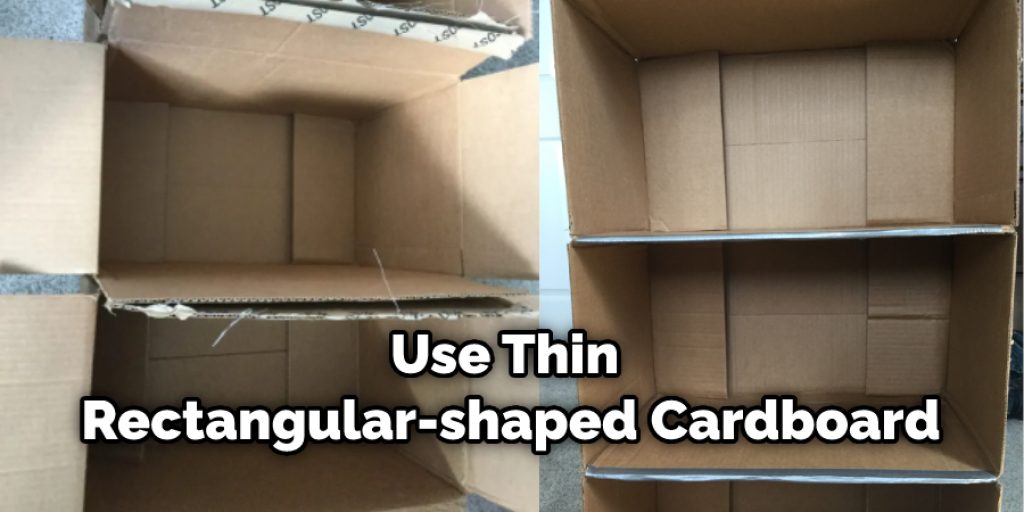
There are no guidelines here, but I suggest you keep the number of layers on each side somewhat similar so that you don’t end up with some sides looking thicker than others, which may not look good when the corners are joined later on. You can also use thin rectangular-shaped cardboard pieces instead of using a square one, in case you have more sheets of rectangular shape to use.
Frequently Asked Question
Can You Make Shelves Out of Cardboard?
Yes, you can make shelves out of cardboard! This is a great way to save space and increase the storage capacity of your home or office. All you need is some cardboard, a cutting knife, and a drill.
First, cut the cardboard into the shape of the shelves you want them to be. Make sure the measurements are accurate, as the finished product will need to fit snugly against the wall. Then, use the drill to drill holes in the sides of the cardboard where you want the shelves to be. Finally, attach the shelves to the wall using the screws that came with the cardboard. You now have a beautiful and functional storage solution!
What Can I Use as a Bookshelf?
There are many types of books that can be used as a bookshelf, and the options are endless. Whether you are a fan of fiction or non-fiction, there is probably a book that is perfect for you. Here are a few ideas to get you started:
1. Biography books – These are perfect for people who are interested in learning more about famous people or historical events.
2. Cookbooks – Cookbooks are a great way to organize your kitchen and help you to cook delicious meals.
3. Photography books – If you are a photographer, then you will love photography books that contain inspirational photos.
4. History books – History books can teach you about different civilizations and their cultures.
5. Literature books – Literature books can be used to improve your reading skills.
What Are the Easiest Shelves to Put Up?
As a home improvement enthusiast, you know that putting up shelves is one of the most tedious and time-consuming tasks. So, what are the easiest shelves to put up? Well, there are a few things that you need to keep in mind. First, make sure that the wall you are putting the shelves on is level.
If not, use a level to ensure that your shelves are perfectly aligned. Second, make sure that the shelves are the right size and shape for the space that you have. Third, choose the right type of shelf. There are metal shelves, wire shelves, and plastic shelves available, and each has its own benefits and drawbacks.
Finally, choose the right material for your shelf. If you are using metal shelves, make sure that the metal is strong enough to support your weight and is corrosion-free. If you are using wire shelves, be sure to choose a type of wire that is strong and won’t rust.
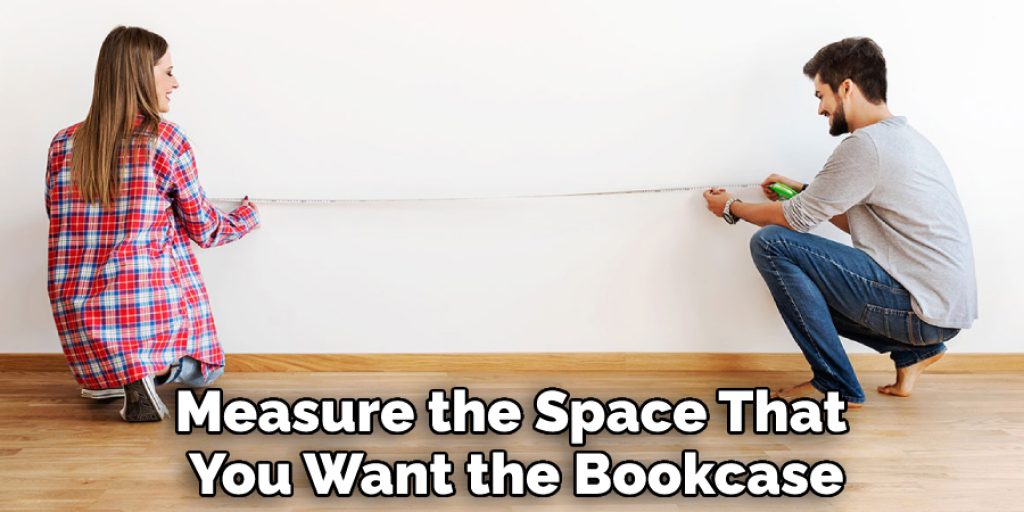
Is It Easy to Make a Bookcase?
Yes, it is easy to make a bookcase! The first step is to measure the space that you want the bookcase to occupy and then calculate the necessary dimensions. Once you have those dimensions, you can start cutting the pieces of wood according to the measurements.
Make sure to use a quality wood such as hardwood because it will last longer and look better. Next, finish the bookcase by painting or varnishing it to match your décor. You can also add special features such as glass doors or drawers to really make it stand out. All in all, making a bookcase is a relatively easy task that can improve the look of any room in your home!
Conclusion
I hope this article has been beneficial for learning how to make a book rack with cardboard. Thank you and have a nice day


