
How to Paint Cardboard to Look Like Stone
I was confronted with a vast portion of incomplete drywall as I substituted my old each-piece range with new amenities. Thinking through my choices and not liking any of them, I chose to build a false wall in rock. I felt especially pleased with the decision and, much more importantly, so in my community. A fake stone could look even better than the actual one!
It’s an exciting and straightforward task if you need unnatural stones for landscape design, stage shows, or decor parts. Use a piece of cardboard or adhesive with polystyrene to create your stone line. The structure is then covered with paper Mache to offer it a stone-like surface. Just let paper Mache dry, offer it a couple of coatings of color, and then prepare to use your false stone!

Keep updating: I have used this burner for several months already. I got lots of splashes and drops and had no trouble maintaining the paint safely. It was warmed and boiled well too. This does not appear to impact anything at all.
Summary: In order to make your cardboard look like stone, you will need a few supplies. First, you will need a spray bottle filled with water. Second, you will need some white paint and a few brushes. Third, you will need some brown paint and a few brushes. Fourth, you will need some black paint and a few brushes. Fifth, you will need some sandpaper. Sixth, you will need some paper tape. Seventh, you will need some brown construction paper. Eighth, you will need some white construction paper. Ninth, you will need some green construction paper. Tenth, you will need some yellow construction paper. Finally, you will need a paper cutter.
Method – 1
Several notations already when you begin:
- Just tidy up the place well. Stray gritty or webs are going to mess the color.
- When appropriate, color before mounting new equipment or accessories.
- Choose a base-coat color, which is also a starting point.
- Combine the shades you like to create your different tones and colors.
- It is testing color schemes and tools that will not display on areas.
All have fresh water and a convenient rag!
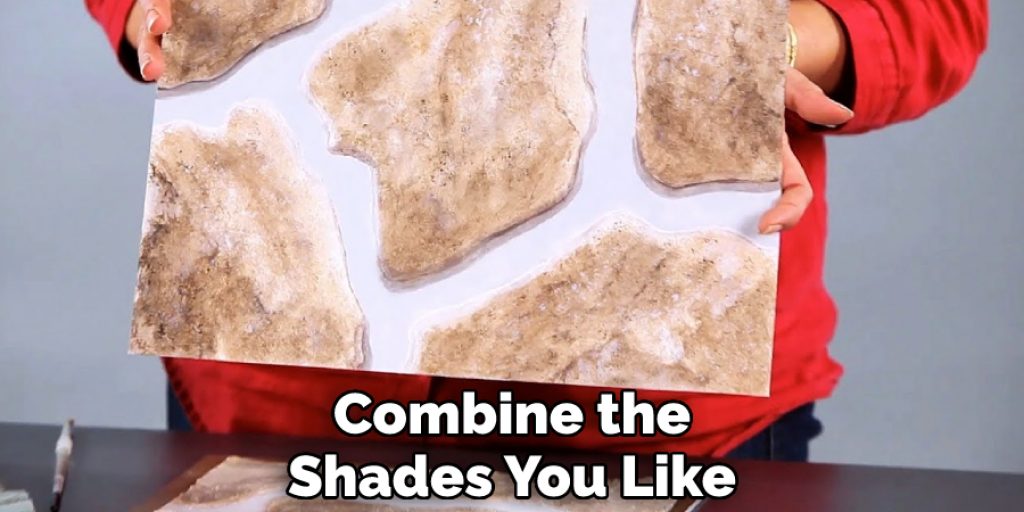
Excellent paint on the family home. Pick your coating, inside or outside, and a few colors. Of the grout, you would require a minimum of one backdrop color, one focus shade, and one matching color. I had gold, off-white, brown, and black specimen measurements.
- Usual sponge
- A sponge at sea
- A small color brush over broad areas
- Narrower brush details
- Colored pencils and Eraser
- Clean-water bath
- Cloths of rags/sheet
Instructions
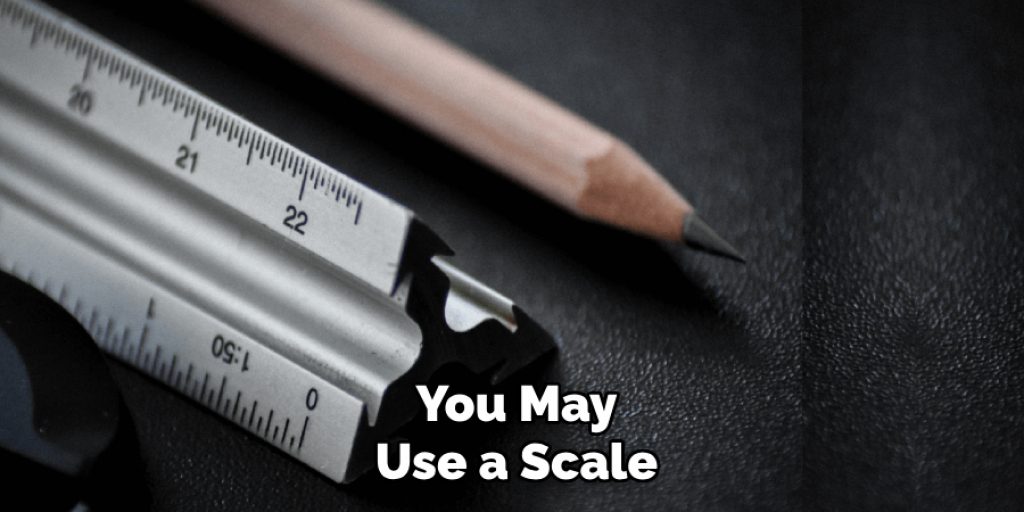
- Picture your configuration with a pencil onto the surface. Only drop them in for freeform shells. You may use a scale and artist’s tape for bricks or geometric patterns. Allow the grout roughly 1/2 “long.
- Brush all the rocks with color schemes. Make no worries about greatness. So if you polish the grout, you are starting to achieve the paths smoother. Let’s cool down.
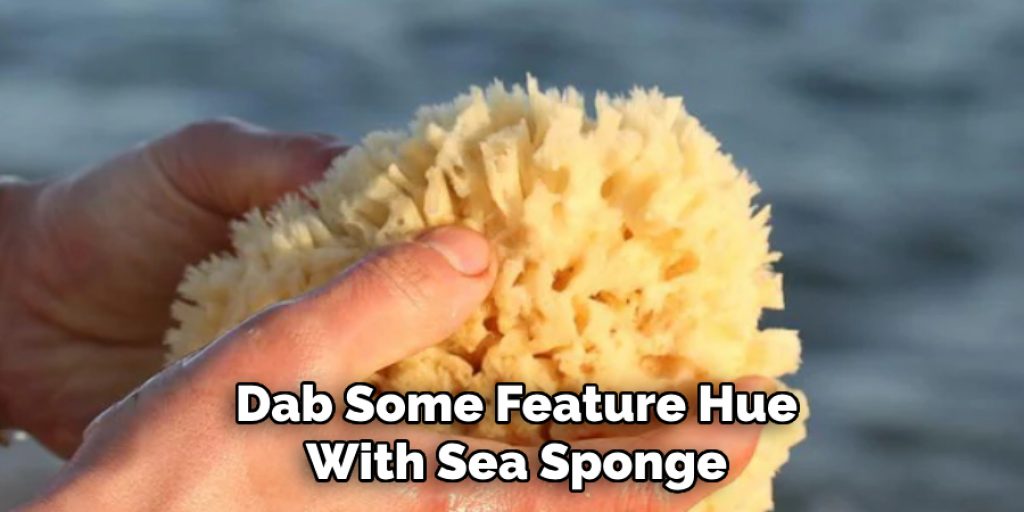
- Dab some feature hue with sea sponge on your brickwork—function in tiny pieces.
- Consider taking a frequent muddy sponge whenever the highlight paint is almost dry, and wash lightly in tight areas. It will extend several of the colorings that stands out and creates the rock more accurately. These would be the actual drawings to me. I just discovered them on my mobile device, so I’ll share them with you. (I must have been trying to frame a trellis initially but chose it against.)
- Keep going until all the rocks stand out. Let’s dry.
- Polish the color scheme of your grout from between the rocks. Let’s dry.
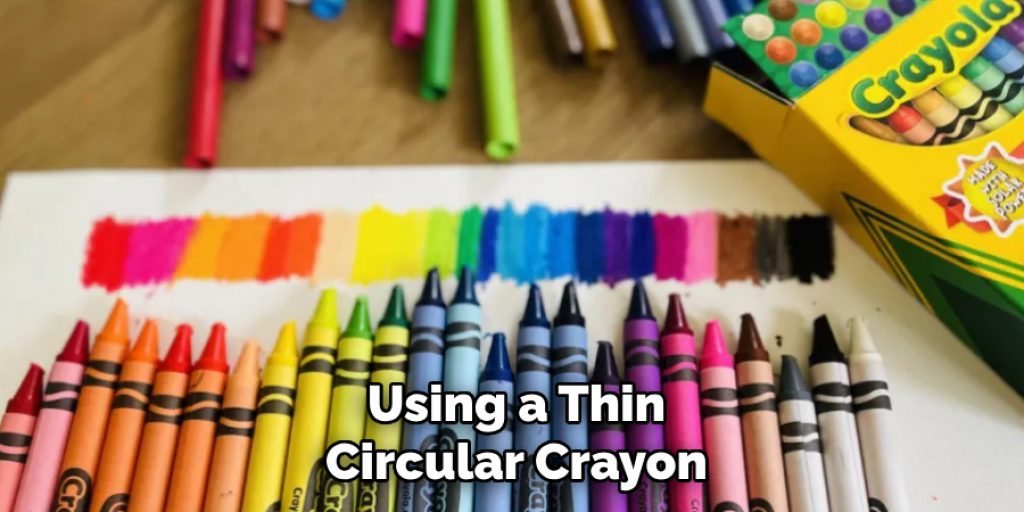
- If you’d like to help them appear quite precise, polish a dark patch (darkness) on one edge within each rock and the lower part. You could also decorate an outline contrasting the dark lines in a lighter shade than that of the grout. Using a thin, circular crayon. Let’s dry.
- Consider making light and shadow glazing (clear acrylic) by diluting one brightness and one darker color. Check the glazes at a place not turning up.
- Decorate the glazes with your paper towels in a chaotic way. That brings depth to it. Wash out something you don’t want. Dab up the color in exceeding.
- Check all areas requiring function and let them dry completely.
- Unnecessary: when your artwork gets a lot of accessorizing, implement 3-4 layers of varnish.
Method – 2
Choose a piece of cardboard almost the same scale as the stone you like to be. A cardboard box offers you a great image to generate fake rock! Use a box that is approximately the correct square or rectangular you would like the stone to be. When the cardboard box is ready, use a sticky filtering tape, the door closed to attach it back.
Even during the task, you’ll be willing to mildly adjust the shape of a portion of the cardboard by having made indentations and attaching paper Mache. Conversely, rather than cardboard, you could use polystyrene. Quickly use a workshop blade to slice the polystyrene to shape, and use sticky masking tape any parts around each other whenever you want to.
Build ridges in the cardboard at the sides and edges. To make your carton board box appear like a block requires feeling a bit less like a stone! Move the package gently, stand on, or knock the edges to create it more circular. Large compartments may also be created in the edges of the board to bring a much more stone-like appearance.
Do not think about holding the package straight or offering it a seamless feel. Recall that stones look flawed! Rip 1.5 inch 10-inch daily paper sheets. Grab outdated magazines and newspapers you no longer use, then start cutting them into large pieces. Place many pieces of publications to help the method move quicker, then cut many pieces at once.
Otherwise, you can utilize scissors to cut the slices when you would like. The pieces only want to be about 1.5 inches about 10 inches, since this is simple to use dimensions. They just don’t have to be ideal. The volume of newspapers you’ll have relied on the cardboard box volume. If you’re uncertain, begin with 40 layers of the daily paper, because you can every time create so many sheets if you need to.
Allow 1:1 quantity of water to the white adhesive to create paper Mache cement. Fast and quick to produce paper Mache! Choose a big pot, and drop into the tub. Then the same quantity of white glue is measured and added to the container. I was using a spoon to carefully combine the liquid with the cement until a mixture is made perfect.To paper Mache, PVA adhesive is best.
Roll daily paper peels into paper Mache mixture. That’s essential to begin providing out a stone-like shape to the cardboard. Keep taking an everyday paper piece and moisten the entire piece in the Mache mixture. Then stick your finger softly over the strip to reduce any other combination.
This is necessary to extract the extra Mache dust; since then, the paper could be too dense and fall.
Comprise part of cardboard with two coats of sheets of Mache. Once you have a daily paper piece coated with Mache mixture, hang it on the cardboard anywhere. Ensure the entire pa gets stuck excellently down.
Continue then the procedure of dip – coating daily paper sheets into the Mache mixture and attaching them onto the package till the whole box is coated. When the first surface is through, apply the second sheet of paper Mache through the initial. It provides a sturdy foundation consisting of paper Mache.
Let them dry the Mache. Giving the paper Mache more than enough period to dry is essential, so it retains even before you insert so many pieces. Maintain the paper bag in a well-vented place, so it dries more quickly. If you believe the Mache is clean, apply pressure on many sections to ensure it looks sharp and does not submerge if you contact it.
Shape 2-inch thickness wads from paper sheets. Consider taking several daily paper slices, and deforming them into large, thicker, circular forms. Start to deform the daily paper sheets quite firmly together, so the way retains. They support to render the stone appear bumpy.

The amount of daily paper wads you’ll require relies on the frames. Comprise all boxes in daily paper handfuls. Start by taking every other regular paper wad and thoroughly moisten it into the Mache mixture. Extract the extra adhesive softly and hold the clumps into the box over the remaining Mache. To give it shape, show the whole table with a single layer of daily paper wads.
Make two polished strands of pieces of paper. The addition of a few more lots of layers of mache would be then essential to maintain the daily paper handfuls in position. Keep taking daily paper sheets, soak them into Mache mixture, and put them over daily paper handfuls. Seek to protect all of the wads for a clean, complete look to the rock.
Use an extra coating of Mache to keep the daily paper handfuls in position when you worry they won’t be holding. Allow the Mache to dry out entirely for one day. Since you’ve completed the Mache stage of the process, you get more than enough period for the Mache to dry, so it lays out very well.
Leave the false stone in the proper-ventilated place and confirm it out as often as possible to see how Mache dries. To use a fan could even enable the Mache to dry quickly, mainly when it’s a cold climate.
Spray-paint a black or dark foundation on the stone. Now that it is a moment for the Mache to appear like a stone! Use various paint spray shades to make the artificial rock look a bit natural.
Function in a very proper-ventilated environment and hit the fake rock with the sprayed paintbrush. Keep down the target to insert 1-2 dark-colored foundation coats like dark or brown to the rock. Instructions from the supplier on the paint spray tag will clearly state the suggested length from the false rock to retain it outside.
Frequently Asked Questions
Is Acrylic Paint Good for Cardboard?
Acrylic paint is not good for cardboard. Acrylic paint is a type of oil-based paint that is usually used on wood, metal, and canvas.
There are some points that can be used on cardboard but the most effective type of paint to use on cardboard would be acrylic.
To ensure you get the best results from your project, use acrylic paint meant for paper such as white or black.
Can You Paint Cardboard With Chalk Paint?
Yes, you can paint the cardboard with chalk paint. However, if you want a beautiful finish, it is recommended that you use a primer first and then paint over the surface with your desired color.
The same technique can be used to create beautiful artwork on any type of surface, including wood, metal, and glass.
What Paint Will Stick to Cardboard?
The best paint to use on cardboard is spray paint that has a clear coat. The clear coat makes the paint adhere to the surface, and it will also give your work a nice finish.
However, if you don’t want a painted finish, then acrylic craft paints are an excellent option. You can get them in any color or even metallic for an extra-special look!
Can You Get Paint That Looks Like Stone?
There are a few ways to make the paint look like stone.
Paint can be made to look like stone by adding white pigment and a small amount of polymer or varnish.
Another way is to use a colorless pigment mixed with the paint’s oil and solvent mixture. This method makes it more difficult for the paint to dry quickly, which will result in a longer drying time and a lower gloss finish.
Paint can also be made to look like stone by adding metallic particles into the paint mixture, which will cause the surface of the stain to appear more reflective than usual.


