
How to Make a Polar Express Train from Cardboard Boxes
Everyone has seen the movie The Polar Express once in their lifetime. If you have seen it, you should know the significance of the polar express train. Well, you probably cannot find the real train and ride on it, but you can make your dream come true by following the DIY tutorial on making a polar express train from cardboard boxes.
If you have done DIY projects before, you should know that with the help of cardboard boxes, you can make many things. Similarly, if you have a few boxes, you can make a train out of them. So, keep reading ahead to know how to make a polar express train from cardboard boxes.
Learn: How to Make a Polar Express Train from Cardboard Boxes
Things You Will Need
Before starting the project, you should gather all the materials you will need for making the whole train. You are going to need-
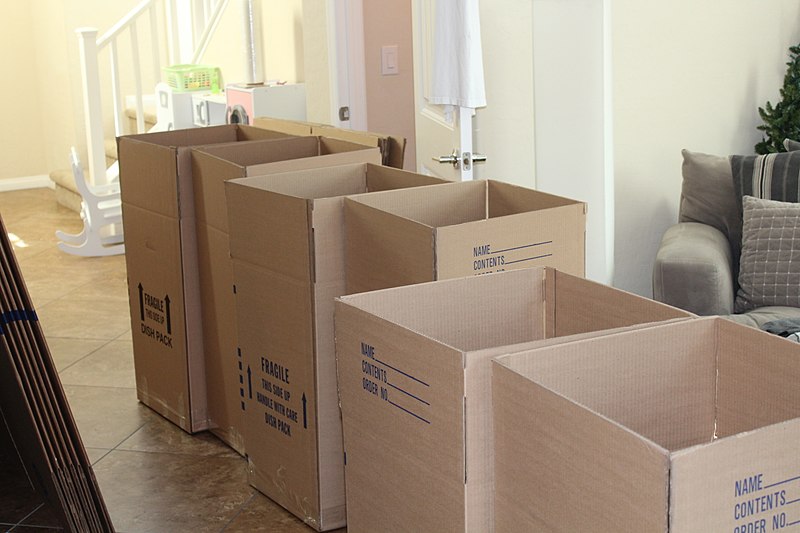
- Four cardboard boxes
- Some plain cardboards
- Paint
- brush
- A large cutting tool
- Glue
Steps to Follow
Now that you have all the materials around you, you can start with the process by following the steps below.
Step One:
The first thing about how to make a polar express train from cardboard boxes; you need to do is set up the boxes. To do so, take two-three boxes and put them in a straight line. Attach the boxes with glue so they can stick together.
Step Two:
To make windows, take another box and cut out some rectangular shapes. You can make two windows at the front, one on each side, and one at the back. Attach this box to the top of the third box.
Step Three:
Take the pain cardboard and make a rectangular shape. Break the cardboard in the middle part. Now on the cardboard, make long holes on each side of the break. Attach this to the front bottom. Take another long cardboard shape and put it on top of the product. Attach everything with glue.

Step Four:
Now take another cardboard and make four round shapes, which will be used as wheels. Attach the wheels on both sides of the cardboard boxes.
Step Five:
Now take the black paint and a brush. Paint the whole box with black paint and let it dry. After it is dried, take white paint and white “The Polar Express” at one side of the train.
Step Six:
For the finishing touch, take a tissue paper roll, color it black, and attach it to the top of the train. You are done making the train.
Frequently Asked Questions
What Is Activator Rail?
An activator rail is a track where keyholes can attach a train’s wheels to the running rails.
It has two primary functions:
1) To maintain traction between the wheel and rail, preventing the car from slipping off while in motion;
2) To guide the car’s wheels into their respective slots, so they remain parallel.
Why Does the Activator Rail Not Work?
The Activator rail is a rail that should have pushed the train from top to bottom. However, it doesn’t work, leading to problems with maintaining the correct train speed.
There are two possible reasons why this happens:
1. The power unit is not receiving power.
2. The activator arm has fallen out of position due to wear and tear or corrosion, which prevents it from pushing down on the rails correctly.
Final Thoughts
That was all for how to make a polar express train from cardboard boxes. We hope our tutorial will help you to make your dream polar express train. You can use it for decorating your house or even use it as a prop for any function or party.
Cardboard Related Article:
1. How to Make Cardboard Hard Like Wood
2. How to Make a Hedgehog House Out of Cardboard
3. How to Make a Gondola Out of Cardboard
Elizabeth Davis
Elizabeth is a creative writer and digital editor based in the United States. She has a passion for the arts and crafts, which she developed from a young age. Elizabeth has always loved experimenting with new mediums and sharing her work with others. When she started blogging, she knew that DIYquickly would be the perfect platform to share her tutorials and tips. She's been writing for the blog from the beginning, and her readers love her helpful advice and easy-to-follow instructions. When she's not writing or editing, Elizabeth enjoys spending time with her family and friends.


