
How to Make a Choker Necklace out of String
Introduction
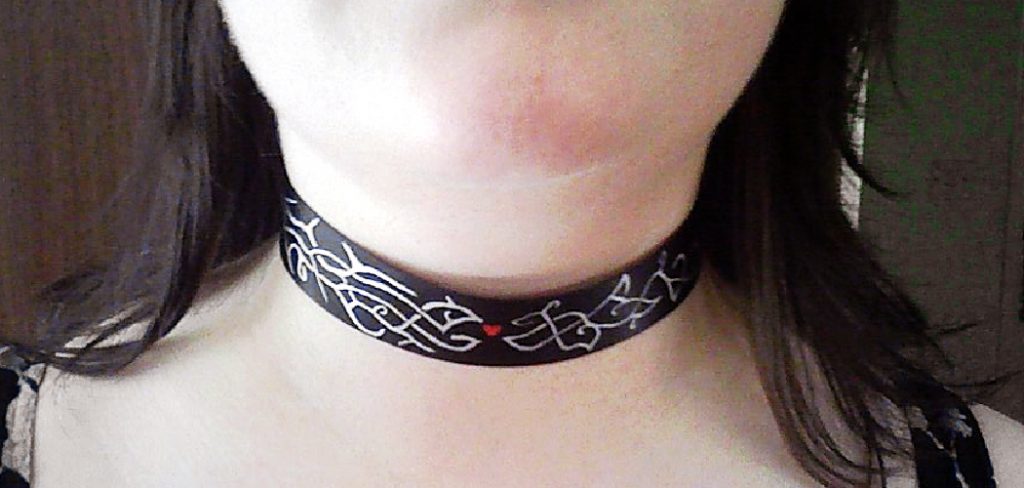
Many techniques can be incorporated to create a choker necklace. But some of them require professional expertise. For this reason, today, we have shortlisted some easy steps which will enable our readers to prepare a choker necklace out of string. This is much beneficial for beginners. The process is discussed below.
Processes How To Make A Choker Necklace Out Of String
Process One
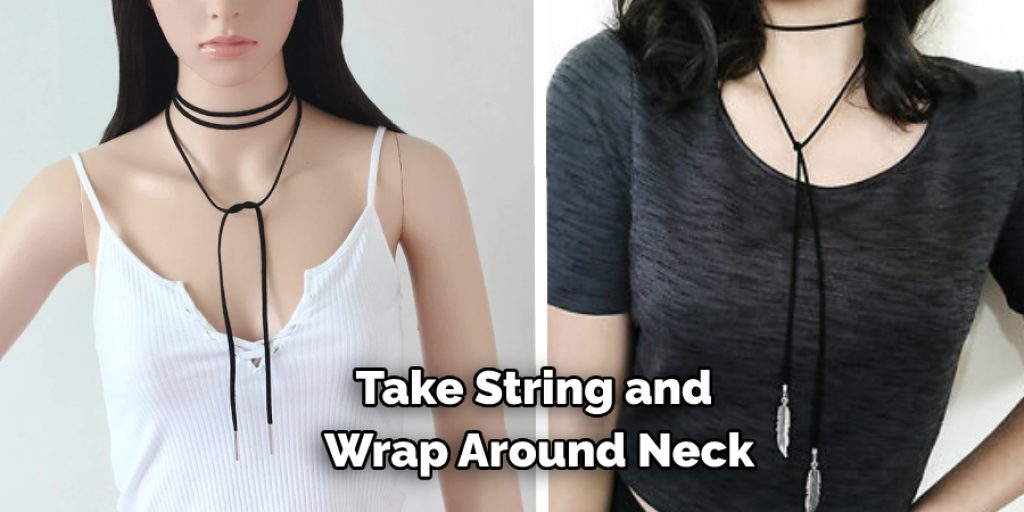
Step One: Take a piece of string and wrap it around your neck as if you were wearing the choker necklace – make sure that there is about one inch left on either side.
Step Two: To make a string puppet, you will need to fold over both sides of the string so they meet in the middle. Then, tie them together with another piece of string or elastic band. This is where you will put your thumb to tighten the strings into place before moving onto step three.
Step Three: Tie knots along each long end of the string until it reaches just below your collar bone, then trim off any excess pieces: these are going to be tied at different lengths depending on how close you want them when finished (the closer together, the shorter length). You can also cut pieces off and re-tie them to cover up any mistakes you made.
Step Four: Start tying the knots at a different point on each side of your neck so that they create two loops (a “V” shape): one loop will be longer than the other, depending on how long you want it when finished.
Now there are plenty of ways to tie these knots – virtually into any pattern or design you prefer! I like starting with an overhand knot for quickness and simplicity before moving on to more complex patterns. However, if this is your first time making a choker necklace out of string, we recommend keeping it simple until you get used to all the steps.
Process Two
To make a choker necklace out of string, you need some essential kinds of stuff. These are string, the choker’s main element, a clasp that helps tie the string’s ends resolutely, a pendant (an optional accessory), scissors, and pliers to bend the string into the clasps. The system of making a choker necklace is given below.
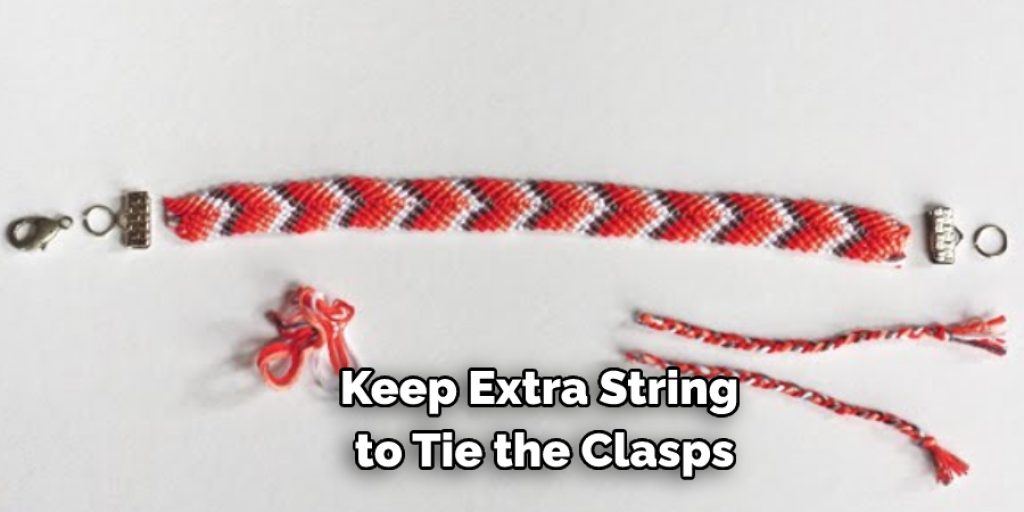
The first step is to select the string, and the color choice depends on you. You need to cut the thread according to your neck size with scissors’ help and keep extra string to tie the clasps. Now take a pendant, let it in the thread, disclose the pendant ring by pliers, and insert it through it.
After that, pick the clasps and tie them with the ends parts of the string. Fix the clutches steadily with thread in favor of pliers. The choker is ready to wear. Another process you can follow is to make a choker necklace easily. In this way, you do not need any clasps.
To make this choker, first measure the string according to your neck size. Then, take the extra string and tie it in a knot. Next, choose your pendant and thread it through the string. Finally, knot the end of the string and your choker is ready to wear!
Precautions
- This project is for adults only. Younger people are not recommended to make this necklace because it involves using scissors and string, a choking hazard.
- The “choker” can’t support over 30 pounds of weight, so don’t expect that you’ll be able to wear it as an actual choker or tight collar around your neck. Instead, use any excess length from the 24 inches needed to tie a knot above your head at whatever height suits you best. With some practice, you should become more adept at tying knots with less slack on one end than before, even when working without a mirror!
- Always keep both hands free while wearing the necklace, especially if jewelry involves earrings or a bracelet.
- The weight of the string can cause headaches after wearing it for too long, so don’t wear it all day every day; instead, take breaks from time to time and ensure you’re not just carrying your blouse off your shoulders.
Stop immediately if you feel uneasy about what’s happening at any point in this process! You are always allowed to say when something doesn’t feel right – if anything ever feels unsafe along the way, then put down whatever is causing those feelings and do something else until they pass away.
How Long Should You Make a Choker Necklace?
A choker necklace should be made to fit the individual wearer. For adults, the ideal length of a choker is between 13 and 15 inches, though you can adjust this up or down slightly for comfort. If making the necklace for a child or teen, 10-12 inches is usually optimal. In any case, measuring the wearer’s neck before beginning is best to ensure that your creation fits snugly and comfortably.
Tips to Make Your Choker Necklace Longer:
Here are some tips on how to make your choker necklace longer:
- Use a length extender: A length extender is the most convenient and easiest way to make your choker necklace longer. You can attach it to the clasp of your choker necklace, adding an extra couple of inches to the length.
- Get a larger clasp: If you don’t want to use a length extender, you can always purchase a larger clasp for your choker necklace. This option may be more expensive than using a length extender, but it will give you more freedom and control when finding the perfect fit for your neck size.
- Use beads or charms: Another great way to make your choker necklace longer is by adding beads or charms to the end of it. Doing this will give your jewelry piece a unique look while still maintaining its original length.
Conclusion
Lastly, we hope the process mentioned here will be advantageous for our readers. Thank you for your time. Have a nice day!
You May Read Also
Elizabeth Davis
Elizabeth is a creative writer and digital editor based in the United States. She has a passion for the arts and crafts, which she developed from a young age. Elizabeth has always loved experimenting with new mediums and sharing her work with others. When she started blogging, she knew that DIYquickly would be the perfect platform to share her tutorials and tips. She's been writing for the blog from the beginning, and her readers love her helpful advice and easy-to-follow instructions. When she's not writing or editing, Elizabeth enjoys spending time with her family and friends.


