
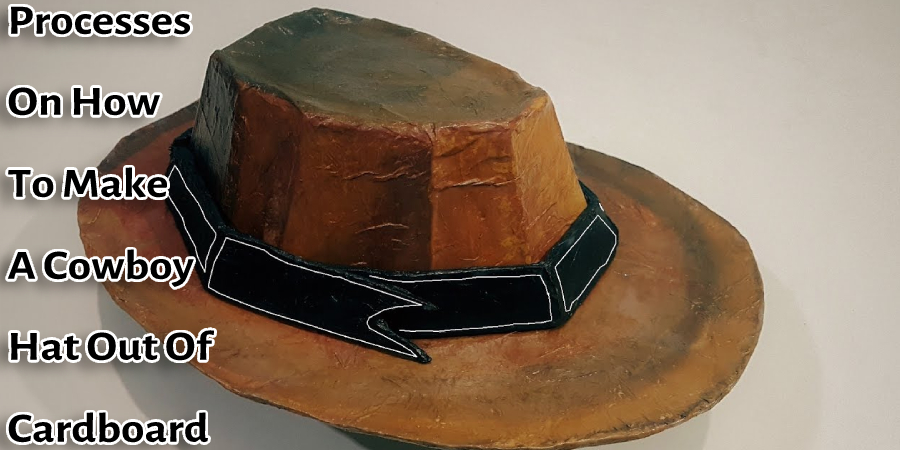
How to Make a Cowboy Hat Out of Cardboard
Every child loves to play an imaginary role. So, if you have a child who loves to play a cowboy or cowgirl role, nothing will be more enjoyable than making a hat.
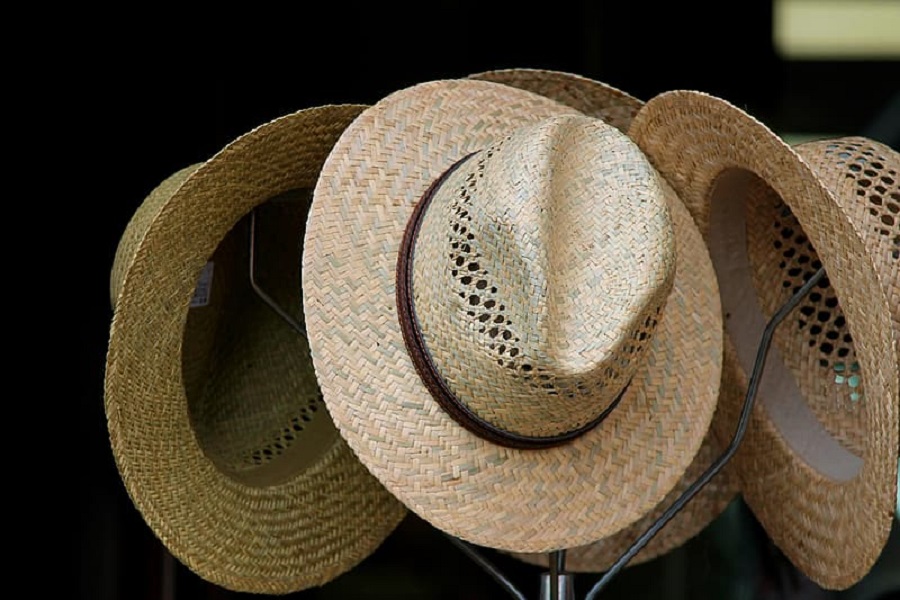
A cowboy hat can change the scene completely and bring adventure to the role. Yes, you can obviously buy one of the suitable hats at your nearest shop, but that’s gonna cost you a bit. But if you have time and ready to give a little effort, you can learn how to make a cowboy hat out of cardboard.
Required Materials
- Cardboard from a box
- Scissors
- String (optional)
- Tape(optional)
Processes on How To Make A Cowboy Hat Out Of Cardboard
Process One
Step One: Cut Out A Shape From The Paper.
Cut out a shape from a piece of paper by tracing around a piece of cardboard placed on top of it.
You can also use different sizes until you find what you like best.
Step Two: Tape Together With Duct Tape.
Once you’ve found your desired size for your hat, take two pieces of tape (or more) and line them up with either side of the circle’s edges perpendicular to each other in order.
This will keep the sections stable while they are being taped together because duct tape doesn’t stick well on its own. Do not overlap both strips; only have one strip on each side.
To keep the sections stable while taping them together, use duct tape on both sides but don’t overlap the strips.
Once you’ve taped the two pieces of tape together, run a strip of duct tape all around the outside edge to seal it shut and keep the shape as desired.
Step Three: Add The Feathers/Bells!
Cut your feathers or bells into different lengths (depending on how many layers you want) with scissors so that they are almost hanging off the end by about an inch.
Take one feather (or bell) at a time and attach it to either end of what used to be cardboard before being cut out – this is easiest if done while holding onto both ends of the piece of paper from Step One because then you can fold them over once for both sides to overlap.
Then, take the two ends of what is now a long strip and overlap them to attach another feather (or bell) at each end, repeating this process until you have an even number of pieces on either side. Ensure that if they are being reinforced by duct tape, it’s only around the edges so feathers/bells will move freely.
Step Four: Reinforce The Hat With Fabric!
Cut out fabric into strips about six inches wide with scissors or a rotary cutter – these should ideally be long enough to not leave any gaps between them after running through all four layers.
Take one strip of fabric and place it along the top line where there used to be just cardboard, matching up the ends and tucking them under some feathers/bells.
The next strip goes on top of that one, overlapping by about half an inch.
Then, another feather is placed in there for reinforcement.
Add strips until all four layers have been covered with fabric and reinforced with a bell at either end.
Step Five: Add A Chin Strap To Your Hat!
Cut two lengths of elastic band (each should be long enough to fit around your chin comfortably) out of ribbon or thin fabric. Fold each length in half twice along its width before pulling through both loops on the other side to form a looped knot – these will be used as the chin straps.
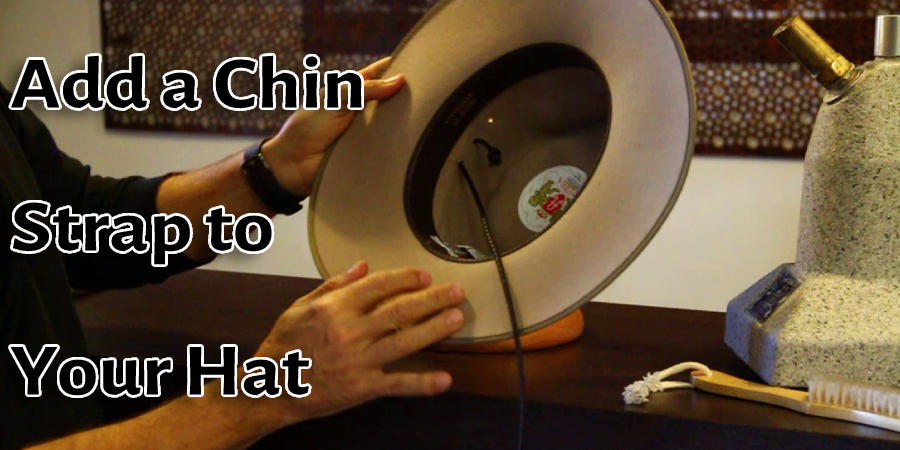
Take one of the strips you cut earlier and put it on top of your hat, centering it across the middle strip (about an inch in). This will be used as a tie for the chin strap – if there’s not enough extra fabric to wrap around, find another piece that’ll work or tuck under some feathers at either end.
If you’re using ribbon, ensure both ends are long enough to loop through before tying them together with a knot! Then, repeat this process with the other length of elastic band so that they have their own loops around which they can be tied securely.
Process Two:
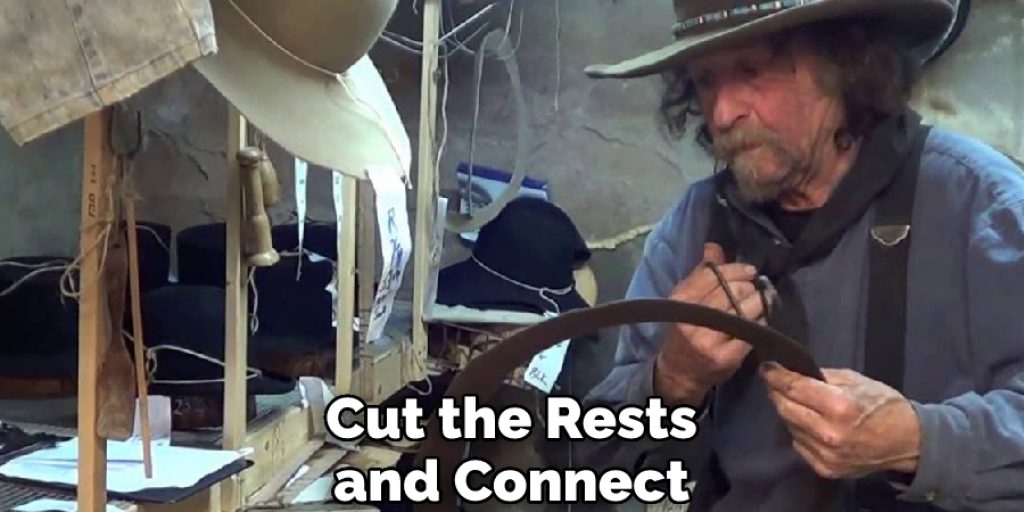
First, pick an 18-pack king box, open it up, and cut the sides. Then grab a square ruler, start from the corners and mark two inches, five inches, five and a half. Next, do the same for another corner. After that, go over your five and a half mark, and come straight down six inches and a half—the same thing on the other side. Now cut the rests and connect these.
Follow the same measurement for the other end. Once you do that, come in 10 centimeters from the sideline of the box from every corner and then connect the dots.
To make a cowboy hat, you must measure 3, 6, and 9 on both sides of the center. Next, you will need to cut from the center but not detach it completely slightly. You will then need to mark the angelic places from the center and start cutting from the places you have marked. Once you have cut all the pieces and folded them up, your cowboy hat will be ready.
Make sure to fold them accurately based on the measurement of the user’s head. Hopefully, you have understood the process.
Conclusion
There you have it, a quick and easy guide to making your own fabric wall cross. If you are looking for something more elaborate or with different patterns on the crosses themselves, there are plenty of online sites where you can find them. Remember that this project will take some time so be sure to give yourself enough room in your schedule before starting!
You May Read Also
Elizabeth Davis
Elizabeth is a creative writer and digital editor based in the United States. She has a passion for the arts and crafts, which she developed from a young age. Elizabeth has always loved experimenting with new mediums and sharing her work with others. When she started blogging, she knew that DIYquickly would be the perfect platform to share her tutorials and tips. She's been writing for the blog from the beginning, and her readers love her helpful advice and easy-to-follow instructions. When she's not writing or editing, Elizabeth enjoys spending time with her family and friends.


