
How to Make a Doll Blanket and Pillow
The few inches of doll cover design is just right for your doll bed sheets to add the finished product. For a range of pieces brought around, you may create various choices. Linked to this, will double additional layers as a comfort cover? You never learn whenever the next “Teddy Bear” party is heading up!’ Each doll requires pillowcases in their place!

Figure out how to turn my simple and easy lesson into a doll cushion. Mums are learning a variety of infant improvements in sleeping patterns. Now you will have fantastic suggestions to make doll bedding and build sleeping routines, stimulating your baby’s creativity. Creating role-playing is also an excellent means of motivating a healthy sleep schedule.
Designing a personalized baby doll bedsheet is a great way to keep your child attached to her doll while she explores the doll’s world. Even though you could buy Barbie bedsheets, you wouldn’t get the same social context of working together. Make sure your child is interested in the whole process, teaching her about stitching and how to create her own designs.
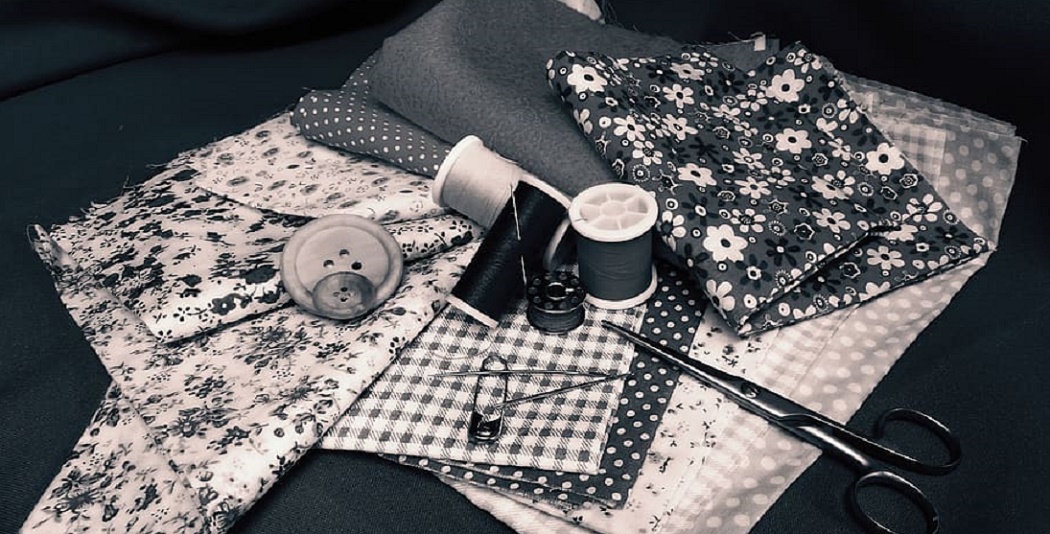
Components
Cotton Quilting Fabric-You could use two close quarters or only cut 2 bits of cloth (46 cm x 56 centimeters) for this toy cover. Needle and yarn. Customize it with ribbon or lace. Fleece gives specific texture and structure to the sheet. Maybe you might add quilting covering (wadding) or perhaps even a piece of some dense, soft material like flannelette.
Instructions
- Baste the fleece on the Opposite side of several of the bits of cloth, or bat near the top. You may do so on the longest straight stitching (usually 4.0) using the machine, or by hand on flowing stitching. Place the stuff at the lower right side away on a full surface. Put the covering sheet on top (maybe you must change length).
- Cover with 2nd fabric faced to the right. Some areas lie flat and pinch around the sides and in the center. Attach quilt to floss of thread or knitwear. And instructions on how to attach a quilt. Change hands and lock-in. Stitch across the corners, bring pins out while you stitch.
- Sew the back or Front: Place the Correct ends of the cloth parts together and sew 1/4 in (6 mm) seam adjustment along with the corners.
- Left a distance of 2 inches (5 cm) at one of the smaller ends.
- Clipping: Attach the edges to avoid cutting the sewing.
- Press and Switch: Swap the blanket into the distance the correct way out, and send it a well pressing. Hand sewing covering the void with an invisible thread on the step.
- Stitching quilting: Knit several quilting outlines over it to add your blanket any shape. Position the fabric on the right sides around, then stitch two corners. Take a right out again and bat attach. Shift edges and lock-in. Bottom attach. Begin at the center and thread each 2 in (5 cm).
Decoration: Attach a piece of lace with one edge, and you’re set! The cushion feels fine already. That is the component of the full package, which will help the final piece to the bedsheets compared to the bed and sheet. Note that you only get the proper amount of soft fillings to build the fluffy pillow, which makes up for pleasant dreams. The pillow layer completed it. Then on to make pillowcases for dolls!
You may Read Also
Elizabeth Davis
Elizabeth is a creative writer and digital editor based in the United States. She has a passion for the arts and crafts, which she developed from a young age. Elizabeth has always loved experimenting with new mediums and sharing her work with others. When she started blogging, she knew that DIYquickly would be the perfect platform to share her tutorials and tips. She's been writing for the blog from the beginning, and her readers love her helpful advice and easy-to-follow instructions. When she's not writing or editing, Elizabeth enjoys spending time with her family and friends.


