How to Make a Door Knob Hole Bigger Without a Drill
A doorknob can be an instrumental part of any door, which helps keep the door closed and secure. However, when there are too many people inside the home, or if you have items kept in your attic or basement and not touched for long periods of time, these areas tend to get dustier over time.
This means that the knobs on those doors may start to look duller than they used to be. One way to help replace this is by making them bigger, as this will allow more light and air into the room behind it – thus helping it become easier to clean at all times. But replacing is not always an option. Sometimes, the scarcity of materials can require the adoption of other methods. So today, I am going to discuss a process on how to make a door knob hole bigger without a drill.
What is a Doorknob Hole?
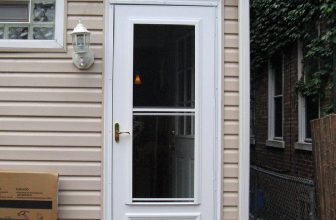
A doorknob hole is the hole in your door where the doorknob sits. It allows for the doorknob to be attached securely and also enables it to turn smoothly, allowing you to open and close the door. Sometimes, this hole may need to be enlarged for various reasons such as replacing an old doorknob with a new one that has a larger base or if the hole has become too small over time due to wear and tear. In such cases, knowing how to make a door knob hole bigger without a drill can come in handy.
You may also need to make a door knob hole bigger if you are installing a different type of doorknob, such as a keyed entry or privacy lock, which may have different size requirements for the hole.
Materials Needed
Sandpaper (Medium Grit):
Sandpaper is an essential tool for smoothing out rough surfaces and removing excess material. It can be used on wood, metal, or plastic surfaces to help enlarge the doorknob hole.
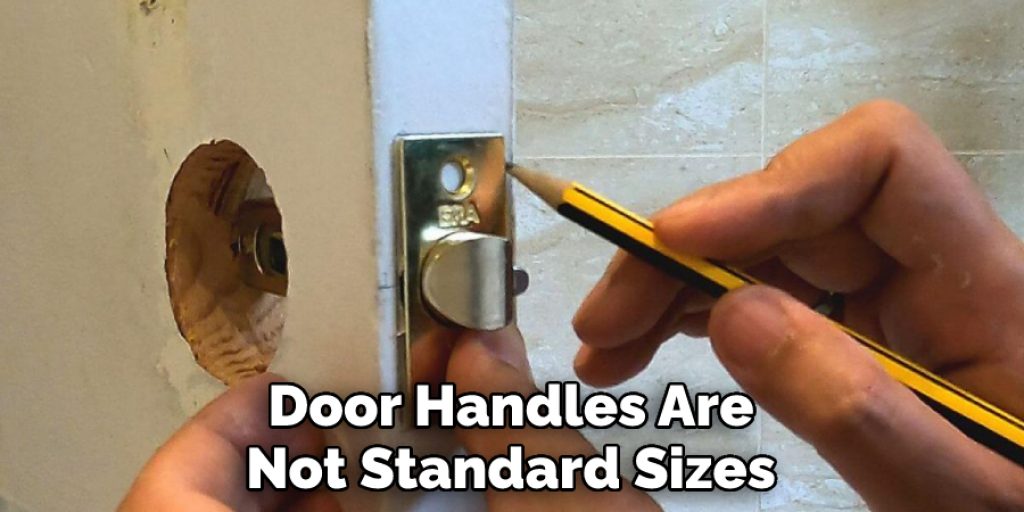
Pencil:
A pencil will be needed to mark the areas that need to be enlarged. This will serve as a guide when using the sandpaper.
Wood Filler (optional):
If there are any gaps or imperfections in the enlarged hole, wood filler can be used to fill them in and create a smooth surface. This will also help protect the door from further damage.
Screwdriver:
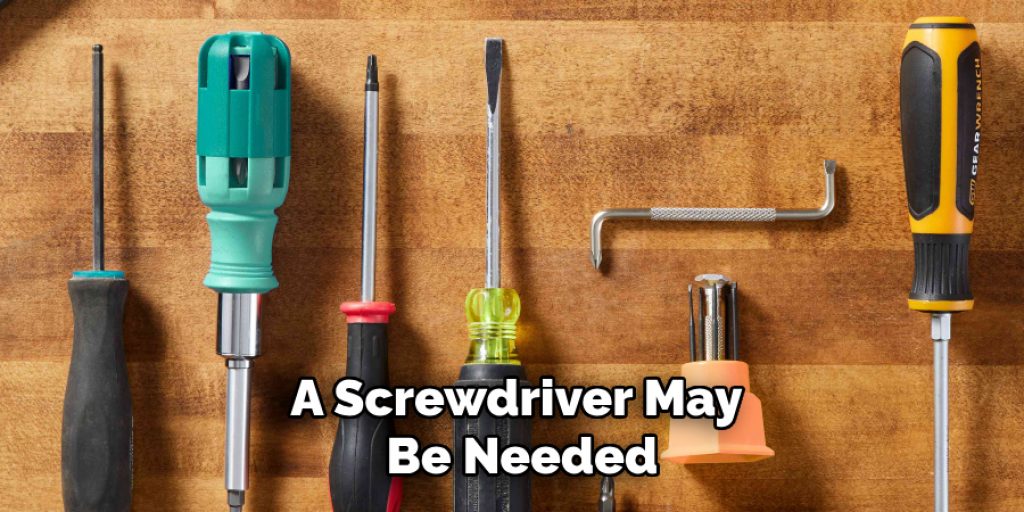
A screwdriver may be needed to remove the doorknob before enlarging the hole. Make sure to use the correct type of screwdriver for your specific doorknob.
Safety Glasses:
Safety glasses are always a good idea when working with power tools, such as sandpaper, to protect your eyes from any debris or particles.
11 Step-wise Guide How to Make a Door Knob Hole Bigger Without a Drill:
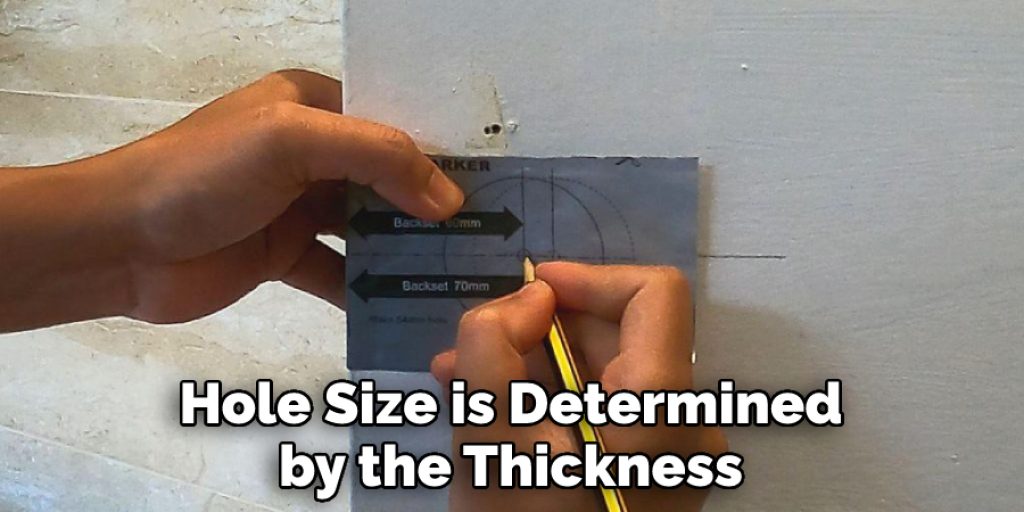
Step 1: Measure the Current Hole Size:
Before you start enlarging the hole, it is important to measure its current size using a tape measure or ruler. This will help you determine how much bigger you need to make the hole. You can also use this measurement to confirm if the hole is already at the desired size once you finish enlarging it. The standard size for a doorknob hole is 2-1/8 inches. It is also a good idea to measure the diameter of your new doorknob to ensure it will fit before starting the process.
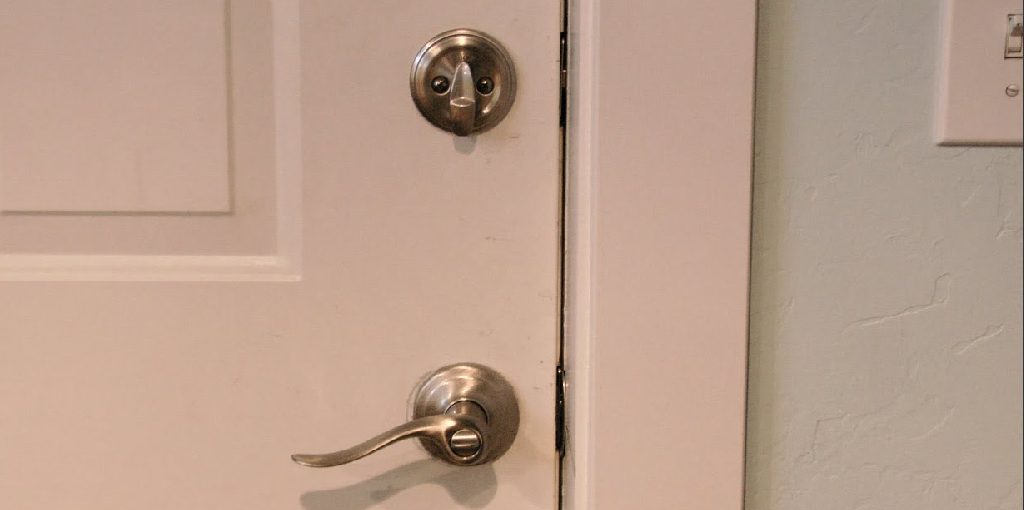
Step 2: Remove the Doorknob:
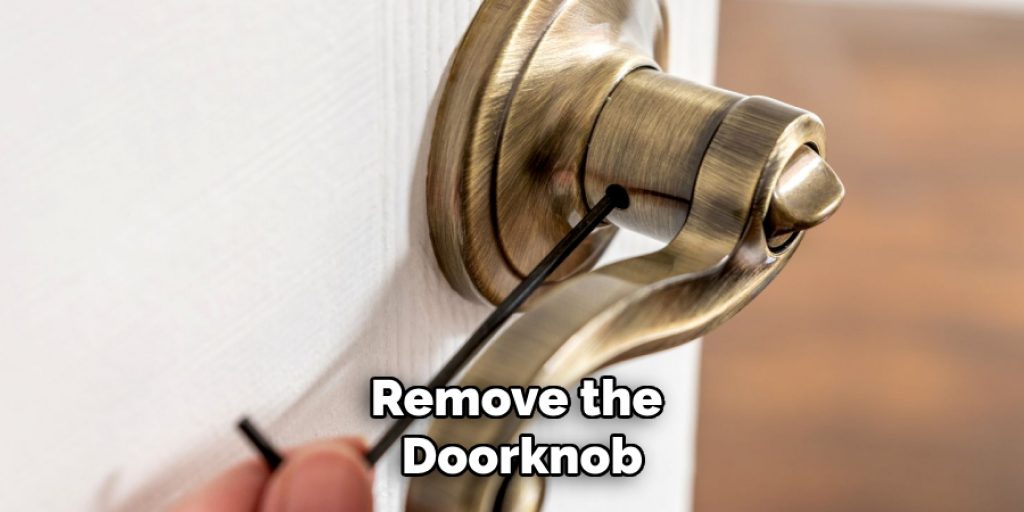
Using a screwdriver, remove the doorknob and any other hardware attached to the door. This will give you better access to the hole and make it easier to work on. Make sure to keep the screws in a safe place so that they don’t get lost. Otherwise, you may have trouble reattaching the doorknob later. It is also helpful to take a picture of the doorknob before removing it so you have a reference when reattaching it. You can also use this time to clean the doorknob and remove any dirt or grime buildup.
Step 3: Mark the Areas That Need Enlarging:
Using a pencil, mark the areas around the hole that need to be enlarged. This will serve as a guide when using the sandpaper and help ensure that you don’t go overboard in your enlarging process. But be careful not to mark too much, as you can always go back and enlarge more if needed. If you are using a wood filler, it is also helpful to mark the areas where it will need to be applied.
Step 4: Put on Safety Glasses:
Before starting the sanding process, make sure to put on safety glasses. This will help protect your eyes from any particles or debris that may fly off while sanding. The medium grit sandpaper can be rough and may cause irritation if it gets into your eyes. If you wear prescription glasses, make sure to keep them on and wear safety glasses over them for double protection. You can also use a face mask to protect your nose and mouth from any dust or particles.
Step 5: Sand the Marked Areas:
Using medium grit sandpaper, start sanding the marked areas. You can do this by hand or wrap the sandpaper around a block of wood for better control and even pressure. Make sure to sand in a circular motion and apply even pressure to avoid creating any lumps or uneven surfaces. Continue sanding until you reach the desired size for your doorknob hole. But remember to take breaks in between and regularly check the size of the hole using your measurement tool. It is better to take your time and sand gradually than to accidentally make the hole too big.
Step 6: Check for Smoothness:
Once you have reached the desired size, check the surface of the hole for any rough or uneven areas. If there are any, continue sanding until you have achieved a smooth surface. It is essential to have a smooth surface so that the doorknob can sit flush against the door and turn smoothly. You can also use a flashlight to check the inside of the hole for any bumps or lumps that may have been missed. But be careful not to sand too much and accidentally make the hole bigger than intended. The key is to take your time and be patient. It is better to have a slightly smaller hole and make adjustments as needed.
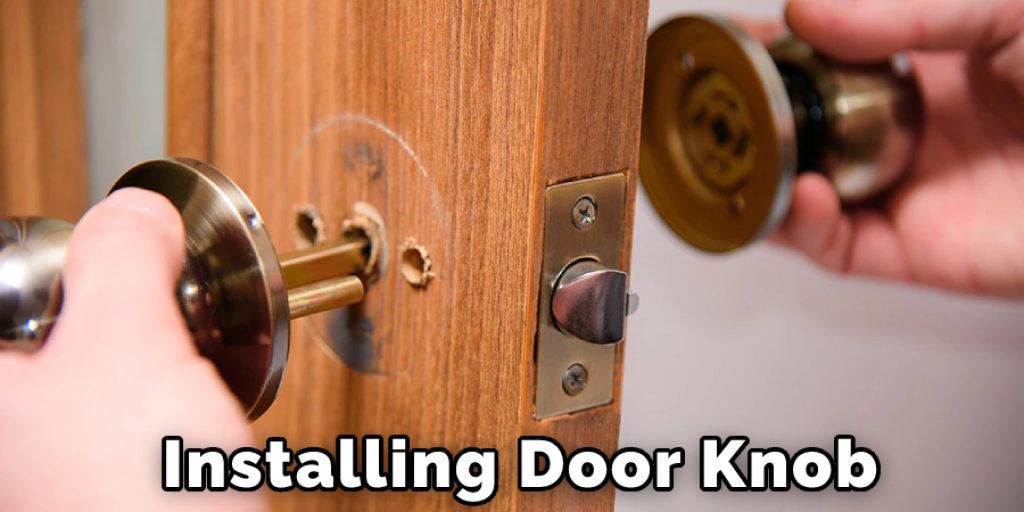
Step 7: Replace the Doorknob:
Once you are satisfied with the size and smoothness of the doorknob hole, it’s time to reattach the doorknob. Use your reference picture or diagram to ensure that all components are correctly aligned and reattached. If you are using a new doorknob, make sure to follow the manufacturer’s instructions for proper installation. Test the doorknob to make sure it turns smoothly and sits flush against the door. You can also check for any gaps between the doorknob and the door, which may need to be filled with wood filler.
Step 8: Apply Wood Filler (optional):
If you are using wood filler, now is the time to apply it. Follow the manufacturer’s instructions for preparing and applying the wood filler. Make sure to fill in any gaps or imperfections around the enlarged hole. Use a putty knife to smooth out the surface and remove any excess filler. Allow the wood filler to dry completely before moving on to the next step. It may take a few hours for the wood filler to dry, so be patient.
Step 9: Sand the Filled Areas (optional):
Once the wood filler has completely dried, use fine-grit sandpaper to sand down any excess filler and create a smooth surface. You can also use this time to sand the surrounding areas to blend in the wood filler with the rest of the door. Make sure not to over-sand, as you don’t want to accidentally make the hole bigger again. Otherwise, you may have to repeat the process from the beginning. It is also helpful to use a tack cloth to remove any dust or debris before moving on to the next step.
Step 10: Paint or Stain (optional):
If desired, you can paint or stain the door to cover up any sanding marks or blend in the wood filler. Make sure to use a paint or stain that is suitable for the material of your door. Follow the manufacturer’s instructions for proper application and drying time. Once finished, your doorknob hole should be seamlessly enlarged and ready for your new doorknob. You can now enjoy a functional and aesthetically pleasing doorknob on your door. It may seem like a tedious process, but with patience and attention to detail, you can achieve a professional-looking result.
Step 11: Other Considerations
Before starting the process, it is essential to consider a few things. If your door is made of a material other than wood, such as metal or fiberglass, you may need to use different tools and techniques for enlarging the doorknob hole. It is always best to consult with a professional or do some research before attempting the process on non-wooden doors. Additionally, if you are uncomfortable or unsure about the process, it is best to hire a professional to avoid any mistakes or damage to your door.
Following these steps, you can successfully enlarge a doorknob hole and upgrade the look of your door. Remember to take your time, use proper safety precautions, and pay attention to details for the best results. With a little bit of effort, you can achieve a functional and visually appealing doorknob on your door. So don’t let an incorrectly sized doorknob hole hold you back from achieving your desired look for your door. Happy DIY-ing!
Precautions While Learning How to Make a Door Knob Hole Bigger Without a Drill:
Make sure there are no children or pets in the room where you will be working. The hole saws make a lot of noise and can also throw out wood chips, making sure you do not have anything flammable nearby that may catch on fire. Make sure your work area is clean before starting this project. Wear safety glasses to protect your eyes from fall wood chips and dust exposure.
Go slowly while making a doorknob hole bigger without a drill, as it can cause splintering of the wood, causing injury or even death if someone gets hit by one of them. If you live in an older home and plan to replace the hardware for the entire house, buy new doorknobs with all-metal shanks. If your doorknob has a broken or missing screw, you can replace it with a new one.
There are two types of holes in the handrail: the “through-hole” and the “mortise hole.” The through-hole is a small hole drilled vertically from the top to the bottom part of a handrail while bored at an angle of 90 degrees to its axis. In contrast with this type of hole, a mortise hole is bigger and deeper than a through hole and is made by cutting vertically and horizontally to form an inverted ‘T’ shape beneath the rail itself. This prevents any harsh edges if anyone falls on or against it, which could lead to accidents.
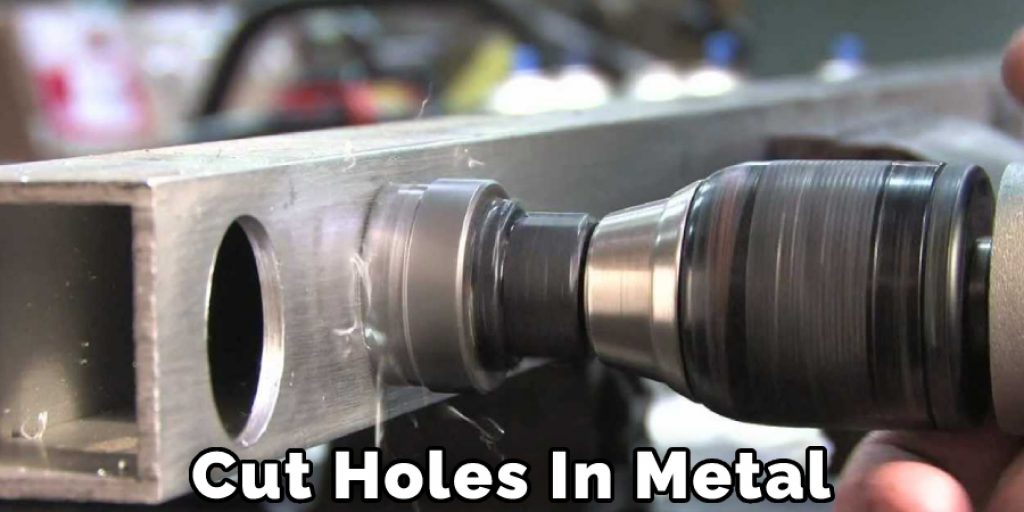
How Can You Cut Holes in Metal Without Seeing Behind It?
The best way to make a circle or any other difficult shape from sheet metal is by using special plastic reinforced shears. With these tools, you can figure out the measurements and then punch through metal with little trouble. However, sometimes you need to enlarge holes already made in sheet metal objects like cabinets or electrical boxes so they’ll fit over new hinges or doorknobs. Luckily, some other ways don’t involve buying special tools.
For Sheet Metal: Use a Dremel and a Grinding Stone
If you’re working with sheet metal, the easiest way to make the hole bigger is to use an electric drill equipped with a grinding stone. These are much like sandpaper in that they have thousands of small abrasive particles that scrape up and away from the cutting tool. The trick is to find the right amount of pressure needed when using this method so you don’t cut completely through one side or glue both pieces together by accident. You’ll also need a steady hand for this kind of job since it’s difficult to judge how far back to hold the drill bit from the surface of your workpiece. For best results, use larger grit stones that will cut slowly and give you time to judge your progress. When possible, use a metal-cutting blade instead of a grinding stone to cut completely through the piece instead of leaving behind an edge.
If You Don’t Have a Dremel, Use Tin Snips or Sheet Metal Cutters
If you don’t have access to an electric drill and grinding stone, consider using tin snips or sheet metal shears to cut holes in metals. While these tools can be used together to make exact cuts, they’re not meant to shape the material into complex designs like circles. Instead, opt for using one tool at a time by starting with standard tin snips before moving on to sharper shears if need be.
Frequently Asked Questions:
Q1: Can I Use a Hole Saw on Any Material?
A1: While hole saws are versatile tools, they may not be suitable for all materials. For example, using a hole saw on metal or fiberglass may require specialized blades and techniques. You should always check the manufacturer’s recommendations for the material you are working with before using a hole saw. It is also recommended to consult with a professional or do research on the material before attempting the process.

Q2: Can I Use a Dremel for Enlarging Doorknob Holes?
A2: Yes, a Dremel can be used to enlarge doorknob holes with the proper attachments and techniques. However, it is essential to use caution and go slowly when using a Dremel to avoid damaging the door or injuring yourself. It is always best to consult with a professional or do research before attempting the process. However, with proper precautions, a Dremel can be an effective tool for enlarging doorknob holes.
Q3: Can I Enlarge a Doorknob Hole Without Using Any Power Tools?
A3: Yes, you can use alternative methods such as tin snips or sheet metal cutters, to enlarge doorknob holes if you do not have access to power tools. However, these methods may require more time and effort compared to using a power tool, so it is important to have patience and take proper safety precautions when using these tools. It is also recommended that you consult with a professional or do research before attempting the process without power tools.
Overall, there are various methods available for enlarging doorknob holes, so choose the one that best fits your needs and capabilities. Remember to always prioritize safety and take proper precautions when working with power tools or sharp objects. With the right tools and techniques, you can successfully enlarge a doorknob hole without a drill and complete your home improvement projects with confidence.
Conclusion:
Naturally, knowing how to make a door knob hole bigger without a drill should be more of an option than not doing so. This knowledge helps prevent injury and death from happening if those little ones or pets play in the area working on this project. Make sure they stay away from you while making the doorknob hole bigger without a drill taking place. Also, use safety glasses to protect your eyes from dust exposure and chip contact while working on this project.
Angela Ervin
Angela is the executive editor of DIY quickly. She began her career as an interior designer before applying her strategic and creative passion to lifestyle and home. She has close to 15 years of experience in creative writing and online content strategy for housekeeping, home decorations as well as other niche efforts. She loves her job and has the privilege of working with an extraordinary team. She lives with her husband, two sons, and daughter in Petersburg. When she's not busy working she spent time with her family.