
How to Make a Fabric Phone Case
Design yourself a print cloth DIY device case. I acquired a bright new smartphone so that I can submit several updates for you while standing in the karate class of my friend every afternoon. I bought a long-lasting cover that claimed I could slip the phone down to 3 m (9 feet) and figured it was great – my latest investment is secure from my carelessness.
But after tossing the mobile in my backpack with keys and plenty of much other crap that I do need to consider removing, I noticed that the rear of the display and picture frame was unsecured, as my cover has a camera turns out. And I thought of creating a DIY camera covering out of a lightweight bendy cloth to slide the handset in and shield the screen from damage.
This phone case is both fast and easy to make, and it uses wool as a protective covering for your screen to prevent scratching and support your handset. When you use dense felt instead of low-quality felt, it can also help reduce the glare from your camera (helpful when you’re trying to sleep with your phone next to your bed). You can even take this a step further by knitting in a single direction.
Components
- Stretchable cloth – any of the discarded pieces from the craft designs may be used, or an old t-shirt recyclable. The fascinating aspect of reusing and recycling old clothes is that you might place your mobile cover with icons. Weave simply will not work because it’s not versatile enough to extend across your mobile device and quickly get in and out of.
- Measuring tape or ruler.
- Stretch needles should keep you from having stitches missed onto the clothes.
- Tissue-8 inches in a rectangle.
- 100% Felt Fur-8 inches long.
- Yarn.
Method 1
- Place the mobile on the highest part of the felt frame, pull the felt over it, and attach 1 cm additional at the upper and bottom of each of the devices (so a maximum of 2 cm wide). Place 3 cm further to the screen; I traced a row to indicate my phone’s peak and then discovered the split edge. Cut the outline of a square from the felt you’ve labeled.
- Position the felt into the cloth and split the cloth 0.5 cm broader on all sides and 3 cm deeper.
- Fold the edge of the fabric about 1 cm away. Then turn it over again so that the cloth lock in position hides the surface of the felt layer. Which ensures you don’t get the rough corners.
- Bend the case in two, and align on the right side of the cloth to reach outward. Pin in position, bind the bottom and sew within the felt around the edges. When you end, leave the needle in it, raise the foot and rotate the thread, and then start stitching.
- Drop the pins, cut any extra cloth from the bottom, and then switch the phone case across the correct direction. When trying to get to the edges, use a marker to point them out. Your felt-coated phone case is prepared to be used there. They are optimal for a fast b’ day or Christmas gift, or a holiday gift; why don’t you end up making some up in various color combinations.
Note-Do not machine wash when you intend to clean your case because the felt lining can stay tight. Wash on your own at a comfortable or pointy temperature.
Method 2
Form making:
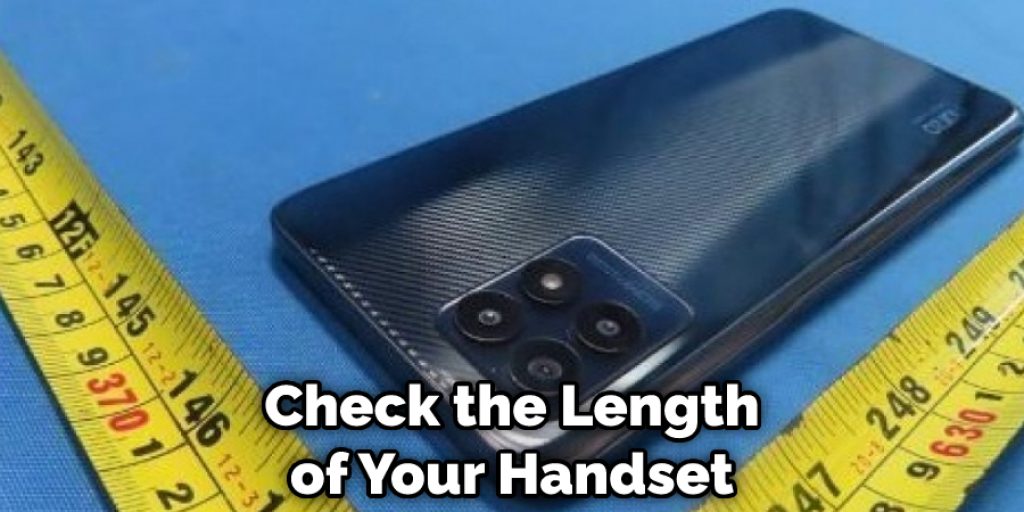
You’ll have to create a template, so your mobile case works like a glove. This is fast; do not bother. Take a measuring tape to check the length of your handset up and down. Please ensure you calculate all the sides around but not just through because we have to consider the mobile size. Assess something you have on this over some frame. Then I created the template out of paper and then cut out my bits of cloth from it.
To the body – cut off a sheet of paper:
Breadth-circumference of 1/2 diameter +1/4′′ (6 mm) (A below)
Length-circumference of 1/2 size +1 inch (2.5 cm) (B in the following)
For the pocket-cut, the accurate size of the body into a sheet of paper. And bend it in two to label the center and put a distinction up one inch (2.5 cm) from the center to build a slant.
Getting the Cloth:
Now that your pattern template has been created split two portions of cloth for the body and one part for the purse.
The wallet hem:
Switch the upper tilted side over by 3/8 in (1 cm) and zigzag through the raw edge on the Opposite side of the bag. To use zigzag stitching would hold a pleasant and stretchy side of the pocket so you can comfortably place your earphone or cable in. Don’t hesitate to put a stretching needle in your tool to avoid missing stitches.
Seams side:
Put the Pouch on several of the body parts on the right edge. So then bring the second section of the body right piece down. You would be placing the Pouch efficiently here between 2 parts of the body. You knit with a tiny line stitching or zigzag (1/4 inches (6 mm seam allotment) down the edge, softly extending the cloth as you bind.
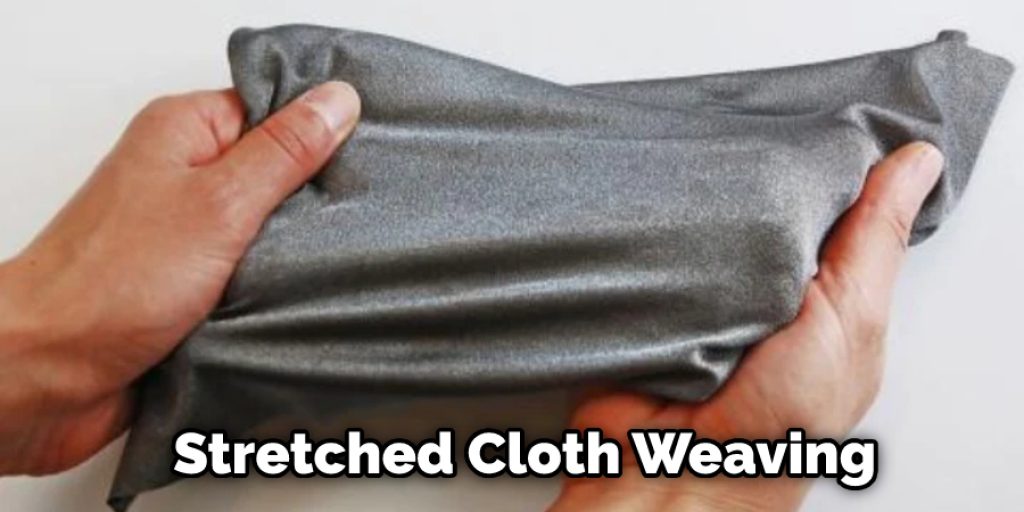
To stitch stretched cloth, certain stitching devices have a specific stitching feature. When you want some more ideas for stretched cloth weaving, be sure you learn how to knit stretched cloth.
Top hem:
Create the protection, and put it on side up with the opposite. Place 1/2 inch (12 mm) over the upper portion (of the Pouch). I was taking in the raw side, bent around the hem.
Side and bottom:
Flip the cover back along with the correct ends and knit the piece down and around the lower part. (1/4 “edge cap (6 mm)
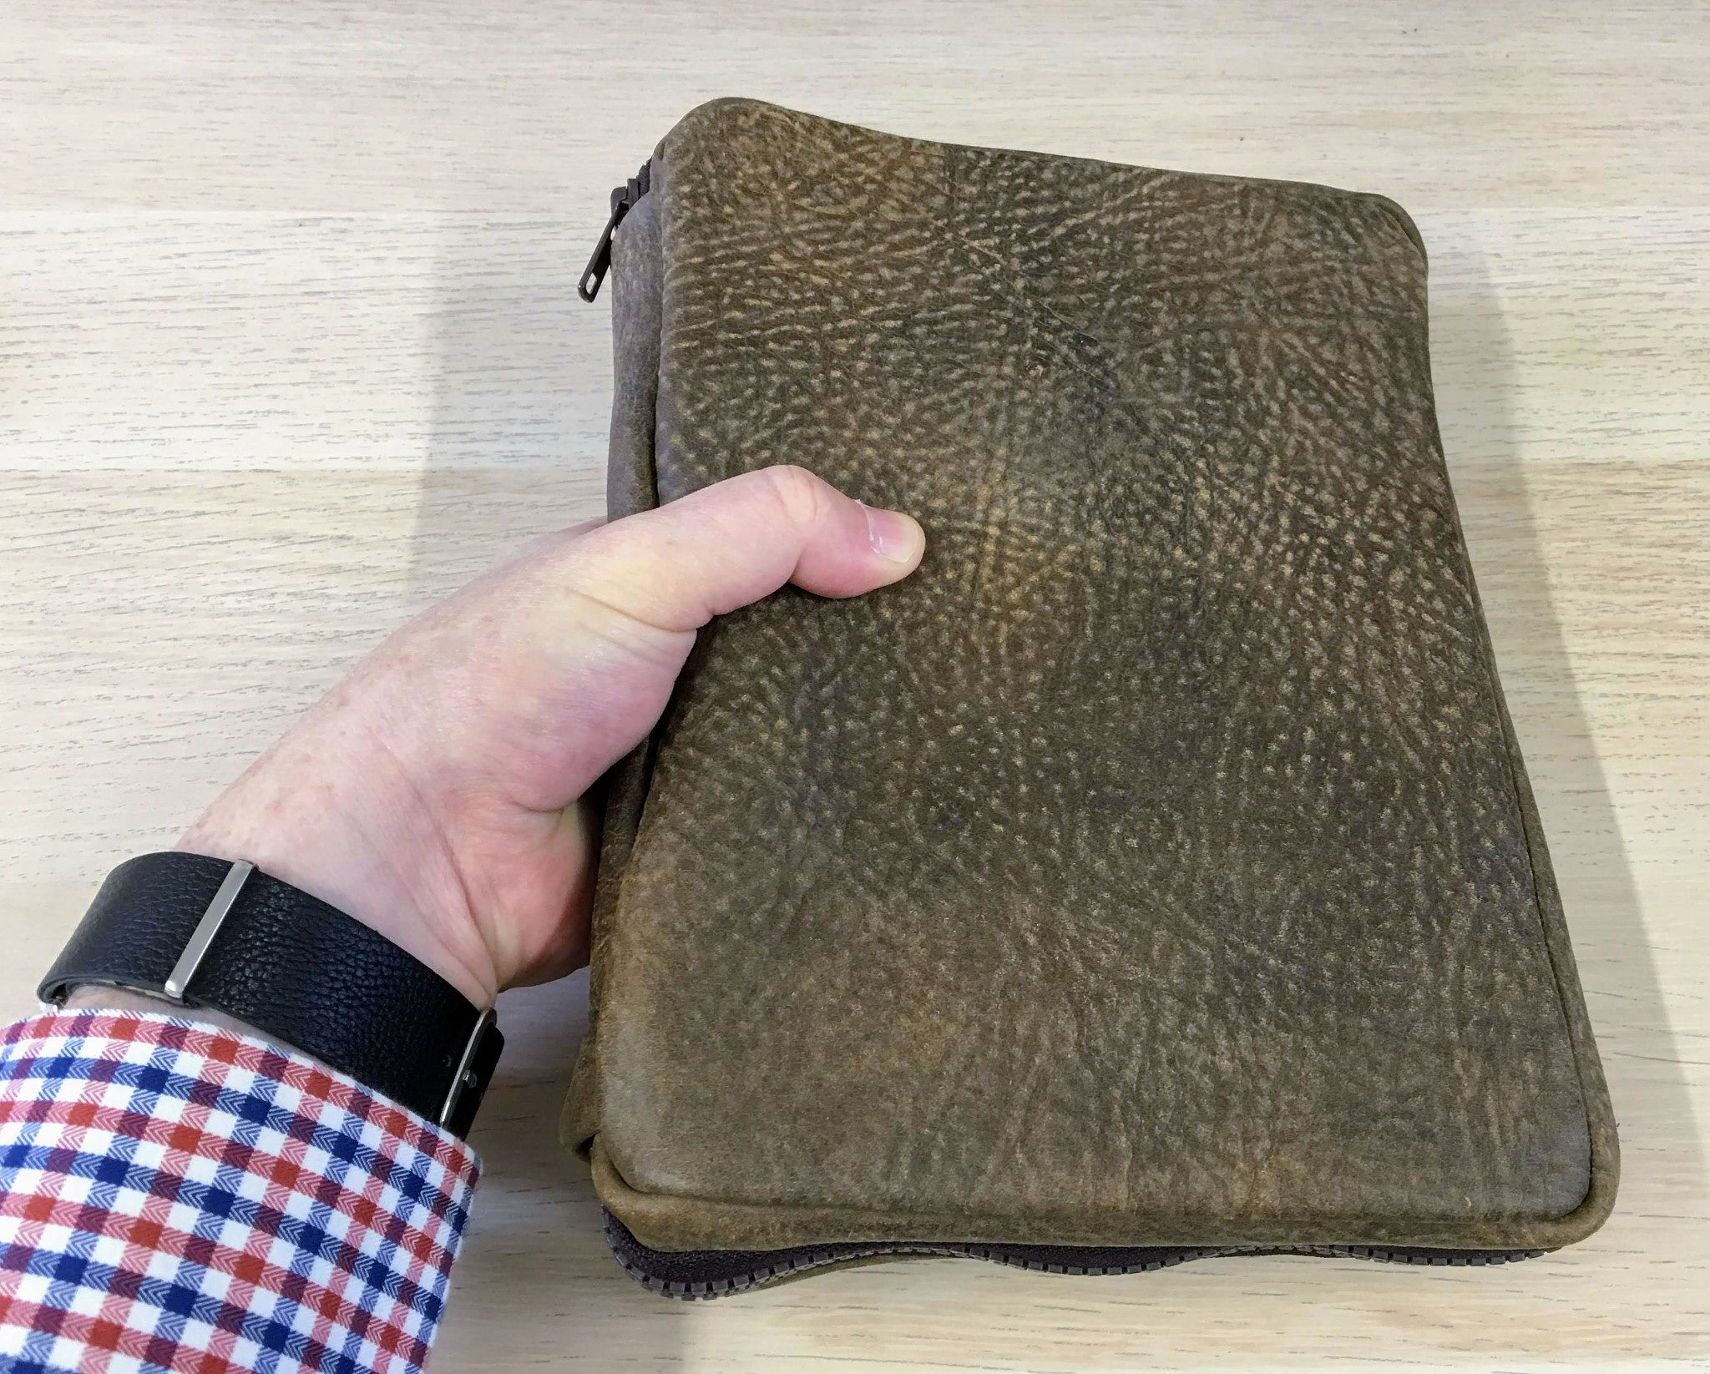
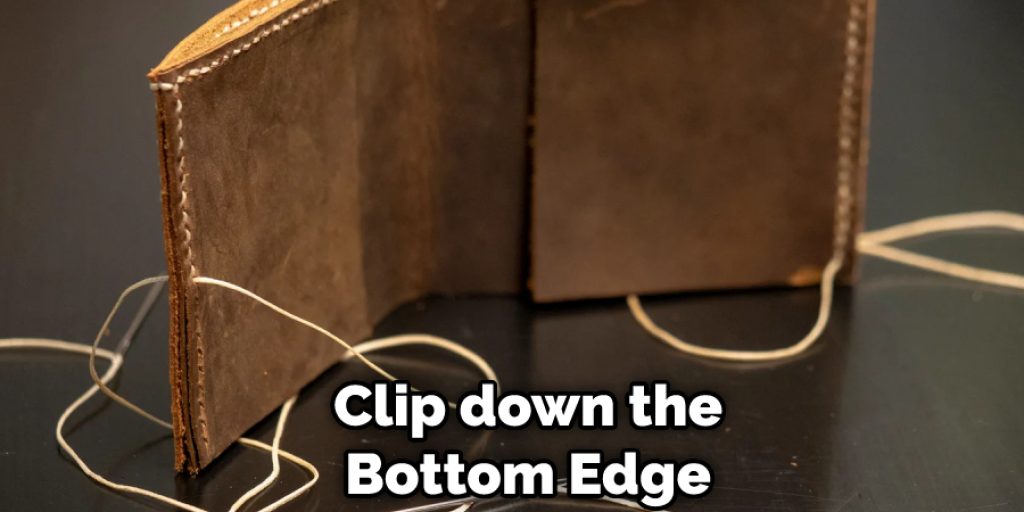
Switch and clip:
Clip down the bottom edge, take a right out there on the case, and you’re all lined to keep your mobile and earphone in. Secure, reliable, and smooth.
Method 3
The Body interface:
Start with a dense, robust interface (I wasn’t using the iron-on kinds). Gauge 1 in from the edge, and draw a line through. Position your 1/2 inch smartphone down the row, and weigh 1/2 in on both sides. Label the mobile boundaries across. The vertical line inside (left hand in my picture) should act as the bending row for creating the other half of the interfacing structure.
Drop the screen, and fold down the line. Split the body to the interface, then unravel it. First, fold down the 1 “thread on the edge of the labels interfacing; this edge is the edge of the mobile case—knot down this row.
The External Cover and the Flap:
Then it’s appropriate to do the mobile case flap. Cut a dense layout rectangular as large as the mobile cover would be (half the width of the interfacing body) and about 3 inches long. Cut off the outer cloth and design an iron-on of the same size as the rectangle of the cover. Attach the device onto the outer cloth, then add this part onto the dense flap portion.
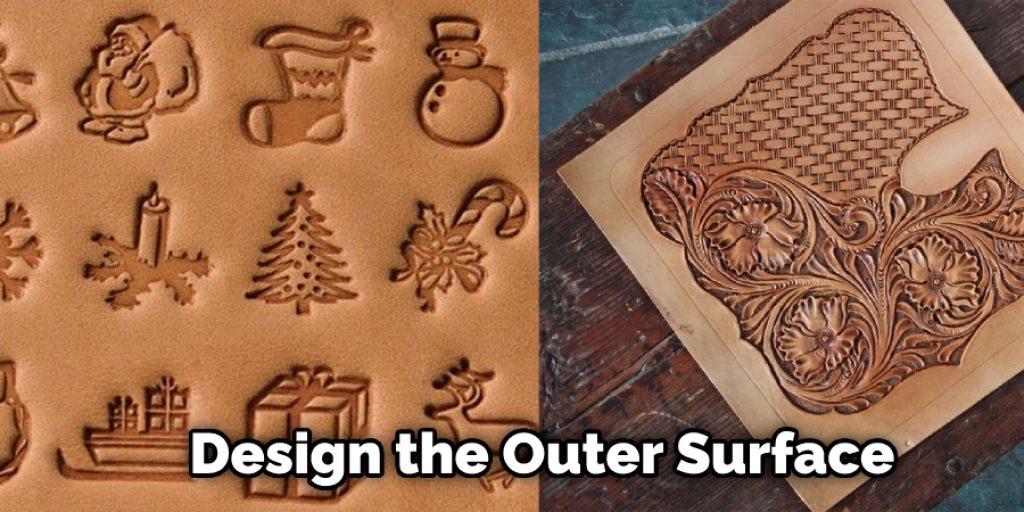
The mobile cover’s structure cut out the outer cloth and iron-on design, which is a little broader and more significant than the heavy interfacing frame you previously created. Iron the design to the outer surface but do not attach the cover onto the dense body only.
Sewing on the Flap:
Last, pin the flap onto the interface structure edge. The photos will look plus side-down when you’re using printing of frames on it. Position the 1/2 “flap from the side, and stitch.
This is a tutorial on how to make a pillowcase. First, you need to hem the fabric on the interfacing structure. Then, you need to stitch up one end of the fabric. Next, you need to turn the cover over to the device. Part of the outer cloth will remain over the sides. Finally, you need to heat from inside the case with any of these flaps and stitch along its sides.
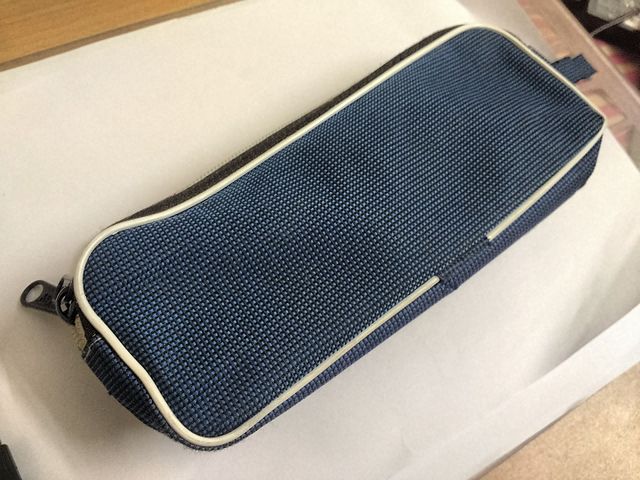
To build Pouch:
Fold the part in two, thread around the side, then the edge. Suddenly you’ve got a purse! You’re done!
Method 4
You will require:
- 2 x fat quarter’s sets, 45.5 cm x 11.5 cm parts.
- (It is a thin fat quarters x 11.5 cm corner-length).
- 2 cm thick Velcro shaped into pieces measuring 2 x 10.5 cm.
- Keyring.
- Ribbon 10 cm, or webbing.
- Stitching machine.
- Thread.
- Pins.
- Measuring tape or ruler.
- Pen or pencil on the outline.
- Iron
- Position and lock the Velcro on both layers’ right sides 1.5 cm away from the zigzag stitch on the narrower (top) edges and adjacent to the bare edge
- Stitch in package form across the Velcro. Stitching as near as you can to the side of the Velcro, but make sure you capture anything!
- Sew the top edges by putting the right sides of the fabrics together. The cloth that is supposed to be on the bag’s exterior (not the lining) makes the Velcro edge upside down. On the other hand, the padding has Velcro. Stitch a patch over this upper raw edge with a surface width of 0.5.
- Activate the seam so that both cloths are at separate edges. Fold-fabric edge 22 cm along with the correct sides to follow the seam, which leaves the overlay at the peak (there seems to be a flap outline at the peak, so that’s right!). Push the edge pieces down and stitch with a minimal 0.5 border allowance.
- Now stitch the top box, again along with the side panels, causing a small difference of 3-4 cm, similar to the real top edge.
- Use this little distance to switch the entire thing around and push it pleasant and smooth. Move the center of the exterior mesh covering.
Suggestion: Do not over-press Velcro – whenever you need to, use a pressing cover or fabric waste! )
- To build a circle, bring your key ring and move the string via the narrow tightening gap. Flip the raw ends of the string loop via the hole you used to insert it and tie it as smoothly as you need to! (Hand-stitch it while you’re thinking about sewing the machine here)
Method 5
Directions:
Create a pattern by following the mobile or smartphone. Fasten your pencil and ensure you’re drawing correctly next to your device. Choose a ruler to label a seam allowance and storage to the cell phone length. I’ve checked my mobile, and it’s nearly 1/2 inch longer, and I’ve applied 1/4 inch on either edge to accommodate it.
That implies that my template seam allowance (just) is 1/2 inch at every side—1/4 inch seams and 1/4 inch length area. This is all right to get a bit of additional on the left and right sides, so I’ve inserted 1/2 inch all the way across.
Using a scale to keep the lines clear, then take the design part off. Create a shorter rectangle for the closing column that used a level. I only placed the sheet on my mobile and calculated how large I expected this to be. You will see that I had changed my opinion and broadened the section a bit.
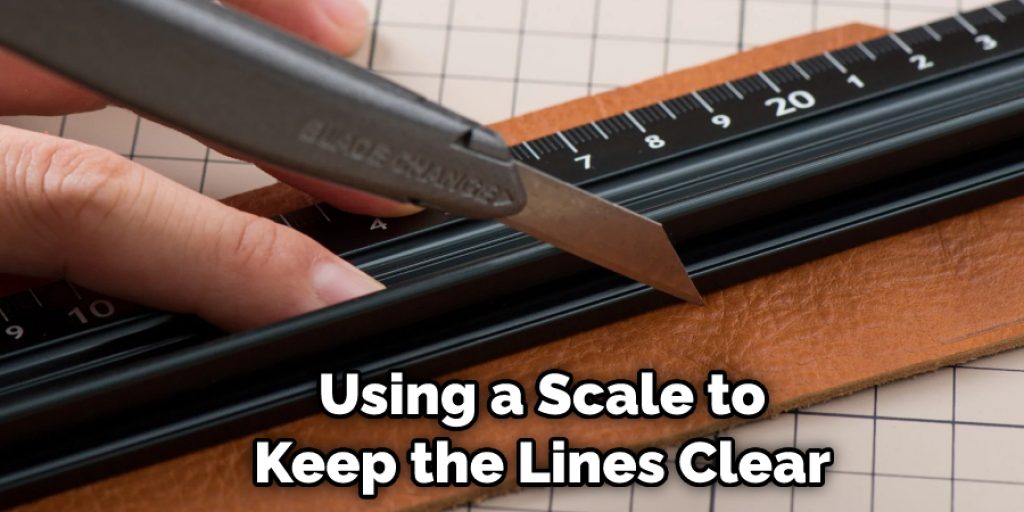
Both edges would require 1/4 inch edges to be applied. I needed to curve the sides, so I used my device’s bent corners to draw the pattern. Cut template back. Cut out two of each from the cloth and interfacing utilizing the designs.
(2 external cloth parts, two covering sections, two tab parts, two panel-sized and two tab-sized interface sections) Iron on the interface as per the label directions. You must place interfacing on every portion of the lining and each tab part.
The parts of the outer cloth may not have to be configured. Stitch a Velcro block in the middle of a single tab portion at the lower part. Please remember these other 1/4 inch seam allowances as you’re doing it. (I could usually choose a white string for this, but this doesn’t display up well in a guide!) Position the two parts of the tab on the right ends. Stitch on three sides with a seam width of 1/4 inch.
Now that your pattern template has been created split two portions of cloth for the body and one part for the purse.
Position a strip of padding face down (right-hand side around each other) on top of the bits of outer cloth and button. Stitch with 1/4 inch seam width around the top bottom. Apply on the other piece of cloth and padding. Each segment does not have a column: close all parts and flat click. Push the edge into a strip of fabric.
Put the two pieces along with the right edges and fit the liner to the interior and exterior cloth to the outer cloth. Pin on the seams to make sure this component is in order. Don’t worry if the edges don’t quite match up – remember; we had some additional seam space anyway. Stitch the two long sides, ensuring the seams line up in the middle. Let loose ends.
Switch the right-hand side out and within, and add the casing. The interface renders it very rigid, but it’s still pliable. Place everything smooth across the edge, particularly where the liner and cloth match. You could even sew tops along the edges, but I didn’t feel it was necessary – and I’m slightly objected to stitching small items!
You’ll have to hand-tie the other half of the straps onto the cover edge. You might stitch it on the front of the device until you put the parts together, but I find it rarely aligns irrespective of how well I tag it. Sewing the little bit by hand is worth it. I used a thread to help tie it tightly.
Today we are going to suggest a unique method of How to Make a Fabric Phone Case, which will be much helpful for the beginners. Position a strip of padding face down.
You may read also –
Nancy Behan
Nancy is an embroidery artist, fashion blogger and a full time editor at DIY quickly. Nancy edits the fashion section on DIY quickly, focusing on the embroidery and cross stitch articles, alongside with fabric and other costume design elements. She graduated from the University of Michigan with a Bachelor of Arts in Art History. She loves to work on her own projects, read books and watch romantic movies in her spare time.


