
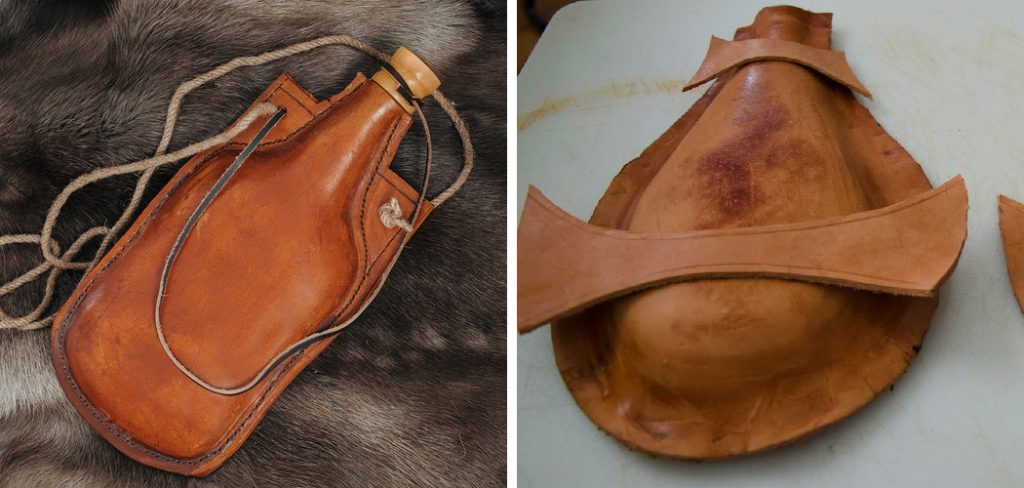
How to Make a Leather Water Skin
Many techniques can be used to make leather water skin. These traditional elements can be used to keep the water inside at a constant temperature. For our readers’ better convenience, we have shortlisted some easy steps that will be useful in how to make leather water skin. This will be much beneficial for beginners to learn new things. The process is simplified below with a proper explanation.
DIY: How to Make a Leather Water Skin
Leather water skins are always made with great care. Before beginning this process, you need some basic knowledge about leather working. You will need some essential equipment for this procedure. First, you will need some leather sheets. This is the core component of this process. Then you will need a leather cutter. You will also need a cutting mat. You must obtain some drawing apparatus to mark the water skin’s border. Then you will need some sewing instruments. To make the water skin firm, you will need strong nylon threads.
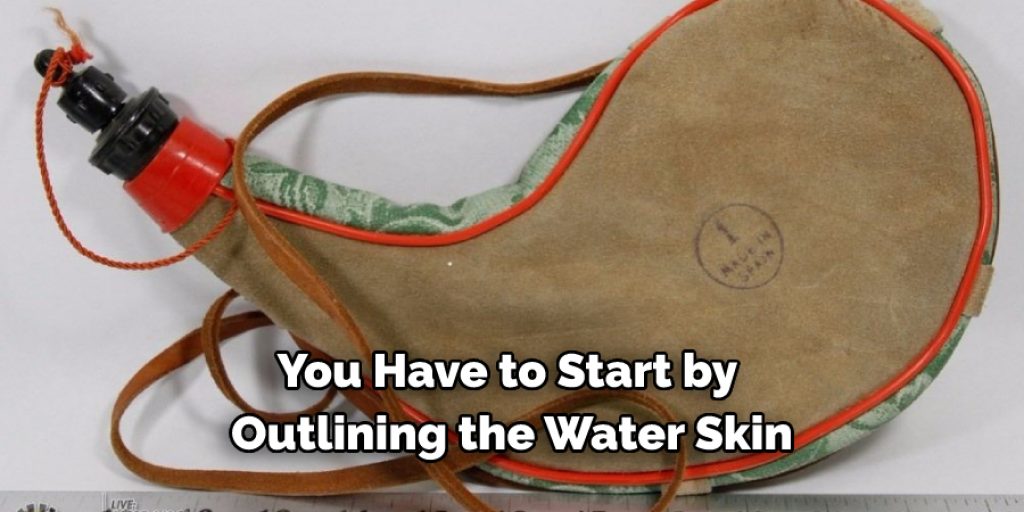
You will also need a leather hole puncher, which is very strong and sturdy. This will allow you to punch holes around the periphery of the leather water skin. You have to use a high-quality upholstery needle for this process. You will also need some bee wax and rice. This is important for making the internal part of the leather adaptable to water. You will also need a strong adhesive for attaching the leather skins. After you have managed all these instruments, you can go for the final process. You have to start by outlining the water skin. For this, you will need some drawing equipment and a cutting mat.
Now you have to take a piece of paper and using a pencil you have to outline the water skin. You can also print the shape from the internet. You must keep some gaps because the leather will need space around the periphery for sewing. Now you have to draw the same diagram on the leather. For this, you can use some tracing paper on the leather sheet and copy the entire diagram. Keeping at least two inches of peripheral space for sewing is better. After you have traced the whole diagram on the leather, you have to cut it out from the leather.
To carve the leather’s shape, you need to fold the leather into two parts. If you have a more prominent leather, you can easily cut it using the leather cutter and turn it into the paper’s size. After drawing the diagram in the leather skin, you must fold the leather sheet into two halves. Then you have to start carving the leather using a leather cutter. You have to be very sincere while cutting the leather skin because the cutter is possibly malfunctioning. For this reason, you need to wear gloves while performing this process.
After you have carved out the diagram from the leather, you have to start the sewing process. Before that, you need to punch holes around the border of the leather. For this, you have to place both the leather skins one above the other, and then you have to punch holes. This is important because all the holes should be aligned for perfect sewing. Once the holes are punched, you have to start sewing the leather skin. But before sewing, you need to attach the two leather sheets using adhesive. This seals the border and will provide much rigidity for sewing. Then you will need to use some clamps to hold the leather coats after applying the glue.

After the leather skins get attached by the glue, you have to start the primary sewing process. For this, you will need a string upholstery needle and nylon threads. Nylon threads are less damaged by water. So this is much important for having sturdy water skin. Now you have to sew around the border of the leather coats, and then you can also use some rings and patches to design the leather coat. After stitching the whole leather skin, you must start the pot’s water adaptability process. For this, you will need some rice and bee wax.
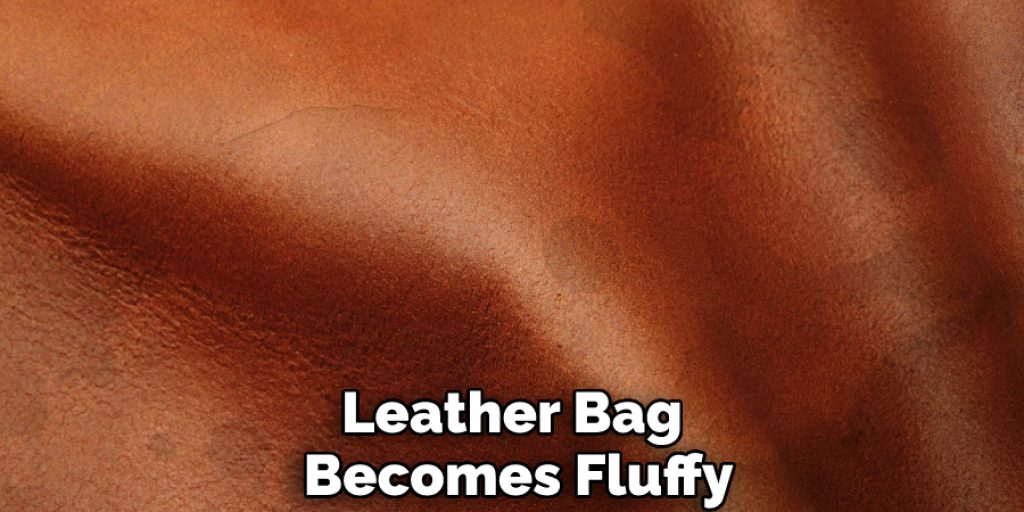
You must keep an opening in the upper end of the water skin. This will be used for pouring the water into the skin. Then you will have to use a cork or lid arrangement in this area. Now you must take some rice and insert it into the vacant space. You have to fill the entire pot with rice and use a rounded surface stick to make the rice compacted inside the jar. This will allow the water was adapting the process to accelerate. After you have filled the total leather skin with rice, you have to close the lid, and then you have to heat the water skin in an oven. You have to heat the water skin at an average temperature of eight degrees.
There is no specific time limit allocated for heating purposes, but you need to check at twenty minutes intervals, and once the leather bag becomes fluffy, you should take it out of the heater. The core purpose of heating the water skin is to enhance the free space inside the pot. After the heating is done, you have to take out the entire rice from the pot, and then you have to start waxing the internal space with bee wax. You need to bring the temperature of the wax down to sixty degrees, then you have to pour it into the pot, and after that, you have to take the wax out. The resin will get solidified, and you will obtain your desired water skin.
You Can Check It Out to Make Leather Look Worn
Conclusion
In conclusion, we hope the technique mentioned here will help prepare a water skin. You can use it during the summer, and this process will make the task much easy. The people interested in DIY activities will enjoy this process, enhancing their skills. Thank you for your time. Have a nice day!
You may Read Also. How to Clean Rough Out Leather
Elizabeth Davis
Elizabeth is a creative writer and digital editor based in the United States. She has a passion for the arts and crafts, which she developed from a young age. Elizabeth has always loved experimenting with new mediums and sharing her work with others. When she started blogging, she knew that DIYquickly would be the perfect platform to share her tutorials and tips. She's been writing for the blog from the beginning, and her readers love her helpful advice and easy-to-follow instructions. When she's not writing or editing, Elizabeth enjoys spending time with her family and friends.


