
How to Make a Paper Cone for Sweets
Making a paper cone for sweets can be done in just seconds and is an excellent way to have easy access to your favorite treats. To make one yourself, fold the bottom of a piece of paper up to meet the top edge. Next, fold over again so that the edges are touching each other. Then, tuck one side into the other.
Next, take either end of your sheet and pinch them together until they meet at the center point on top of your cone shape. Finally, give it some slits along what will now be your opening to insert goodies! You can punch out holes or use scissors if you want more room inside for larger items like cookies or brownies. Read on to know more about how to make a paper cone for sweets for your favorite candies and treats.
10 Reasons To Make a Paper Cone for Sweets:
To make a cone, all you need is paper and scissors. Cone hats are really sweet-looking. You can put it in the recycling bin after you’re done with it. You can choose your own colors for your hat. It’s perfect for eating ice cream cones at birthday parties or family gatherings. Here are some reasons why you need to try these amazing DIYs:
1. It’s Cheap:
Making a paper cone for sweets means using whatever kind of paper you want. You don’t have to pay big bucks on special paper!
2. They Look Cute:
These little hats are so cute and easy to make that you’ll get addicted to making more cones as gifts for your friends and family members.
3. They Are Eco-Friendly:
If you have a bunch of extra papers, you can make a cool cone out of them! You can be creative and use different colors too. This is a great way to recycle paper.
4. Tasty Cones Help Kids With Easter Egg Hunts:
Easter egg hunts are fun for the whole family, but if you want to make it more memorable, you need to include some special treats like candy and eggs. In addition, we recommend making cone hats for an interesting take on a traditional Easter tradition.
5. They’re a Great Party Activity:
Kids love making these cones so much that they may not want to eat them once it is all done. Cone hats are adorable, and kids will have fun making their own cone hats for birthday parties or at home. So surprise, So surprisingly with some sweet DIYs this Easter!
6. They’re Decorative:
Cone hats are a great way to be ready for Easter this year. Get the kids involved to help with decoration and give everyone a special gift that they will remember. You can hang small bucket hats around your home or even over Easter eggs.
7. It Folds Up So You Can Take it Anywhere:
You won’t have to worry about putting it in your bag because the cone folds up, so you can take it anywhere without adding too much bulk.
8. It’s Perfect for Parties:
If you plan an Easter party at home this year, ensure it includes a fun activity like making cone hats from paper. You can give them to children as gifts or bring them out at the end of the party to distribute goodies from hard-to-open plastic containers.
9. Cone Hats Are Trendy:
People love going old school with things, and making paper cone hats is definitely a throwback to the past. However, you can turn your candy into something fancy by making these stylish cones for gifts or just for decoration. It’ll give you a break from the constant barrage of holiday sweets while adding something fun to Easter.
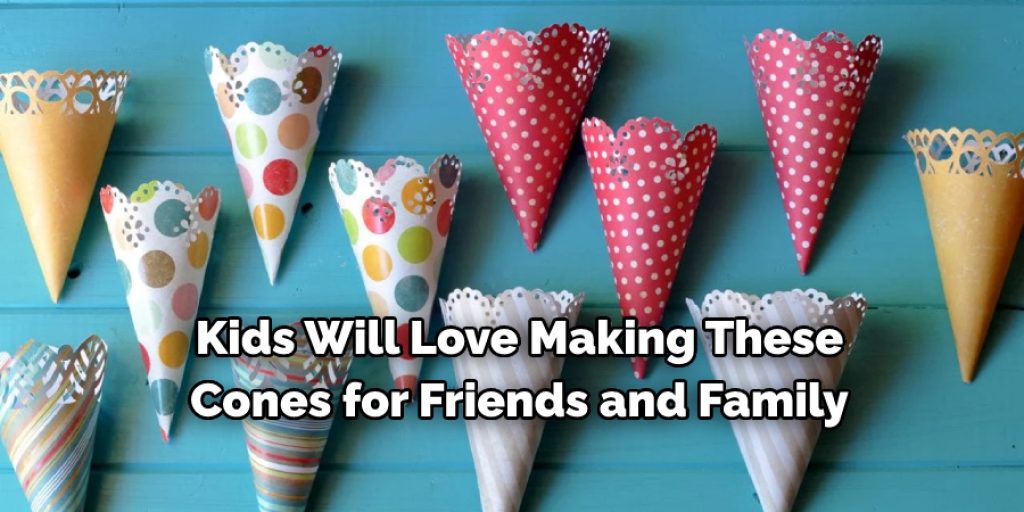
10. It’s Fun to Make:
Making cone hats is super easy, and everyone can enjoy the fun! Kids will love making these cones for friends and family or even using them as Easter decorations at home. You’ll have some great new memories every time you make another paper cone with your kids.
Things You’ll Need:
- A sheet of paper
- Parchment Paper
- Scissors/Paper Cutter
- A pen or pencil
- Ruler
Instructions: How to Make a Paper Cone for Sweets
Step 1:
Take your paper and lay it on a flat surface with short sides at the top and bottom. Then, fold the top corners down until they meet the center line. After that, take the bottom corners and fold them up to meet the top corner folds.
Step 2:
After that, please place one of the halves on a flat surface with the long side at the top and bottom. Then, fold both sides inward until the crease reaches about half an inch from the centerfold.
Step 3:
Take your paper and place it on its short side, next to the parchment paper with half an inch between them. Then, fold the top corner down until it meets the un-creased section of parchment paper. After that, hold down the crease and gently pull back, so you create a sharp fold.
Step 4:
Next, place your parchment paper on a flat surface, its long side at the top and bottom. Then, take your ruler and push it down along all of the creases to create clean folds. After that, take one of the sides and fold it inward until it meets the center line about half an inch from the top. Then, do the same with the other side.
Step 5:
Take your paper and put it on a flat surface, so the long sides are at the top and bottom. Then, fold both sides in until their creases meet right above where you initially folded down the corners of your original sheet of paper. Repeat this step for both sides.
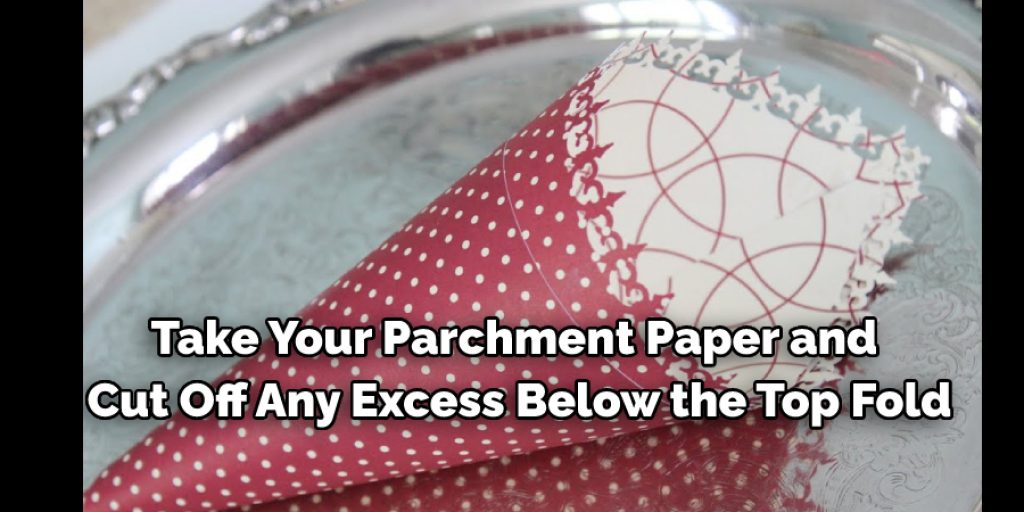
Step 6:
Take your parchment paper and cut off any excess below the top fold. Then, please take one of the long sides and fold it inward until it meets the center line about half an inch from the top or bottom. After that, do the same with the other side.
Step 7:
Lastly, Unfold your paper and lay it down on a flat surface, so its short sides are at the top and bottom. Then, fold both corners inward until they meet between their adjacent center lines. After that, take one of the strips and place it across the folds you just created. Then, take the other strip and lay it over the first one so both folded sections touch.
Conclusion
The paper cone is a quick and easy way to serve candy. Paper cones are also recyclable, which makes them eco-friendly as well! You can make your own sweet treats in bulk by using a pastry bag fitted with a large round nozzle. Fill the pastry bag about halfway with frosting or icing before squeezing it into the bottom of the cone. Add some sprinkles on top for an extra decorative touch.
If you want to add more than just one flavor inside your cone, use differefrosting colorsng, so they don’t mix when poured inside the paper cones shape. When making multiple flavors at once, I recommend starting each flavor off separately and then pouring them all into one larger bowl. We hope this blog post on how to make a paper cone for sweets was helpful. If you want to see more, feel free to check out the rest of our blog.
Check out Our article – How to Cut Pine Cones in Half
Elizabeth Davis
Elizabeth is a creative writer and digital editor based in the United States. She has a passion for the arts and crafts, which she developed from a young age. Elizabeth has always loved experimenting with new mediums and sharing her work with others. When she started blogging, she knew that DIYquickly would be the perfect platform to share her tutorials and tips. She's been writing for the blog from the beginning, and her readers love her helpful advice and easy-to-follow instructions. When she's not writing or editing, Elizabeth enjoys spending time with her family and friends.


