
How to Make a Paper Football Field
This post will show you how to make a paper football field. This is great as a project for kids and adults alike! We’ll start with the easy instructions first, but if you want more of a challenge, skip down past them to find out how to make your own set of professional-looking stencils. After that, we’ll teach you some cool tricks about playing football on your new paper field.
Use thick pieces of card stock paper for the goals and thin sheets for the playing field. The goalposts should be about 4 inches high by 3 1/2 inches wide. They can be angled slightly inward towards each other at a 45-degree angle to keep them from tipping over when a ball from either side hits them. Read on to know the step-by-step instructions:
What is a Paper Football Field?
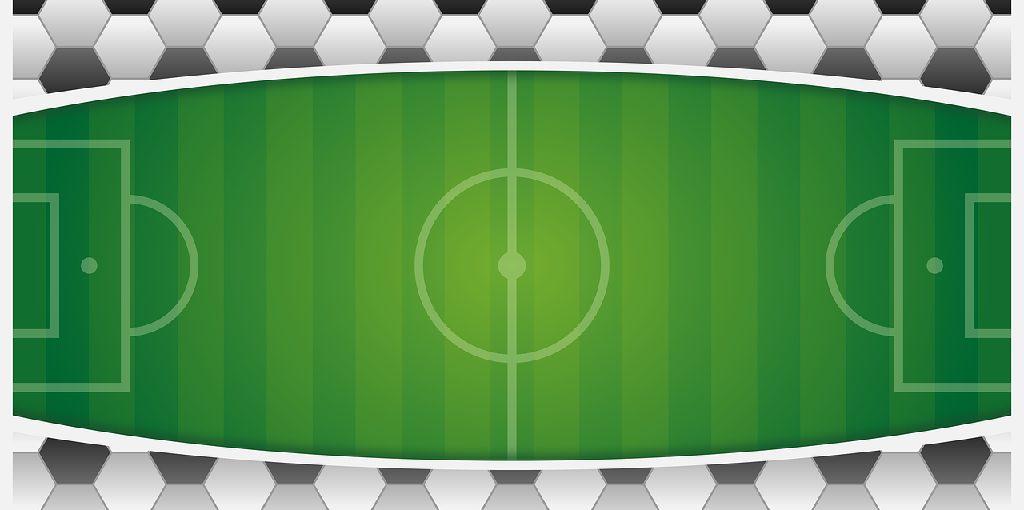
A paper football field is a piece of paper (or card) laid out in the pattern used on American Football fields. The goal of paper football– also known as “Foosball” is to have your team’s players reach the other end line, which is impossible without first having them make it through your opponent’s defense. It is commonly played outside in the fresh air at lunch, recess, or other free time.
What Do You Need to Make a Paper Football Field?
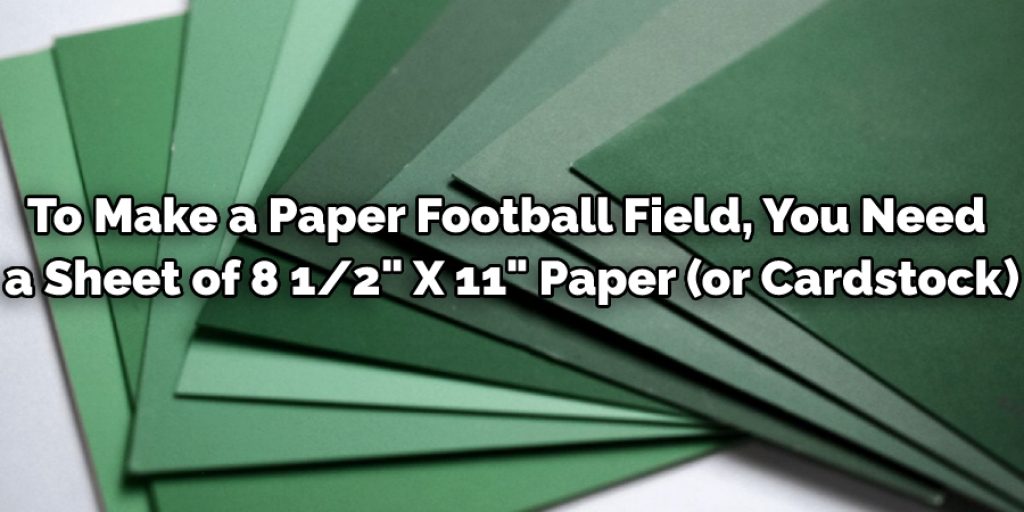
To make a paper football field, you need:
- A sheet of 8 1/2″ x 11″ paper (or cardstock)
- A pair of scissors
- Dice or something to act as dice.
- A pencil or pen for marking things on the paper
Instructions: How to Make a Paper Football Field
Step 1:
Cut out the shapes of the end zones by folding one piece of printer paper in half lengthwise with the fold on top. Take another piece of printer paper and do the same with it so that both pieces are now folded in half.
When you open the two pieces up, they should be mirror images of each other. Fold them together again lengthwise, with the folds on top. This is where you will cut along the lines. Make sure to cut at least one inch extra around each end zone shape (the “X”), or else they won’t be big enough.
Step 2:
Take one end zone shape, unfold it and place your open hand into the pocket of the end zone. Trace around your palm with a pencil as shown below to make a circle at each end that you cut out in the previous step. Cut these circles out, taking care not to cut through both layers of paper.
Step 3:
Take the next end zone and place it face down on the one you just cut out so that there are now three layers. Fold the bottom edge up to meet the top side, as shown below. Then fold each of these sides in toward your center line by 1/4 inch (or whatever amount you choose). Cut out these folds. This is called a “crease fold.”
Step 4:
When the crease folds have been cut, open up each end zone and refold them flat, as shown below. Next, fold all four sides of both end zones inward by 1/4 inch (or whatever amount you choose). Ensure that the top layer folds of the two end zones are the same length.
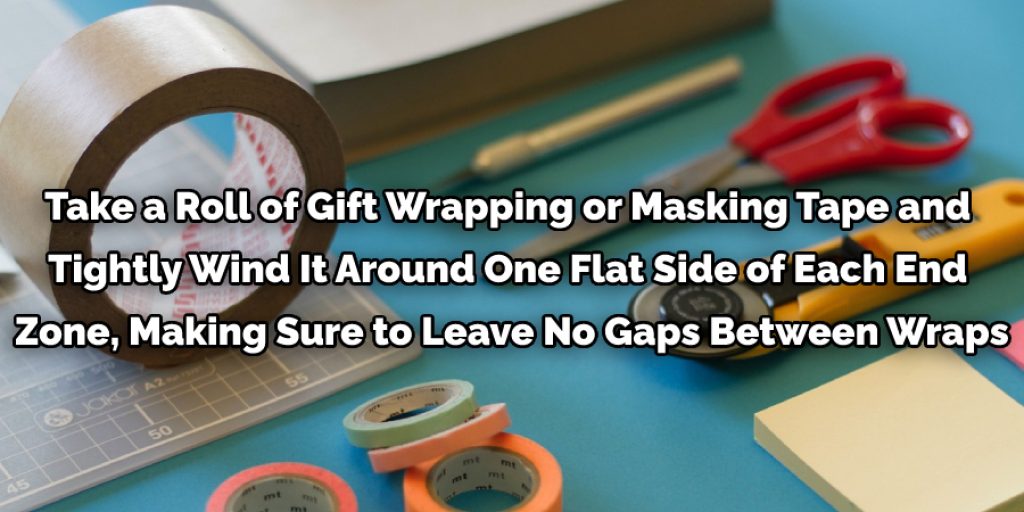
Step 5:
Take a roll of gift wrapping or masking tape and tightly wind it around one flat side of each end zone, leaving no gaps between wraps. If you want, you can also add a layer of clear tape on top of the tape used to make the end zones.
Step 6:
As shown below, take one long strip of paper and attach it to one flat side of your end zone. This strip’s length should equal the width of your end zone plus another two inches for a seam allowance. Attach any other desired pieces of paper before you take the end zone to fold.
Step 7:
Fold your paper football field in half length-wise with the longer strip of paper placed on the inside and crease fold each side outwards 1/4 inch at the top and bottom of each edge.
Fold these folds back towards your center line so they are not sticking out past your crease folds. Next, fold the bottom edge up to meet the top right corner, as shown below. Then fold each of these sides in toward your center line by 1/4 inch (or whatever amount you choose).
Step 8:
Tape along all four edges using one long strip of tape. You may want to add a second layer of tape on top of the first to make it more secure.
Step 9:
Take your paper football field and carefully cut a slit across the center of each end zone by making three cuts, as shown below. These slits should be 1/4 inch from the edges but no closer to avoiding tearing. The first two cuts are the most difficult because you need to cut through at least one flat layer of paper and whatever is on top of it, so be patient with yourself.
Step 10:
Fold the two end zones together along the centerline slits you just made to create your football field. Attach any other desired pieces of paper by layering them over each other at the crease folds near these slits before folding the end zones.
How to Make a Football Field Goal with Paper?
Making a football field goal with paper can be an easy and fun way to practice your kicking skills. All you need is one sheet of paper, a flat surface, and a pair of scissors to start! First, fold the paper into a triangle shape, ensuring the triangle points are lined up straight.
Next, cut three small horizontal slits in the paper right below where the triangle points meet to create “goal posts”. Finally, stand at least four feet away from your goal post and kick the paper football towards it. With some practice (and a lot of luck), you’ll soon be able to make that perfect field goal!
Conclusion:
Paper football is a great game to play with your friends and family. It’s easy, inexpensive, and perfect for getting outside during these hot summer days! If you want more ideas on how to make a paper football field, we have an article just for that.
We hope this post has given you enough information on how to make a paper football field. If not, please feel free to ask questions in the comments below; we will happily answer them. In addition, if you have any other creative ideas for how best to make a paper football field or if any variations of it should be added here, please let us know!
You May also read – How to Make a Paper Tree for Classroom Wall
Elizabeth Davis
Elizabeth is a creative writer and digital editor based in the United States. She has a passion for the arts and crafts, which she developed from a young age. Elizabeth has always loved experimenting with new mediums and sharing her work with others. When she started blogging, she knew that DIYquickly would be the perfect platform to share her tutorials and tips. She's been writing for the blog from the beginning, and her readers love her helpful advice and easy-to-follow instructions. When she's not writing or editing, Elizabeth enjoys spending time with her family and friends.


