
How to Make a Paper Tree for Classroom Wall
The first day of school is always exciting, but the classroom walls can be a little boring. So why not try something new this year and create a paper tree to decorate your room? This project only takes an hour or two, and it’s fun for kids of all ages!
Paper trees are a fun, easy, and economical way to brighten up the room, and students enjoy making them. This post will give you some ideas for how to make a paper tree for classroom wall that can be used in your classroom or home!
Summary: In this creative tutorial, we will show you how to make a paper tree for your classroom wall. This simple decoration is easy to make and can be customized to fit your classroom theme or personality.
1. Start by printing out a copy of the template provided.
2. Cut out the pieces and assemble as shown.
3. Hang the tree on the wall using screws or nails.
4. Add somenamings to the tree as desired, such as Christmas ornaments, school supplies, etc.
5. Enjoy your new classroom decoration!
8 Creative Ideas to Make a Paper Tree for Classroom Wall
A paper tree is a great way to add life and character to your classroom. The project can be done on the weekend with little effort. Here are 10 creative ideas to make a paper tree for the classroom wall.
1. Paper Recycling Tree
The paper recycling project is designed to help protect the environment. Students learn about recycling and how it can help the environment. They also learn how to recycle paper at school.
2. A Green House Tree
This green tree shows how we can create an environmentally friendly environment by planting trees and saving energy efficiently. Are you living in a hot climate? Then, this could be the perfect tree for your classroom.
3. Colorful Tree
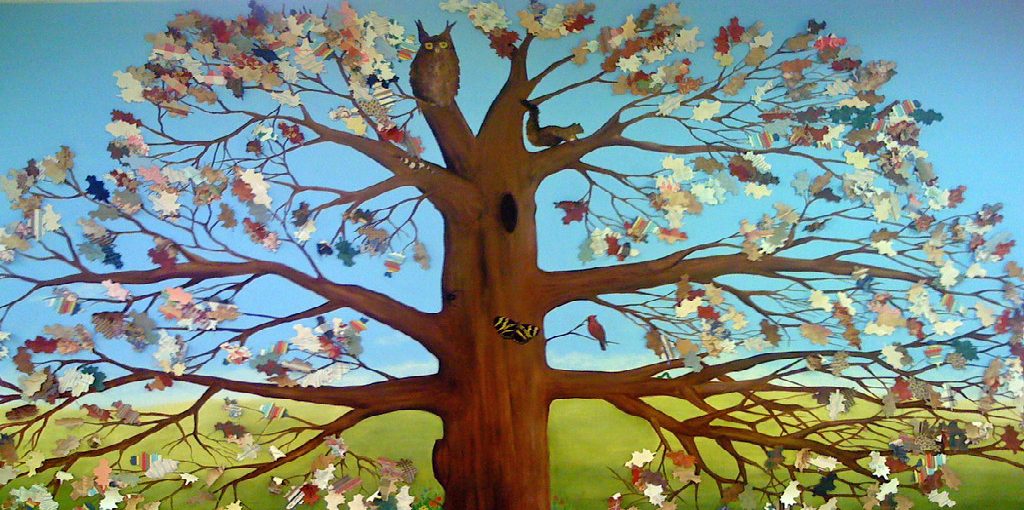
A colorful paper tree can make a great focal point for the classroom walls. It’s quite simple to make as well! If you have plenty of colors at hand, go ahead and put some fun into this project by making different color combinations of trees.
4. Handmade Tree
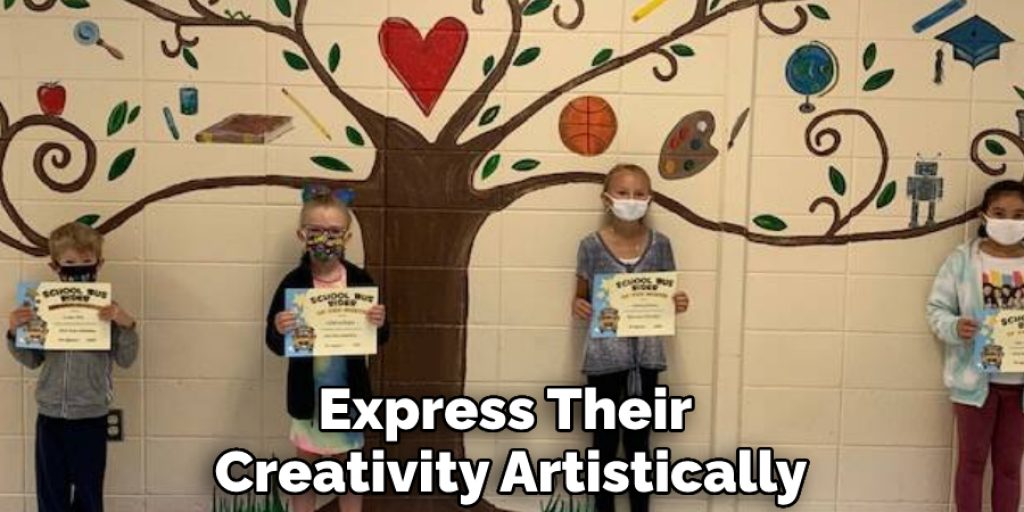
As the name suggests, this is a handmade paper tree you make yourself! It’s fun and engaging for kids to make it themselves with your guidance and supervising eyes; they feel proud once they finish making it. This project also allows children to express their creativity artistically.
5. An Origami Tree
Origami is the traditional Japanese art of paper folding and a great way to teach kids about recycling! This origami tree can be easily made from scrap paper in your classroom. It’s so simple that students as young as kindergarten level can make it by themselves with some help from you.
6. A Dried Leaves Tree
This paper tree is simply a dried leaves tree. It’s simple and engaging for children to make it themselves and can be used as a display item in your classroom or hung on the wall. This idea also teaches kids about environmental conservation by letting them know that they shouldn’t throw away leaves carelessly!
7. Tree of Seasons
This tree shows the passing of time and how we are changing with it. It’s best to use this tree in kindergarten or any other age-appropriate classroom where you can teach children about seasons, climate change, etc. This project will also encourage your students to participate in class activities, unlike some boring projects that you can never get them to do.
8. Paper Tree with Leaves
Your students themselves make this tree’s leaves! Your students will love the idea of making their own artwork on a classroom wall, and you would also enjoy creating colorful artwork for your walls! It’s easy enough that even early learners at the kindergarten level can complete this project with your assistance.
Required Supplies:

- Three sheets of black or dark-colored construction paper
- One sheet of white paper (construction paper works great)
- Paint, markers, and crayons to decorate the tree
- Tacky glue, gluestick, or paste
- Scissors
Instructions: How to Make a Paper Tree for Classroom Wall
Step 1: Begin with the white sheet of construction paper; cut out a large triangle for the top of the tree. Cut out smaller triangles or strips to stick to the outer edge, depending on how many layers you would like your tree to have.
Step 2: Once you have cut out the basic shape, decorate it with paint, markers, crayons, etc., to make a decoration of some sort. You can also leave it blank if you would like.
Step 3: Cut out as many smaller triangles or strips for layers and sticky-tack them to the edges of your large triangle layer.
Step 4: Next, cut a long, thin strip of construction paper to use as the trunk for your tree. Add decorations or paint to make it look like bark.
Step 5: Glue the layer triangles/strips onto the large triangle. Take another strip of white paper and glue that around the outer edge of your first layer, creating the look of a trunk.
Step 6: Continue to glue on layers and pieces until you have a full tree showing no white. Add more decorations for effect if desired!
Step 7: Glue your trunk strip onto the end of your tree. To hang, attach a string or ribbon to the top edge of your large triangle and weave it through the layers of your tree. You could also create a hole in the top and hang it with a nail.
Step 8: You are now finished! Hang your creation on the wall or door of your classroom, home, school, etc.
5 Tips on Making Paper Tree for Classroom Wall:
- Measure the wall you want to put your tree on and ensure it’s longer than 5ft and shorter than 7 ft. You do not want to end up with an out-of-balance tree.
2. Find a box so that when you roll the paper around the box, it will be roughly 5-7 in wide (or bigger if the box is bigger, but you still want to keep it 5-7 in), put cardboard around the sides, so it holds its shape as you roll paper away from the box.
3. Get brown or white paper, depending on your wall color. Assuming that your wall is a light color, I would get the white paper.
4. Now, cut the paper into squares that are about 1 ft by 1ft. Make at least 30-40 squares if you want to make a full tree or less for a half tree. The more full your tree is, the fuller and prettier it will be.
5. Start rolling one square around the box and glue it down when you get to the end of the box. Continue until the tree is done, and if any gaps appear, fill them in with smaller squares.
Conclusion:
After reading this blog post on making a paper tree for a classroom wall, you’re now ready to hang your paper tree on the classroom wall! Make sure you have all of your materials and a helper. Have them hold up the branch while you attach it with string or tape.
Once in place, tie another piece of string around each end to be used as handles for hanging later. Now take some time to find just the right spot for your beautiful paper tree before attaching it permanently to the wall. Congratulations, you’ve completed this project successfully!
You may also read – How to Dry Paper Mache Quickly
Elizabeth Davis
Elizabeth is a creative writer and digital editor based in the United States. She has a passion for the arts and crafts, which she developed from a young age. Elizabeth has always loved experimenting with new mediums and sharing her work with others. When she started blogging, she knew that DIYquickly would be the perfect platform to share her tutorials and tips. She's been writing for the blog from the beginning, and her readers love her helpful advice and easy-to-follow instructions. When she's not writing or editing, Elizabeth enjoys spending time with her family and friends.


