How to Make a Pillow Insert
Creating your own pillow insert can be a rewarding and cost-effective project that allows you to customize your home decor. Whether you’re looking to refresh an old pillow cover or create something entirely new, making a pillow insert gives you complete control over the size, shape, and fill material.
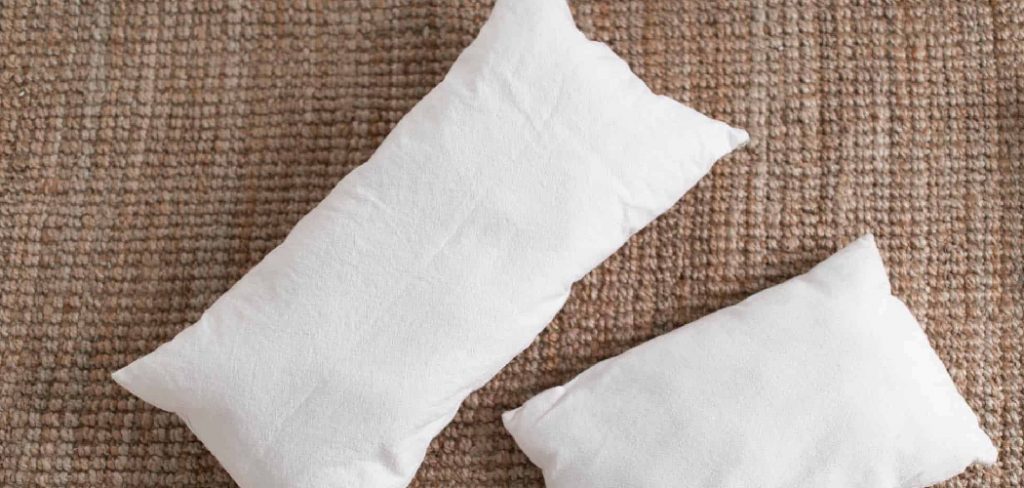
This guide on how to make a pillow insert will walk you through the essential steps and materials needed to craft a perfect pillow insert that suits your style and comfort preferences. With just a few supplies and some simple techniques, you’ll be on your way to adding a personal touch to your living space.
Why Make Your Own Pillow Insert?
There are several reasons why making your own pillow insert is a great idea:
Customization:
By making your own pillow insert, you have the freedom to choose the size, shape, and fill material that best suits your preferences.
Cost-effective:
Purchasing a pre-made pillow insert can be expensive. Making your own allows you to save money while still achieving the same quality.
Eco-friendly:
By using materials that are easily accessible or upcycling old fabrics and fillings, you can reduce waste and do your part in protecting the environment.
Materials You Will Need
To make your own pillow insert, you will need the following materials:
Fabric:
Choose a sturdy and durable fabric that is appropriate for your desired use. Cotton, linen, and canvas are popular choices.
Sewing machine:
While hand sewing is an option, using a sewing machine will make the process faster and more efficient.
Thread:
Make sure to use a thread that is strong enough to hold the weight of the fill material.
Scissors:
A good pair of fabric scissors will make cutting your fabric easier and more precise.
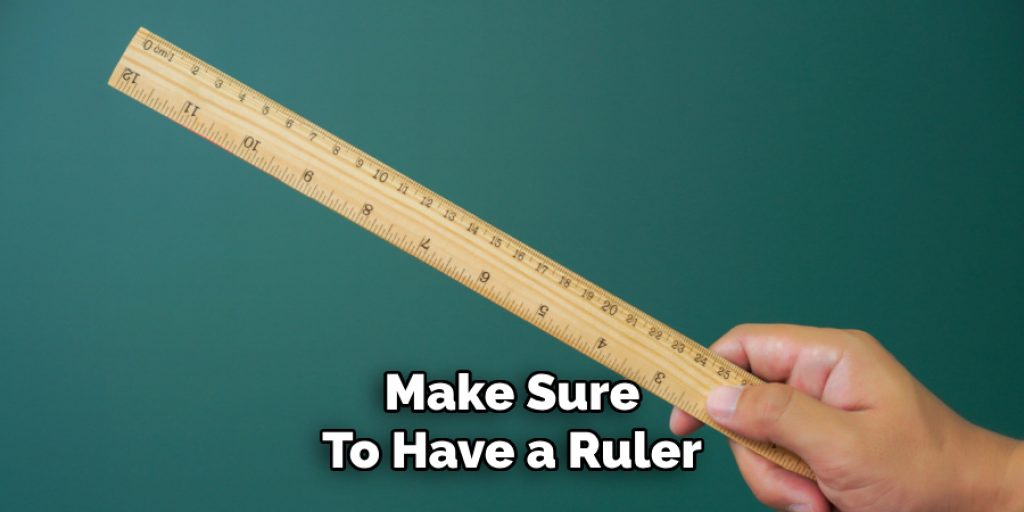
Ruler or Measuring tape:
Accurate measurements are crucial for creating a well-fitted pillow insert, so make sure to have a ruler or measuring tape on hand.
Pillow stuffing/fill material:
Choose from a variety of options such as polyester fiberfill, foam inserts, down feathers, or even old clothes or fabrics.
Pins:
Pins will help keep your fabric in place while sewing and ensure that your insert stays aligned.
9 Step-by-step Guidelines on How to Make a Pillow Insert
Step 1: Measure Your Fabric
Begin by determining the size of your pillow insert. Measure the width and height of your desired pillow cover and add an extra inch to each measurement for seam allowance. For example, if your pillow cover is 18 inches by 18 inches, you should cut your fabric to 19 inches by 19 inches.
Lay your fabric flat on a sturdy surface and use a ruler or measuring tape to mark the dimensions clearly. Once marked, carefully cut your fabric to ensure you have a clean edge and adhere to the measurements you’ve established. This step is crucial for ensuring a snug fit for your pillow insert inside the cover.
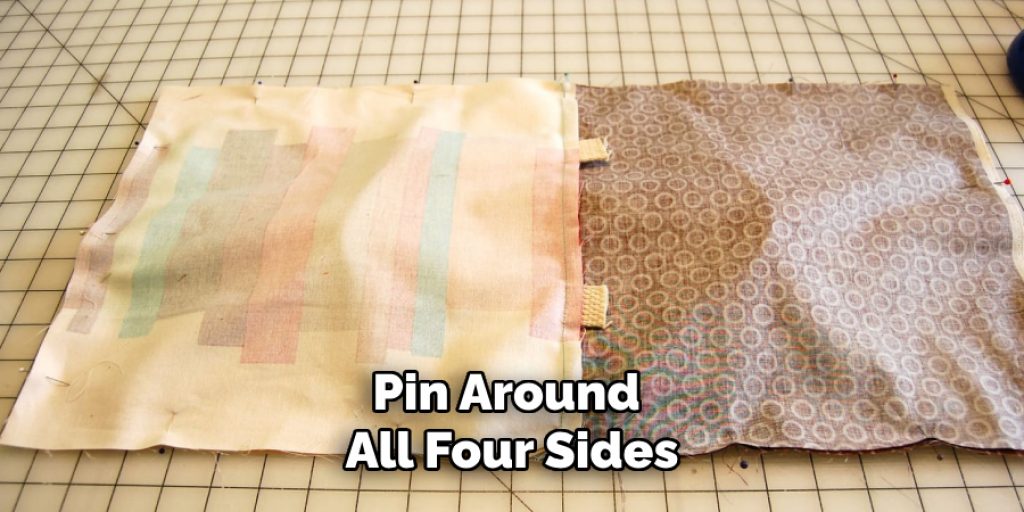
Step 2: Pin the Fabric
Once you have cut your fabric to the appropriate size, it’s time to prepare it for sewing. Begin by placing the two pieces of fabric together, with the right sides facing each other. This placement will ensure that the seams are hidden once the pillow insert is complete. Using your pins, secure the edges of the fabric to prevent any shifting during the sewing process. Space the pins approximately 3 to 4 inches apart to maintain even tension throughout the fabric.
Be sure to pin around all four sides, leaving an opening of about 6 to 8 inches on one side. This opening will allow you to turn the insert right-side out and add the fill material later. Once pinned, double-check the alignment of the edges to ensure a clean and professional finish.
Step 3: Sew the Edges
Using your sewing machine or a needle and thread, begin sewing along the edges of your pinned fabric. Start on one side of the opening and work your way around until you reach the other side of the opening. Be sure to backstitch at both ends to secure your stitches.
When sewing corners, make sure to pivot at a 45-degree angle to create sharp and clean corners. This technique will also prevent any gaps or bunching in the seams. Once you’ve completed all four sides, reinforce your stitches by going over them again.
Step 4: Trim Excess Fabric
After sewing the edges, it’s important to trim any excess fabric to reduce bulk and ensure a neat finish. Carefully cut away the corners, and do not cut into the stitches, as this could cause unraveling. Trimming the fabric at the corners will help create sharper edges once the pillow insert is turned right-side out. Additionally, you may want to trim the seam allowances along the edges to about a quarter of an inch.
This will make the pillow insert less bulky and easier to fit into the cover. Once you’ve finished trimming, gently turn the fabric right-side out through the opening, ensuring all corners are pushed out fully for a clean appearance.
Step 5: Fill the Insert
Now that your fabric is turned right-side out, it’s time to add the fill material. Depending on the size and shape of your pillow insert, you may need to use more than one type of filling material for optimal comfort and support. For example, using foam inserts as a base and topping it with down feathers can create a plush yet supportive cushion.
Carefully stuff the fill material into the insert through the opening until you reach your desired level of fullness. Be sure not to overstuff, as this could cause uneven distribution or bursting seams. Once filled, hand-stitch the opening closed using an invisible stitch or ladder stitch for a seamless finish.
Step 6: Fluff and Adjust
Once you have closed the opening, it’s essential to fluff and adjust your pillow insert to ensure it meets your comfort and aesthetic preferences. Start by gently kneading and massaging the pillow to distribute the fill evenly. This step is crucial, especially if you’ve used different types of filling materials, as it allows for a uniform look and feel.
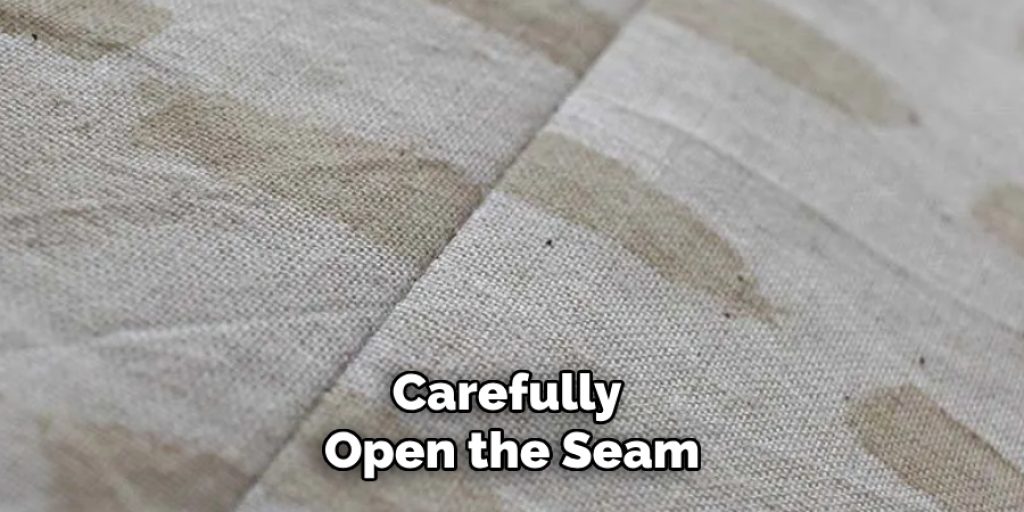
If you find any areas that feel too packed or lumpy, you can carefully open the seam and add or remove fill material as needed. Once you are satisfied with the shape and firmness of your pillow insert, give it a final fluff to enhance its plumpness. Your custom pillow insert is now ready to be placed inside your pillow cover, adding a unique touch to your home décor!
Step 7: Cleaning and Maintenance
Proper care and maintenance are essential for keeping your pillow insert in good condition. If using a foam insert, spot-clean any stains with mild detergent and water as needed. For other fill materials, you can remove the insert from the cover and wash it separately according to the manufacturer’s instructions.
To keep your pillow looking fresh and full, be sure to fluff it regularly to prevent clumping or flattening of the fill material. Additionally, rotate your pillows regularly to distribute wear evenly.
Step 8: Customization Ideas
Making your own pillow inserts allows for customization options that fit your specific needs and preferences. You can adjust the firmness and fullness of your insert by using different types and amounts of filling material. For a firmer pillow, use more foam inserts or batting, while for a softer cushion, opt for down feathers or polyester fiberfill.
You can also experiment with shapes and sizes to create unique throw pillows for your home. From traditional square-shaped inserts to round or even heart-shaped ones, the possibilities are endless! Personalize your pillows further by adding decorative touches such as piping or embroidery along the edges.
Step 9: Reuse and Upcycle
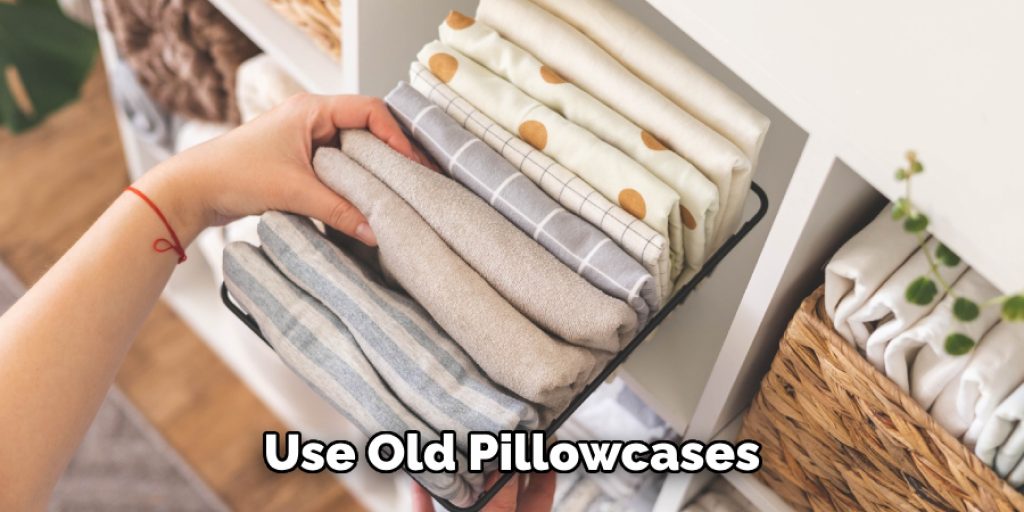
If you find yourself in need of a new pillow insert but don’t want to throw out an old one, consider upcycling it instead! You can repurpose an worn-out or lumpy insert by adding new filling material or combining it with other inserts for a customized blend. Or, use old pillowcases to create your own custom-sized pillow inserts without having to buy new fabric. Reducing waste and creating something unique in the process – it’s a win-win!
Following these steps on how to make a pillow insert, you can easily make your own pillow inserts at home with just a few materials and some basic sewing skills. With the ability to customize and reuse them, you’ll never have to settle for store-bought inserts again. Get creative and add a personal touch to your living space by making your own custom pillows for any occasion.
Conclusion
Creating your own pillow inserts is not only cost-effective but also allows for endless customization options. By following these simple steps on how to make a pillow insert, you can easily make inserts that fit your pillows perfectly and cater to your comfort preferences.
With proper care and maintenance, your homemade pillow inserts will last for years to come, providing support and style to any room in your home. So why settle for generic, store-bought inserts when you can make your own unique ones? Let your creativity shine and elevate your home décor with custom pillow inserts. Happy sewing!
Angela Ervin
Angela is the executive editor of DIY quickly. She began her career as an interior designer before applying her strategic and creative passion to lifestyle and home. She has close to 15 years of experience in creative writing and online content strategy for housekeeping, home decorations as well as other niche efforts. She loves her job and has the privilege of working with an extraordinary team. She lives with her husband, two sons, and daughter in Petersburg. When she's not busy working she spent time with her family.