
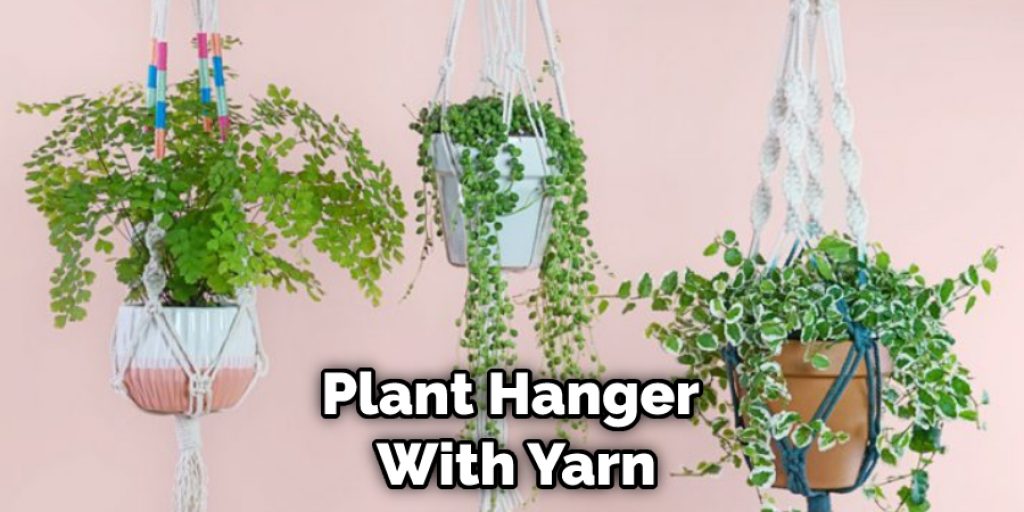
How to Make A Plant Hanger with Yarn
The thing about decorating your home can be both expensive or not expensive at all. While some of us may spend a lot on a few of the items, there would be a time when you may want to spend your time making some DIY stuff for your own home. And If you are curious to do so, we have one for you, and it is how to make a plant hanger with yarn.
We believe if you are looking for this article, you already want to make one. But for those of you may have stumble upon out of nowhere, let us give you some head ups before we start on the primary process.
A yarn hanger for the plant is the most basic yet classic look of hanger you will see for your plants. When things may get a little boring of keeping the plants and pots on a shelf or laying on the ground or countertop, you may want to consider having a hanging hanger for your lovely plants. They are basic yet beautiful to bring some changes to your home décor.
So, without any more stall, let’s start with our project!
How to Make A Plant Hanger with Yarn on Your Own
We are going to make something and we will need some supplies. First, we will focus on the supplies needed for making the item, and then we will follow the steps.
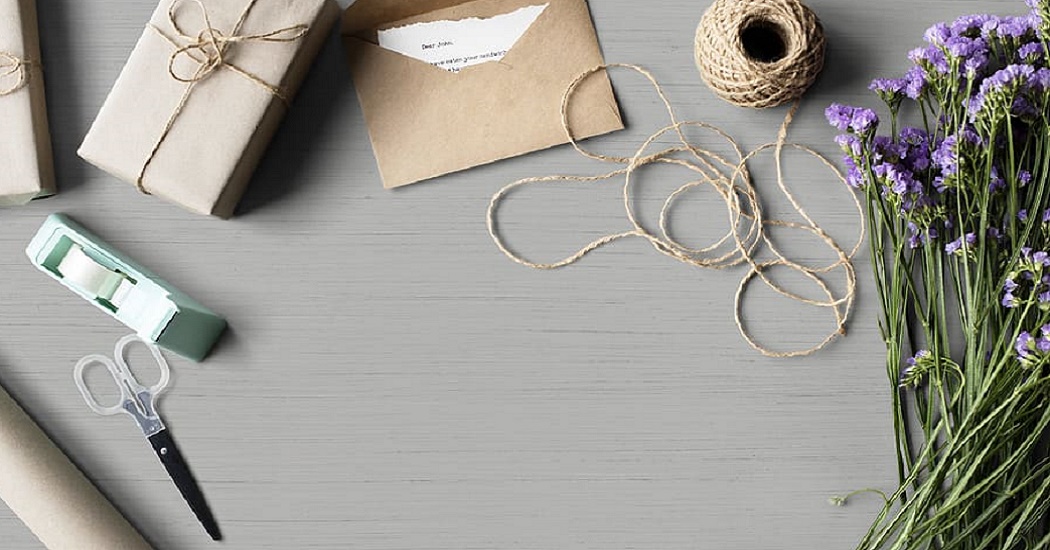
Supplies
- Yarns
- O-ring
- Scissors
- Plant and Pot
- Bulldog clipper or scotch tape
- Acrylic colors (optional)
Steps
To start our process of how to make a plant hanger with yarn, you will have to make sure you have the ingredients ready. The first step will require only yarn and a scissor.
As for the yarns, you can make the hanger with basic ones or get colorful ones. The choice is all yours. At first, you have to measure the plant with the pot. You will have to multiply the measurement by five, which will be the length of the yarns.
Now, you must cut six pieces of yarn with the estimated length. The measurement should be six feet long yarn for a one-foot-tall plant.
Take each of the six pieces together and put the O-ring right in the middle of the yarns. When you place the O-ring on the center, tie a hitch knot or a slip knot to secure the O-ring on the threads.
Next, you will see that you have twelve pieces of yarn strands. You have to divide the strands into three groups, with each one having four strands in total.
Clip your O-ring with the bulldog clipper on a table or a hardened surface. You can also use scotch tape for the purpose.
Now, select one group of four strands of yarns. Tie an overhand knot on them so they will stay secured and separated from other strands. Tie two square knots using two strands of the following group. You have to make sure the position of the square knots perfectly matching, and the knots should be on the edge of the flower plants.
To make a plant hanger with yarn, you will need to tie three groups of yarn together using one overhand knot and two square knots. Repeat this process for the other two groups of yarn.
You can weave the strands at the bottom and add more knots if you want but are not necessary. Finally, tie all the strands together at the bottom with a hitch knot and cut the yarn’s ends. If you wish to, you put color on the strands using acrylic or color the pot.
There you have it; now you know how to make a plant hanger with yarn.
You May Read Also How to Make a Branding Iron Out Of a Coat Hanger
Elizabeth Davis
Elizabeth is a creative writer and digital editor based in the United States. She has a passion for the arts and crafts, which she developed from a young age. Elizabeth has always loved experimenting with new mediums and sharing her work with others. When she started blogging, she knew that DIYquickly would be the perfect platform to share her tutorials and tips. She's been writing for the blog from the beginning, and her readers love her helpful advice and easy-to-follow instructions. When she's not writing or editing, Elizabeth enjoys spending time with her family and friends.


