
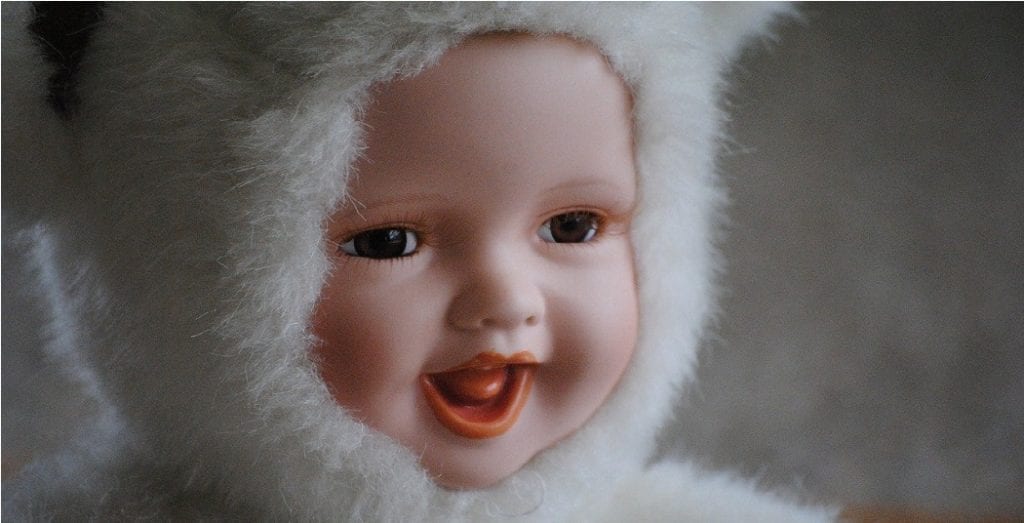
How to Make a Porcelain Doll
Porcelain dolls refer to antique dolls. They are generally made from porcelains reproductions, which is why they are relatively cheaper than the original dolls. Many of these porcelain dolls are made in China by some reputed companies. You can easily get those variants from the market. But that’s going to cost you some additional money. In fact, they won’t allow you to customize the doll in your own way. That’s why many people prefer making a porcelain doll by their own effort rather than buying the ready-made one. Maybe you are also one of them, which has brought you here, isn’t it? Thankfully, you have landed in the right place because, in this article, I will show you how to make a porcelain doll step-by-step. So, without any delay, let’s dive in!
How to Make a Porcelain Doll
Step 1
First, you’ll need to determine which model you want to make from clay. By the way, make sure to bring some high-quality clay from the market before you start. You can easily get them from your nearest store, or you can buy them from Amazon. A good picture of your desired model will help you create the doll you want.
Step 2
Now, you have to make a three-dimensional figure out of clay. In this case, you only must include all the intricate details; you also have to make the model 14% larger than the final size. It is because porcelain shrinks during the firing process.
Step 3
Then you have to use the model to cast ta master mold out of plaster. From the master mold, you have to cast a plastic mold. And from that plaster production mold with which to cast the figurines. In its raw form, porcelain, prepare a paste that contains water, the minerals feldspar, quartz, and a perfect portion of the type of clay. You have to then water down the paste into a liquid called slip.
Step 4

Once you complete that, you must pour it into the plastic production molds. The plaster will immediately begin drying out the water, causing a firm layer of slip to, and the residual will fall from the mold’s cavity. Pour out the remaining liquid.
Step 5
When the slip layer is finally thick enough, carefully open the mold and extract the figurine you have put inside. It will now become a figurine with fine details. More complex figurines are cast in parts, each in its own mold. If you have one, you must carefully touch up each casting scraping off seams and fine-tuning the details.
Step 6
Now, it is time to assemble the parts. For this, you will need the slips to adhere them together.
It is critical to keep the figurine hydrated. If it dries out even slightly, it will get a crack during firing. The figuring goes through two main firings. The first time, you have to fix the temperature at 940 degrees Celsius. It is hot enough to dry the porcelain but keeps the surface porous so that the glaze will adhere.
Step 7
Then you have to dip the figuring in glaze, a mixture of water, and several materials, including quartz, feldspar, kiln, and ground-up porcelain.
Step 8
They enter it into the kiln again. But this time, you must increase the temperature to 1400 degrees Celsius. This bake can get a glossy finish on your porcelain doll. It also hardens the porcelain further. After this bake, you will notice that your figurine has become 14% smaller as the remaining moisture is now evaporated. That’s why I suggest you make it larger than its original size.
Step 9
When it becomes cool, you have to start decorating the doll. In this case, you can use the colors or dresses you prefer. So, this step is completely up to you. Make some wonderful designs so that they can attract your guest’s attraction. That’s it; the process is finished.
Final Thoughts
Hopefully, you have understood the process and won’t have to ask how to make a porcelain doll again. If you are still confused, feel free to use the comment below.
you may also read now


