How to Make a Press Mold
Are you looking for a fun and easy way to make a custom mold? If so, you can use a press mold to create your shapes in just minutes! In this article, we’ll show you how to make a press mold using simple materials that you probably have lying around the house. So get ready to roll up your sleeves and get crafty!
Press molds are a great way to create custom shapes and designs from clay, plaster, or even chocolate. And the best part is that they’re straightforward to make! Many press molds can be made with items you already have lying around the house, like a pie tin or a piece of cardboard. They’re also relatively quick to make, so you can have your mold ready to use in just a few minutes.
What Is a Press Mold?
A press mold is a negative mold used to create three-dimensional objects out of two-dimensional materials such as metal sheets or glass. The process begins by placing the material onto the mold and then using a hydraulic or pneumatic press to apply pressure to the material, which forces it to take on the shape of the mold.
Press molds can be made out of virtually any material, but they are typically made of metal, plastic, or ceramic. The choice of material for the mold will depend on the type of material you will be using to create your object. For example, if you are working with glass, you will need to use a heat-resistant mold so that the glass does not shatter when it is heated.
The advantage of using a press mold is that it allows you to create objects with very intricate designs. The downside is that the mold can be expensive to create, especially if it is made from metal or ceramic.
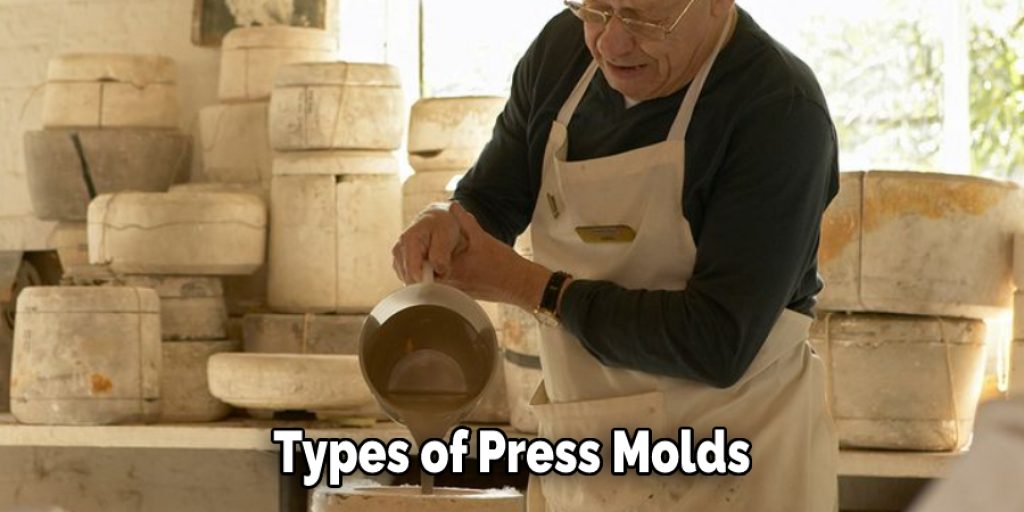
Types of Press Molds
There are two main types of press molds: negative and positive. Negative molds are made by pressing an object into a molding material, such as clay. The resulting mold is then used to create a copy of the original object. Positive molds are made by creating a cast of an object using a molding material such as plaster or silicone. This cast is then used to create a positive copy of the original object.
***
***
Materials Needed
To make a press mold, you will need the following materials:
- Molding material (clay, plaster, silicone, etc.)
- Object to be copied
- Release agent (optional)
- Casting material (resin, metal,
- Curing agent (optional)
A Stepwise Guide on How to Make a Press Mold
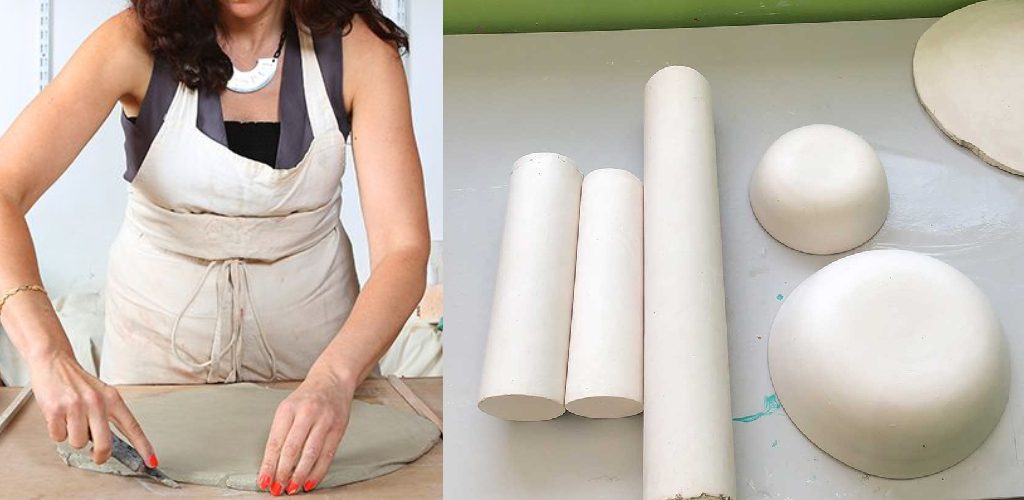
Step 1: Design your mold.
This is the most critical step in the process as it will determine the shape of your final product. If you are unsure what design you want, start by sketching out a few ideas. Once you have settled on a design, use a ruler and pencil to draw it out onto your molding material. If you make a mistake, erase it and try again.
Step 2: Cut out your design.
Once you are happy with your design, use a sharp knife to cut out your shape. If you are using a soft material like clay, be sure to work slowly and carefully so that you do not damage the mold.
Step 3: Choose Your Molding Material
The next step is choosing the molding material you will be using. As we mentioned earlier, molding materials can be made out of various materials, each with advantages and disadvantages. Some common molding materials include clay, plaster, silicone, and latex.
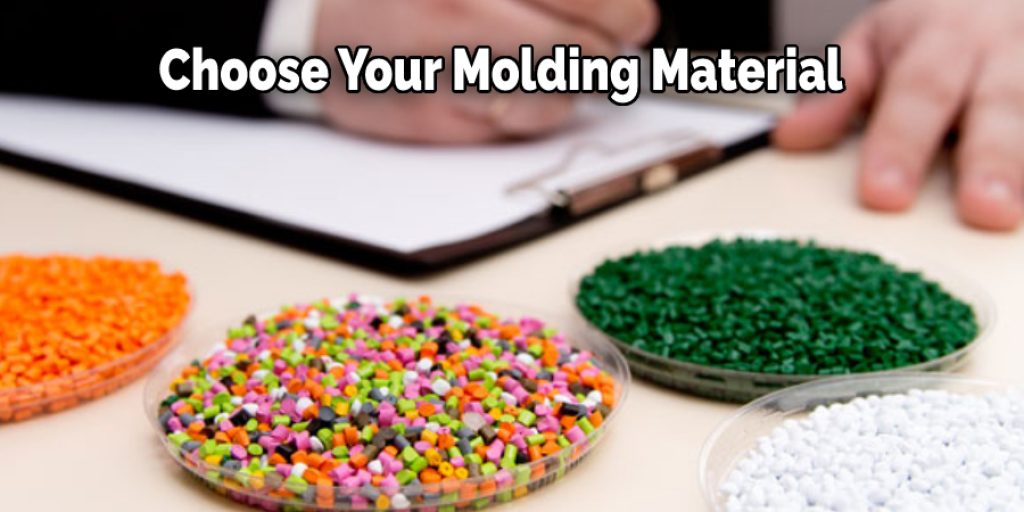
If you are new to making press molds, we recommend starting with clay. It is relatively easy to work with, and it doesn’t require the use of any special chemicals or agents. Plus, it’s an excellent material for practicing your mold-making skills!
If you want to experiment with other molding materials, feel free to do so. Remember that the steps involved in making a press mold may vary slightly depending on the material you choose.
Step 4: Select the Type
Once you have chosen the material for your mold, you will need to select the type of press you will be using. There are many different presses available, but the two most common are hydraulic and pneumatic. Hydraulic presses are more powerful and can apply more pressure to the mold, while pneumatic presses are less powerful but easier to operate. You will also need to decide on the size of the press. The press size will determine how many copies of the object you can create at one time.
Step 5: Prepare the Object
Now it’s time to prepare the object that you will be copying. First, clean the object thoroughly to remove any dirt or debris. Next, apply a release agent to the object. This will help to prevent the molding material from sticking to the object. You can use a commercial release agent or make your own by mixing equal parts of soap and water.
Once the release agent has been applied, place the object on a flat surface. Ensure that the object is not too close to the edge of the surface, as this could make it difficult to remove the mold later on.
Step 6: Create the Mold
Now it’s time to create the mold! Begin by spreading the molding material evenly over the surface of the object. Next, ensure that the molding material is thick enough to create an exact object copy.
Once the molding material has been applied, place the prepared object into the press. Close the press and apply pressure until the molding material has hardened around the object.
Step 7: Apply a Release Agent (Optional)
The next step is to apply a release agent to your object. This step is entirely optional, but we recommend doing it if you are using a molding material that is difficult to release from surfaces (e.g., silicone).
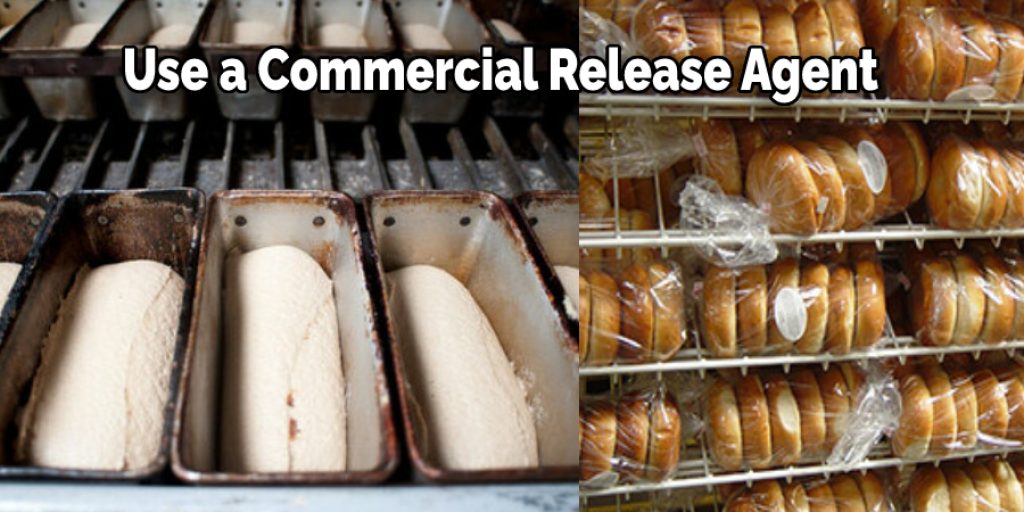
There are various release agents that you can use, but we find that cooking spray works just as well as anything else. Spray a generous amount of cooking spray onto your object and rub it in with your hands until the entire surface is coated.
Step 8: Press Your Molding Material Into The Object
Now it’s time to press your molding material into the object. If you are using clay, we recommend using your hands to mold it into the desired shape. For other molding materials, like silicone or latex, you may need to use a plunger or other tool to press it into the object.
Once you have pressed the molding material into the air bubbles, no air bubbles are trapped inside. If there are, pop them with a needle or a toothpick and press the molding material back into place.
Step 9: Remove The Mold
After you have let the molding material set for the recommended amount of time, it’s time to remove it from the object. If you are using clay, peel the clay away from the object. If you are using silicone or latex, you may need to use a sharp knife or other tools to help you remove the mold.
Once you have removed the mold, take a close look at it to make sure that all of the details from the object have been transferred over. If any areas need to be fixed, press the molding material back into place and let it sit for a few more minutes.
Step 10: Apply a Curing Agent (Optional)
Applying a curing agent is optional, but it will help the mold last longer and release the clay more easily. You can buy a commercial mold release agent or make your own from equal parts dish soap and water. Spray or brush the mixture onto the mold, then allow it to dry completely before using.

Step 11: Use the Mold
Now you’re ready to use your press mold! To do so, press moist clay into the mold, then carefully remove it. You may need to wiggle the clay a bit to get it to release, but if you’ve used a mold release agent, it should come out quickly. Repeat this process as many times as necessary to create all the pieces you need for your project.
And that’s all there is to it! Creating a press mold is a quick and easy way to duplicate an object, and with a little practice, you’ll be able to make perfect copies every time.
Tips
- If you use a two-part mold, make sure that the two halves fit together snugly. Otherwise, your mold will not be able to withstand the pressure of the press.
- It is also essential to ensure that the mold is level before pressing. Otherwise, your object will not be evenly molded.
- o release your object from the mold, turn it over and tap gently on a hard surface.
- If your mold is not releasing your object quickly, you can try heating it slightly with a heat gun or hairdryer.
- Once you have released your object from the mold, you can sand down any rough edges with a fine-grit sandpaper.
Making a press mold is a great way to create multiples of the same object. This process can be used to create anything from jewelry to ceramics. With a little practice, you’ll be able to create perfect replicas of your favorite objects.
Conclusion
So there you have it – your easy guide to making a press mold! We hope this was helpful and that you are now inspired to make some beautiful jewelry pieces all by yourself. Also, we hope you have learned how to make a press mold. Happy crafting!
You can check it out to Keep Things From Floating in Resin