
How to Make a Round Ball Out of Paper
Introduction:
Paper is one of the primary materials used in origami. Origami paper, or kami as it’s often called, comes in different sizes and shapes. The most common kami size is 18cm x 15cm (7in x 6in), which you can find at any craft store.
However, it’s also available in many other sizes, such as 12cm (5in), 20cm (8in), and 30cm (12in). Origami paper isn’t like regular paper because it has no grain! This means that if you fold it or bend it along its long side, then you’ll end up with a crease that will not disappear.
In this article, I will discuss how to make a round ball out of paper. So let us get started.

Summary: In this creative short summary, we learn how to make a round ball out of paper. First, fold a piece of paper in half so that the two halves are mirror images of each other. Then, crease the fold so that the two halves form a round ball. Next, use a pencil to draw a circle on one half of the ball. Finally, use a pen or your finger to fill in the circle with black ink.
Stepwise Guide on How to Make a Round Ball Out of Paper:
1. Take a square sheet of paper and fold it diagonally in half to get two triangles. After folding, the length of the side should be of the same order of magnitude as that of your desired ball’s diameter.
2. Turn the paper 90 degrees clockwise after making two folds on both triangles so that you have four creases at once.
The direction has to be perpendicular to that which you had made for step 1. Make three more such folds-and-crease combinations, and then open up all these folds to form a square with four flaps or wings.
3. Now, roll the square into a cylinder and place its apexes together to join them firmly, but not tightly. The final result should look like a flat tube with no visible creases on the outside–except for hinges at its four corners.
Remember that it is supposed to be round; hence do not worry about its shape being cylindrical or square!
4. Now fold in the top flaps into the central area of the ball, where all four meet together. You can use glue to fix them in their new position–the flap’s end must naturally bulge out due to this folding activity, which increases the diameter of your ball.
5. With time and patience, your paper ball will turn into a real sphere when you flatten all wings evenly on all sides by applying pressure with your fingers over the wingtips. The flat area of the wings should now be glued together to form a complete spherical surface.
6. If any section of your paper ball appears less round than you would like it to be, then do not hesitate to cut out its deformed sections and glue them back into place before flattening the ball completely!
Precautions While Making a Round Ball Out of Paper:
1) Don’t make it too small. If the ball is too small, then it’ll be difficult to hold on to. However, if you make it 1-2 sizes larger than desired, then you can cut off whatever excess you need after it’s made.
2) Be careful not to rip or burn the paper while making it.
3) Make sure that the surface is smooth.
4) Before making a paper ball, you should be sure about how to make one.
How to Make a Ball With Metal Sheet?
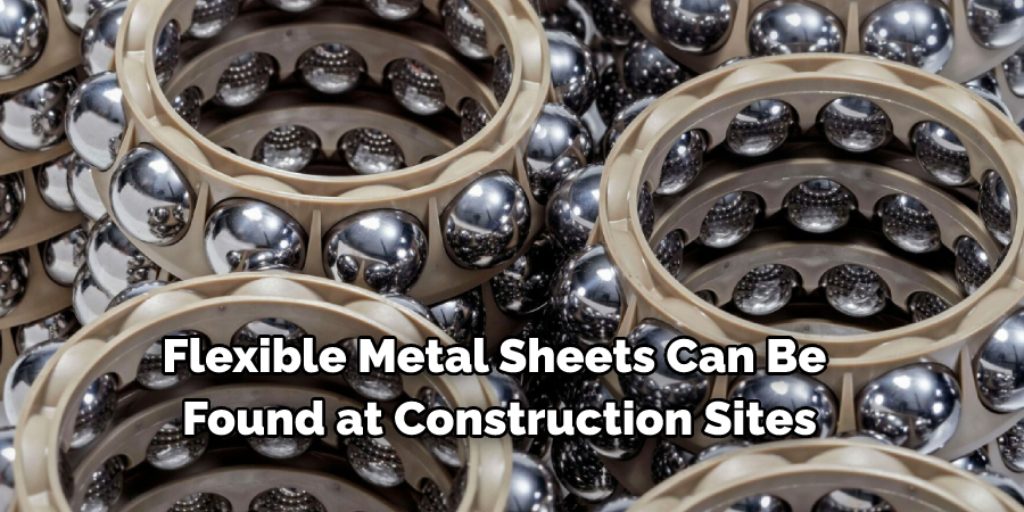
Flexible metal sheets can be found at construction sites, hardware stores, and electrical shops. In addition, flexible metal sheets are used in air-conditioners or refrigerators.
Step 1:
Cut off a piece of the round flexible metal sheet with a diameter of about 9″ from the roll(as shown in the red circle). Make sure that you have done so using firm grip pliers because it might slip during cutting which could cause injury.
Step 2:
Fold the sheet into half, then fold in half again to make an L-shaped bend in the middle of the sheet. Then turn over, folding it to make an 8 cm square.
Step 3:
Fold the bottom part of the sheet to match up with the top edge of the bent L-shape. Be sure that you are folding it along its length. Then fold down on both sides to make an inverted V-shaped curve at each side of the central side bent line. This definitely gives a round ball shape!
Step 4:
After you have formed the ball shape of the sheet, fold down one side of it to make a round hemisphere.
Note:
The folded-over part must be at least 2 cm wide so that it will not easily tear off during the next steps. This is hard to describe in words. You can follow the internet to obtain an idea about this.
Step 5:
Cut out the roll’s three pieces of 0.5 x 9″ acrylic strips. Fold each strip in half, bend them at their middles into an inverted V-shape, then bring them together to form a small loop at their middles (shown by red circles) and tape them firmly.
Step 6:
Wrap the ball-shaped metal sheet with the three acrylic strips using Scotch tape. Make sure that you are wrapping it firmly! Keep applying more layers of tape over the same area instead of moving to another area on the ball. This makes it even stronger!
What Should be the Standard Size of a Ball Made Out of Paper?
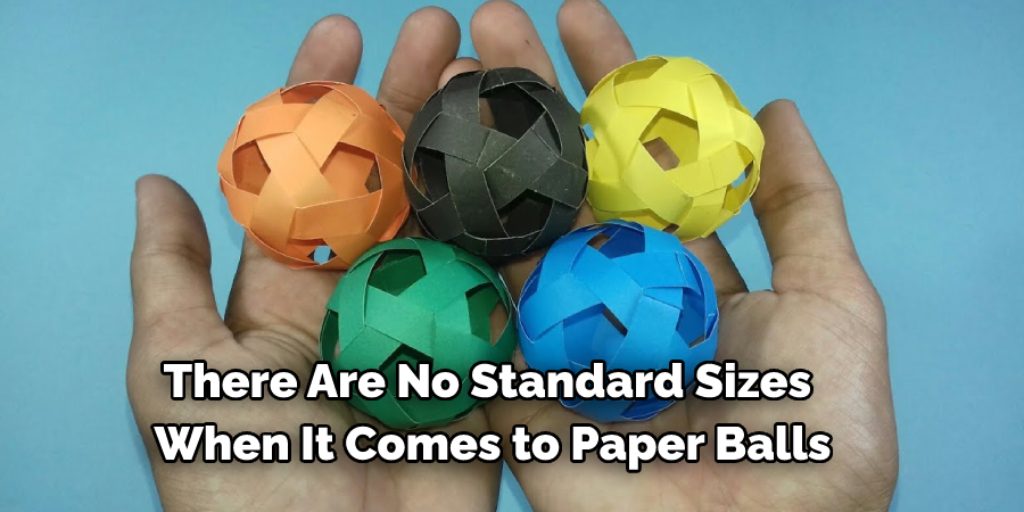
There are no standard sizes when it comes to paper balls. You can make one any size you want, with any paper, and in virtually any shape. One large paper ball containing several smaller ones creates a beautiful decoration. For example, you can make a big paper star and put several small red balls inside it. Hang the decoration on your Christmas tree or above the entrance door; it will look amazing!
You can make these round paper balls by yourself and use them for various purposes:
- As a gift (wrap and give away any present in this cute ball);
- As an element of decoration (use them to create stunning holiday decorations or place one or two of these balls on your desk);
- Play with your children (try making some funny figures out of different colors);
- Hang it on the Christmas tree (tape a piece of string to the top of the ball and tie a hook to it, then attach this decoration above your door).
Conclusion:
I hope this article has been beneficial for learning how to make a round ball out of paper. Thank you and have a nice day!
Elizabeth Davis
Elizabeth is a creative writer and digital editor based in the United States. She has a passion for the arts and crafts, which she developed from a young age. Elizabeth has always loved experimenting with new mediums and sharing her work with others. When she started blogging, she knew that DIYquickly would be the perfect platform to share her tutorials and tips. She's been writing for the blog from the beginning, and her readers love her helpful advice and easy-to-follow instructions. When she's not writing or editing, Elizabeth enjoys spending time with her family and friends.


