
How to Make a Sphere From a Flat Sheet
Introduction:
A flat sheet is a piece of paper (two-dimensional) or cloth (one-dimensional). Thus a sphere from a flat sheet is a 3-dimensional object because it has a thickness in the third dimension. In other words, it consists of two or more layers – when you flatten it out,
its “sheet” is two-dimensional, but when you roll it into a ball, it becomes three-dimensional because of the thickness in the third dimension. In this article, I will discuss how to make a sphere from a flat sheet. So let’s get started.

Summary: In this blog post, we are going to learn how to create a sphere from a flat sheet of paper. We will use basic geometric shapes and basic algebraic equations to create our sphere. This is a great activity for students who are interested in geometry and calculus.
Stepwise Guide on How to Make a Sphere From a Flat Sheet:
Step 1 :
For the first step, you will need to acquire a flat sheet of paper and roll it up tightly.
Step 2 :
Once the sheet is rolled, cut both ends for smooth edges.
Step 3 :
Take an aluminum rod that is .5″ in diameter and heat one end at high heat for about 1 minute with a lighter or candle flame. Use pliers to hold down the heated section with your fingers protected by cloth if necessary,
but be sure not to leave your finger on the heated metal for very long to avoid being burned. When the rod cools after being held down by your fingers, you can continue with Step 4 below.
Step 4 :
You should have either a plastic bottle or PVC pipe tube of the desired radius that the final sphere should be. If you are using a plastic bottle, cut open the side of one end of it. If you are using PVC pipe,
saw off the desired radius from the length of it. Then, insert either one into the other so that there is about 3/4″ or more overlap between them and tape together to form a hollow tube with both ends open.
Step 5 :
To make a simple battery, you will need an aluminum rod, a plastic bottle or PVC pipe, and pliers. First, insert the aluminum rod through one of the holes in the plastic bottle or PVC pipe so that about half an inch protrudes out of each end. Next, use the pliers to bend over the excess metal sticking out at each end against itself, but be careful not to fold it completely closed. Finally, make sure the rod is sticking out of the open end of the plastic bottle or PVC pipe.
Step 6 :
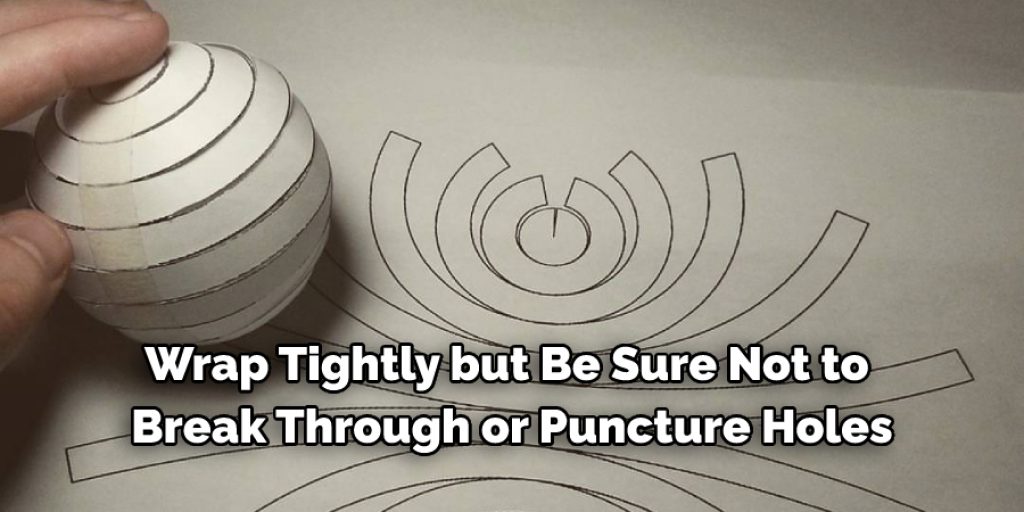
You will need to make a support structure to suspend the tube over a heat source for heating in Step 7 below. Take another aluminum rod and wrap it around one edge of a sturdy metal can, such as an aluminum soup can with both ends sticking outwards evenly at 90-degree angles from each other.
Wrap tightly but be sure not to break through or puncture holes into the aluminum rod with the sharp edges of the metal can when bending over its ends against itself with pliers. You have two outer rods that are perpendicular to each other, connected by one inner rod placed in the middle of the two outer rods at 90-degree angles to each other.
Step 7 : Heating :
Fill up the aluminum soup can with water almost to the rim and place the metal support structure (mentioned in Step 6 above) over it, suspending one end of the tube (mentioned in Step 5 above) over them so that they rest on top of it but leave room for airflow between them.
Heat this setup until you see droplets condensing inside the tube, which indicates enough heat within it to melt a hole through its wall.
Step 8 :
In order to create your sphere, you will need a piece of string or cord that is 3-5 feet long. Tie one end of the string or cord to a metal object that is heavy enough so that the other end remains suspended in mid-air. Suspend the metal object from a height that you want the center point of your sphere to be, making sure that it does not touch anything else for safety purposes.
Step 9 :
One end of the tube should be hot enough by now to melt through its wall, so press down on it with pliers for a few minutes until this happens. You might have to reheat it if one side cools off before you are done pressing down on it with your pliers.
Step 10 :
Once one end is melted through, take out the aluminum rod holding up that half of the tube and keep turning the tube in your hands so that all sides get an equal chance at being heated by air rising through it from below to be melted into a sphere when suspending the other end overheat in Step 8 above.
Step 11 :
To clean up unwanted burs or sharp edges around where you made holes in the sphere, melt them off by holding the sphere with pliers over near your heat source.
Precautions While Making a Sphere From a Flat Sheet:

* Never try to roll the sheet over itself. If your sheet is fragile, rolling it may not be possible without breaking it. In this case, stick two pieces together to make a thicker one. Make sure you stick them only on the side where you’ll cut it later. Otherwise, stick them through all three layers of plastic to be stable enough for sculpting.
* While cutting holes in the sphere’s surface during the final sculpting stage, cut across both layers of plastic at once with a blade encased in styrofoam or wood instead of just one layer of plastic at a time. This will prevent cracks from forming between the layers while being cut because fewer unsupported areas are under stress inside the sphere.
To do this, you must cut down into the plastic at a shallow angle, forming a triangle with the two outside edges of both layers as its base and apex. You don’t want to cut past the concave side of this tip because it will be impossible to smooth out later on.
Conclusion:
The sphere is a very common and simple sculpture and can be made from many materials. Just remember to use the right materials for the job and take your time so you don’t make mistakes that will ruin what could have been a beautiful piece of art.
I hope you have obtained all the relevant information regarding how to make a sphere from a flat sheet. Thank you and have a nice day!
You May Also Read – How To Make Concrete Sphere Molds
Elizabeth Davis
Elizabeth is a creative writer and digital editor based in the United States. She has a passion for the arts and crafts, which she developed from a young age. Elizabeth has always loved experimenting with new mediums and sharing her work with others. When she started blogging, she knew that DIYquickly would be the perfect platform to share her tutorials and tips. She's been writing for the blog from the beginning, and her readers love her helpful advice and easy-to-follow instructions. When she's not writing or editing, Elizabeth enjoys spending time with her family and friends.


