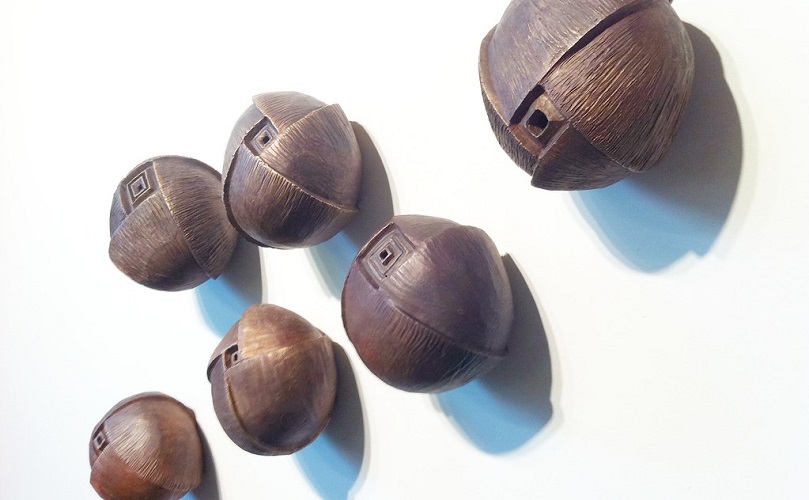
How To Make Concrete Sphere Molds
Concrete sphere molds are a great way to make concrete spheres in many different sizes. The process is simple, and you’ll be able to use your new mold over and over again for any number of projects requiring spherical objects. The tutorial below will show you how to make concrete sphere molds.
If you’re having trouble deciding where this project would come into play, think about wedding centerpieces that include hanging balls or even just as part of an art installation with other geometric shapes scattered throughout the room. The possibilities are endless!
With enough imagination, these DIY concrete spheres can be used anywhere from CD decorating (think paint-splattered CDs) to furniture décor. It doesn’t matter how big or small they are either—these DIY concrete sphere molds will work equally well on both ends.
You’ll need some basic tools and materials, but the process is fairly easy once you learn how it’s done. The finished mold will give your sphere-shaped objects a beautiful finish that can’t be replicated by other means.
Material You Will Need
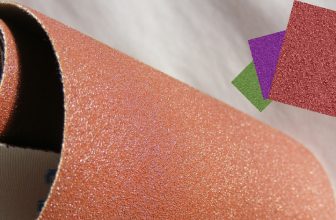
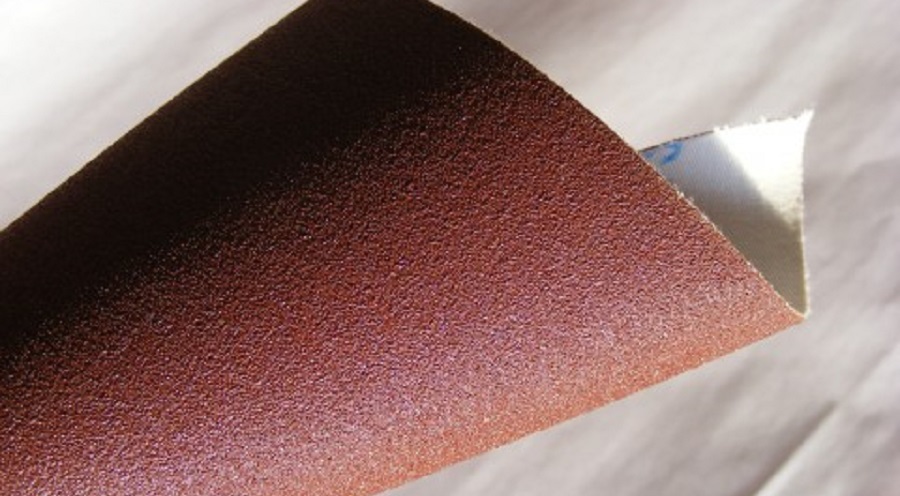
- Sandpaper (grit 100 or higher)
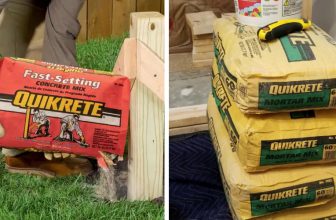
- Spackle or concrete repair kit
- Water
- Plastic drop cloth, cardboard box, trash bag, old towels for mixing and pouring the molding compound.
- Bucket with a 12″ diameter opening to make the center of your sphere molds from an old lid or from a Styrofoam ball
- Scouring pad or heavy-duty steel wool to clean the bucket
- Small brush for applying water in tight spaces
- Mixing stick, spoon, and coffee mug.
- Garden hose with spray attachment (optional)
- Tape measure or ruler to measure your sphere mold dimensions before it’s assembled
- Pencil and paper to sketch sphere mold measurements
- Fairly rigid (not cheaply made) PVC pipe at least 24″ long with a diameter wider than your planned sphere size. This will be used as the support column in order to remove the sphere mold from the bucket.
7 Steps on How to Make Concrete Sphere Molds :
Step One:
To create your ball mold, first measure the diameter of the ball you want to make. For optimal results, make this measurement 1/2 inch less than the desired height of your final product. Then, use a pencil or marker to mark this measurement on one side of a 2×4 board, so that there are two lines at right angles to each other (forming an X). This line is where you will drill holes for pouring in the concrete.
Step Two:
Mark off a circle on your X with a pen or pencil, marking every half inch around the circumference of your sphere. This is where we will drill our holes for pouring in the concrete that will become our mold. Make sure to keep this space between one another as you’re drawing these circles and not overlap them–this ensures an even pour into each section of the mold when it’s time to create!
Step Three:
“Keep following step two until you have marked all around your sphere (distinguish numbered sections), then cut out along those lines using scissors or a utility knife depending on how thick paper you are working with. You should now have what looks like a net of holes.”
Step Four:
If you want a more organic-looking sphere, or if your paper is thin and the mold may tear during the pouring process, then cut out one hole in each section where there would be an overlap between circles (marked with stars). This will allow for some natural distortion as it’s time to pull away from that layer when we’re done pouring! If not–that’s okay too. It just won’t have any real effect on how this piece looks. You can include this step by cutting small slits along those lines instead of ripping them apart entirely.

Step Five:
In order to make sure all of these pieces stay together when they are dry, tape them around the edges using clear packing tape. This is an important step because it will keep our sphere from coming apart and also helps with any small gaps that may have happened in Step Four during the cutting process. Plus, this just makes things more sturdy!
Precautions to Make Concrete Sphere Molds
- Wear a dust mask. Because of the nature of this project, there is a lot of dirt and dust in the air that you are breathing.
- Make sure to wear gloves. The concrete will be rough on your hands as it dries because it’s so hard, but then after you do everything else like trimming and sanding edges—-you won’t need them anymore!
- Cover your floor where you will be making the sphere molds
- Make sure to have plenty of water available for wetting hands and tools that come into contact with the concrete. This is very important because it keeps things from sticking together, as well as prevents too much pressure on anyone area while mixing!
Conclusion
Hopefully, after following these steps, you should now be left with a beautiful concrete sphere mold that can then be used for your own creative projects! What do you plan on making? Anything I’ve missed? Do you have any more questions about how to make concrete sphere molds? Let me know in the comments below or on social media–I’d love to see how yours turn out 🙂