How to Make a Table Leaf
Do you want to make your dining table bigger in size? You can do so with a table leaf. A table leaf is an extra piece of wood that fits into the middle of the table, allowing it to extend and accommodate more people. Making a custom-fitted table leaf is not as hard as it sounds, and with some basic tools and supplies, you’ll be able to create one easily.
If you, like me, love to have a dining table that can accommodate all my family members and friends, this guide will be super helpful. Here’s what you need to know.
In this blog post, we’ll explain how to make a table leaf step-by-step. We’ll start with the materials, followed by the tools you need, and finally, the steps for assembly. Keep reading to learn more!
What Will You Need?
Before you start, make sure you have the following materials:
- A piece of hardwood or plywood that is large enough to fit your table.
- Wood glue
- Clamps and clamps blocks
- Sandpaper
- Stain or paint (optional)
- Saw
- Drill and drill bits
- Measuring tape
- Square or T-square
- Hammer and nails (optional)
Now that you have all the materials, it’s time to start making your table leaf!
10 Easy Steps on How to Make a Table Leaf
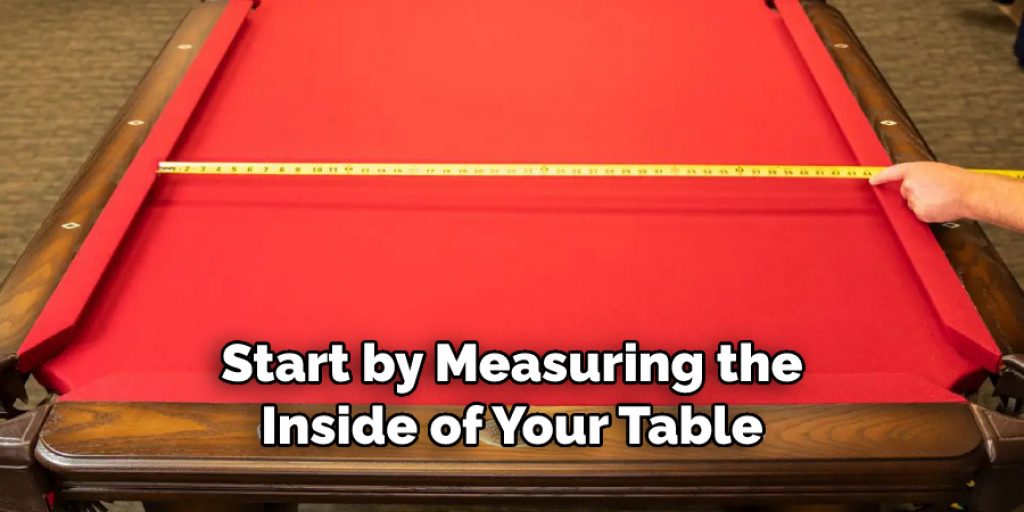
Step 1. Prep Your Table
Start by measuring the inside of your table. This will help you determine how much wood you’ll need for your leaf and make sure it fits perfectly. If needed, use a saw to trim the wood to fit.
Step 2. Cut Your Wood
Measure and mark your wood according to the measurements of your table. Use a saw to cut it down to size. Be careful not to make the wood too small, as it won’t fit in the table.
Step 3. Sand the Wood
Once you have cut your wood, use sandpaper to ensure the edges are nice and smooth. If you want to, you can also use a sanding block for this step. Ensure that the wood is completely smooth before moving on.
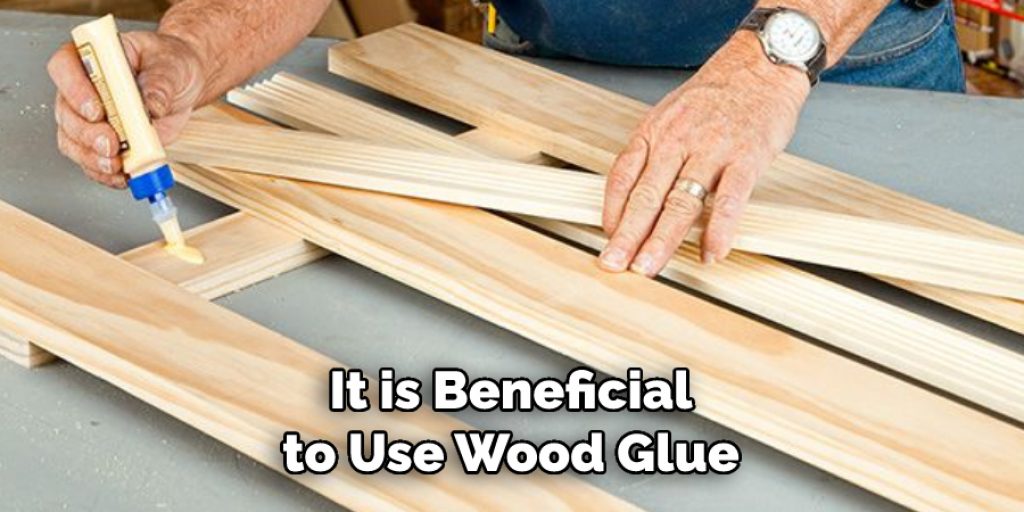
Step 4. Glue the Pieces Together
Apply a generous amount of wood glue onto one side of the pieces and then clamp them together tightly with clamps and clamp blocks. Allow at least two hours for the glue to dry completely before moving on to the next step. Additionally, use a damp cloth to wipe away any excess glue that may have escaped the clamp blocks.
Step 5. Drill Holes in Your Leaf
Use a drill and appropriate drill bits to create evenly spaced holes along each edge of your leaf panel for joining purposes (this will depend on the size of your table). This will ensure that your table leaf will fit perfectly. If you want, you can make pilot holes first before drilling the final ones.
Step 6. Hammer Nails into Your Leaf (optional)
If you prefer to use nails instead of screws, now is the time to hammer them into the holes you drilled in Step 5. Make sure they are fitted securely before moving to the next step. Otherwise, skip this step.
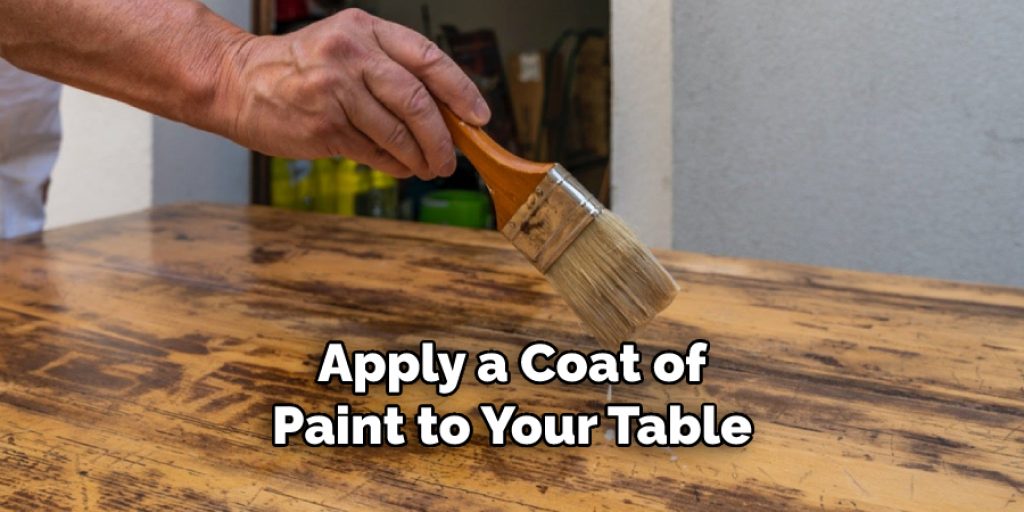
Step 7. Apply Stain or Paint (optional)
If desired, apply a coat of stain or paint to your table leaf for added protection and aesthetic appeal. Allow it to dry completely before proceeding. As an alternative, you can also spray paint your leaf for a more uniform look.
Step 8. Attach Hinges
Attach hinges on one side of your leaf panel according to their instructions – this will help keep it secured when opened or closed. You may also need to use screws to secure the hinges in place. You can also attach the hinges on the inside of the table or on both sides of your leaf, depending on its size and shape.
Step 9. Install Your Table Leaf
Carefully insert your leaf into the middle of your table and secure it with screws or nails as needed. Make sure it fits snugly and securely before continuing to the final step. For extra security, you can also add a latch or lock if desired.
Step 10. Enjoy!
You’re almost done! Finally, enjoy your newly extended tabletop – you can now host larger gatherings of people at your table without having to worry about space constraints. Congratulations on a job well done!
By following the steps mentioned above, you should now be able to make a table leaf of your own. With some patience and attention to detail, you can create a custom-fitted piece that will provide years of use and enjoyment.
5 Additional Tips and Tricks
- For an easier time making a table leaf, draw out the desired dimensions on paper before beginning to cut your wood. This will help you visualize where each piece needs to be cut, and can save you time and effort.
- When measuring for a table leaf, it is important to measure the dimensions of both your tabletop and your table legs. This will ensure that the leaf not only fits into the existing frame but also looks aesthetically pleasing.
- It is beneficial to use wood glue or an industrial adhesive when attaching a table leaf so that it is securely held in place and remains durable over time.
- If desired, you can add decorative accents such as dowels or veneer bands around each edge of the leaf, which can provide additional stability and improve its appearance.
- For added protection against chipping or damage from everyday usage, apply several coats of polyurethane or varnish to your finished table leaf. This will seal it against moisture and make it last longer.
By following these tips and tricks, you can create a beautiful and durable table leaf that will last for years. With careful planning and precision, you can craft a unique piece of furniture that is perfect for any room in your home.
5 Things You Should Avoid
1. Avoid Using Nails or Screws: it is better to use wood glue or an industrial adhesive to attach your table leaf to ensure that it will be securely held in place.
2. Don’t Forget to Measure Both the Tabletop and the Legs: this will help you create a table leaf that fits perfectly into your existing frame.
3. Don’t Leave the Edges Unsupported: if desired, add decorative accents (such as dowels or veneer bands) around each edge of the leaf, which can provide additional stability and improve its appearance.
4. Avoid Using Too Much Polyurethane/varnish: applying multiple coats of polyurethane or varnish can protect against chipping and damage. However, be careful not to apply too much, as this can
create a heavy and sticky finish.
5. Don’t Forget to Clean Up Your Work Area: it is important to make sure that your workspace is neat and free of any tools or materials left over from the project in order to avoid any accidents.
By taking into account these five things you should avoid, you can ensure that making a table leaf is a safe, simple process. With the right supplies and careful attention to detail, you will soon have your own beautiful piece of furniture!
Can You Replace a Table Leaf?
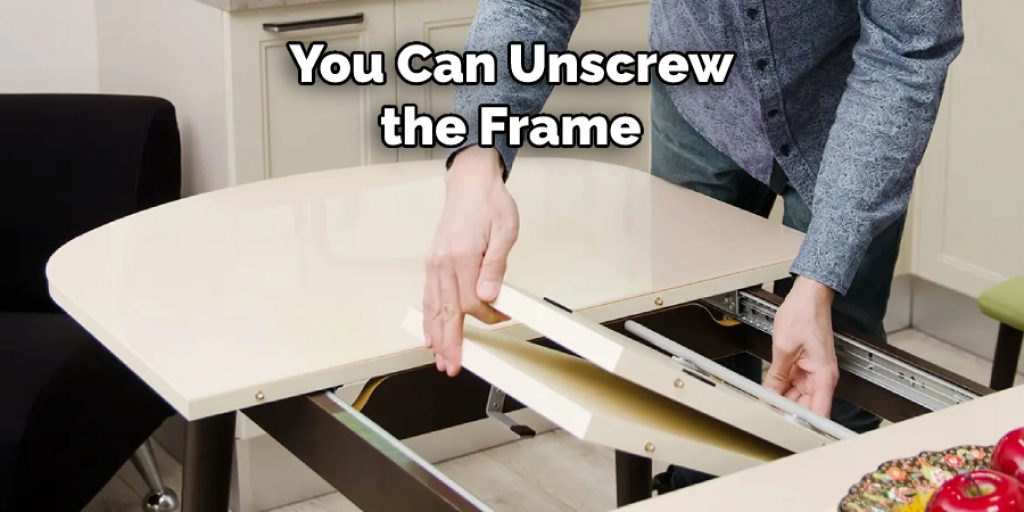
Yes, it is possible to replace a table leaf if needed. Depending on the type of frame you have, you may be able to simply slide out the old leaf and insert a new one in its place with minimal effort.
Alternatively, you can unscrew or unhinge the frame and carefully remove the old leaf before replacing it with a new one. The exact process will depend on your frame’s construction; however, by taking proper measurements and allowing yourself some time to adjust any pieces that don’t fit perfectly, you can easily create a replacement table leaf that looks just as good as the original one.
No matter what kind of table leaf you are looking for – whether it’s a basic rectangle or an intricate design – with careful preparation, patience, and skill, you can create a stunning piece of furniture that is sure to last for years to come.
Conclusion
Now you know how to make a table leaf, what to avoid while doing so, and how you can replace one if needed. By carefully measuring each piece and following the steps outlined in this article, you can create a beautiful and durable table leaf that will be the perfect addition to any room in your home.
Making a table leaf is rewarding and requires careful attention to detail and precision. With the right supplies, knowledge of what to avoid, and some patience, you can easily craft your own unique piece of furniture. Whether you’re looking to replace an existing leaf or create one from scratch, these tips will help ensure that your finished product looks beautiful and lasts for years to come.
Hopefully, this article has been informative and helpful in your table leaf-making journey. So don’t wait – start making your own stunning table leaves today! Good luck!
Angela Ervin
Angela is the executive editor of DIY quickly. She began her career as an interior designer before applying her strategic and creative passion to lifestyle and home. She has close to 15 years of experience in creative writing and online content strategy for housekeeping, home decorations as well as other niche efforts. She loves her job and has the privilege of working with an extraordinary team. She lives with her husband, two sons, and daughter in Petersburg. When she's not busy working she spent time with her family.