
How to Make a Tumbling Mat
A tumbling mat is essential for practicing and perfecting your tumbling skills. Not only is a tumbling mat great for safety, but it can also be used to create boundaries for your practice space. In this article, we will show you how to make your tumbling mat. You will need some supplies and a little time, but the result will be worth it! Keep reading for instructions on how to make a tumbling mat.
Why Should You Make Your Own Tumbling Mat?
Gymnastics is a sport that requires immense physical strength, flexibility, and coordination. Tumbling is one of the most important aspects of the sport, and it often takes years of practice to master the required skills. One way to help gymnasts perfect their tumbling skills is to use a tumbling mat.
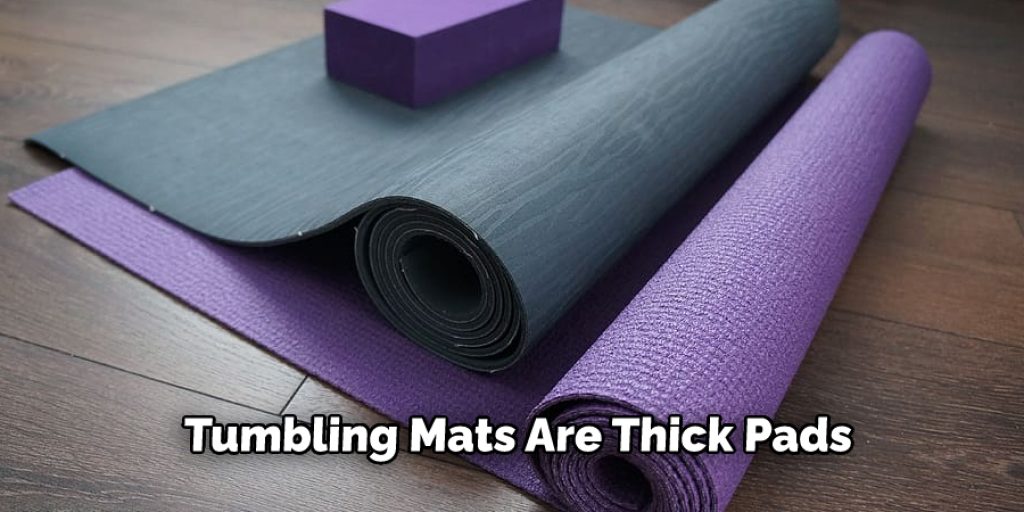
Tumbling mats are thick pads that provide a safe and cushioned surface for practicing flips and other high-impact moves. Unfortunately, they can be extremely expensive to purchase, but fortunately, they are relatively easy to make at home. With a few simple supplies and some time, you can create a high-quality tumbling mat for years.
The benefits of making your tumbling mat are numerous. You will save money, but you will also have the satisfaction of knowing that you made it yourself!
What You Will Need
The supplies you will need to make your tumbling mat will depend on the size and type of mat you want to create. For this project, we will be making a standard 4×8-foot rectangular tumbling mat.
Here is a list of the supplies you will need:
- a 4×8-Foot Piece of Plywood
- 6-10 Bags of Polystyrene Foam Beads
- 1 Roll of Heavy-Duty Duct Tape
- 1 Can of Spray Adhesive
- 1 Yard of Vinyl Fabric
- 1 Yard of Hook and Loop Fastener
How to Make a Tumbling Mat Step by Step Guide
Step 1: Ready Your Supply
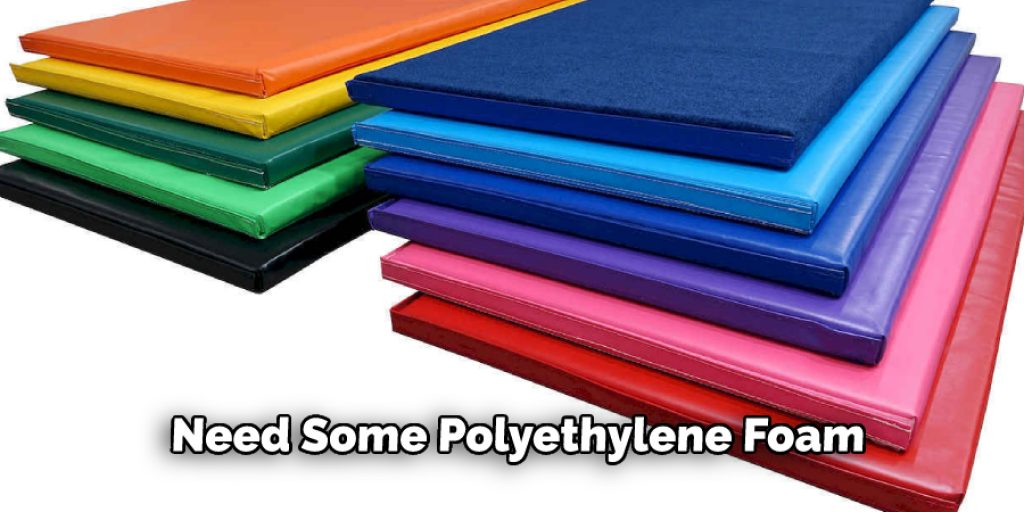
You will need some polyethylene foam, which you can find in most hardware stores. You will also need a large piece of vinyl fabric. Try to find a color that contrasts with the foam, making it easier to see your cuts.
Step 2: Get a Large Piece of Foam Insulation
Foam insulation is key to making a great tumbling mat. It provides a soft, forgiving surface for your tumbler to land on, and it’s easy to find and relatively inexpensive. You can get foam insulation at most hardware stores.
Step 3: Cut the Fabric to The Desired Size
Now that you have your fabric, it’s time to cut it to the desired size. For this project, we will make a tumbling mat that is 4 feet by 6 feet.
First, layout the fabric on a flat surface. Measure 4 feet from one end of the fabric and make a mark. Then, measure 6 feet from one side of the fabric and make a mark. Next, connect the marks by drawing a line with a pen or a piece of chalk. Finally, cut along the line you just drew to create a 4×6-foot rectangle.
Step 4: Cut the Foam
Now that you have your fabric, it’s time to cut the foam. You’ll need two pieces of foam that are the same size as your fabric. The thickness of the foam will depend on how soft or firm you want your tumbling mat to be. If you’re unsure, start with a thicker piece of foam and trim it down if necessary.
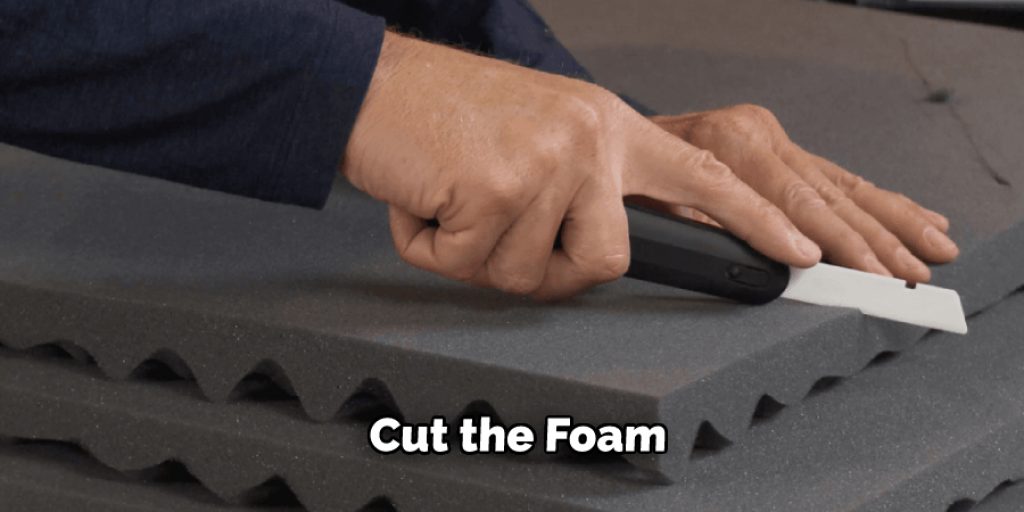
Use a sharp knife or a rotary cutter to cut the foam to make things easier. If you’re using a knife, be sure to cut slowly and evenly so that you don’t end up with uneven foam pieces.
Step 5: Attach the Foam to the Fabric
Now it’s time to attach the foam to the fabric. Using a hot glue gun or a spray adhesive, you can do this. If you’re using a hot glue gun, be sure to apply the glue evenly to both the foam and the fabric to adhere properly. Once you’ve applied the adhesive, lay one piece of foam on top of the other and press them together.
Step 6: Trim the Excess Fabric
Once you have the foam attached to the fabric, you can trim away any excess fabric. Be sure to leave a few inches of fabric around the perimeter of the mat so that you can secure it later on.
Step 7: Secure the Perimeter
Now that you have all of your panels assembled, it’s time to start joining them together. Begin by attaching two panels at a time, using either Velcro strips or PVC pipes and fittings. Once all the panels are connected, reinforce the mat’s perimeter by attaching a strip of Velcro around the entire edge. This will help to keep the mat from shifting and sliding during use.
Now that your tumbling mat is complete, you can start practicing those flips and twists! Just be sure to use it on a soft surface, like a carpeted floor or an exercise mat, to avoid accidents. Happy tumbling!
Frequently Asked Question
What Is a Tumbling Mat Made Of?
A tumbling mat is typically made of closed-cell foam. This foam is dense and will not absorb water, making it less likely to mildew or grow bacteria. Additionally, this type of foam is resistant to cuts and abrasions, making it a safe surface for performing stunts and tricks.
How Thick Should a Tumbling Mat Be?
There is no definitive answer to how thick a tumbling mat should be. The mat’s thickness will depend on how often it will be used, the weight of the person using it, and how much space is available. A general guideline is that the mat should be at least 1 inch thick, but it may be thicker for heavier people or more intense use.
How Can I Practice Tumbling at Home?
One way to practice tumbling is by making a tumbling mat. This can be done by using an old mattress, sofa cushions, or any other soft material that you can stack together. You can also use a trampoline if you have one. Be sure to stay safe and use caution when practicing on your own.
Conclusion
If you’re looking for a fun way to get in shape, look no further than the tumbling mat. This piece of equipment is perfect for anyone who wants to improve their balance and coordination. It is great for fitness enthusiasts, but it can also be used as a rehabilitation tool. Thanks for following along with our tutorial on how to make a tumbling mat. We hope you have as much fun using it as we did making it!
You Can Check It Out To Take Apart a Mechanical Pencil Without Breaking It


