How to Make an Artificial Hot Spring
A hot spring is a natural occurrence where groundwater heated by the earth’s heat rises to the surface. This combination of heat and minerals can create a relaxing and therapeutic environment. But what if you don’t live near a natural hot spring? Or maybe you’re looking for something different?
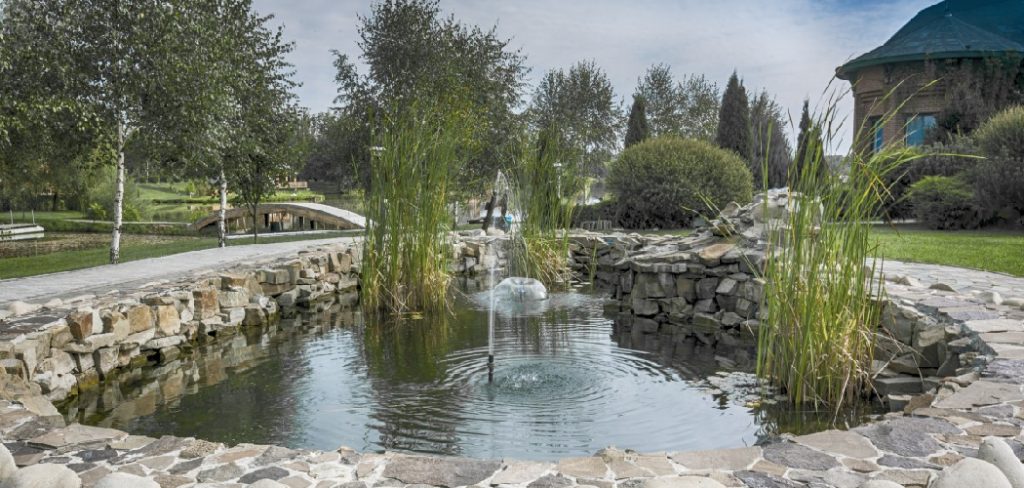
You can create your own artificial hot spring right at home! All you need is an insulated container, some rocks, and some water. This blog post will show you how to make an artificial hot spring using those supplies. So read on to learn more!
What Is a Hot Spring and How Is It Formed?
A natural hot spring is an opening in the earth’s crust that emits geothermally heated groundwater. Many contain bubbling pools of varying temperatures, ranging from 98 to 212 degrees Fahrenheit. They are usually located near active volcanoes due to the volcanic activity creating faults and fissures in the earth, allowing water to contact magma and be heated.
The water that discharges from these openings results from groundwater that has seeped into the earth’s crust, been heated by magma at a depth of five to twenty miles, and then forced back toward the surface. When this underground water comes in contact with rocks or sediments on its path back to the surface, minerals are dissolved by the hot water and deposited on the surrounding area.
The Artificial Hot Spring System and its Application
An artificial hot spring is an artificial facility built to emulate the naturally occurring mineral-rich thermal springs. These facilities include various pools and channels of water which are often pumped from underground.
The bathing area is usually separated into several different pools with cold to very hot temperatures. A common feature in public bathhouses is the “rotemburo,” a semi-outdoor pool exposed to the elements.
The water is often used for hydrotherapy, proven effective for reducing stress and pain in muscles and joints, increasing blood circulation, aiding recovery from injuries, and providing relaxation for tired bodies. The waters are also reputed to have a strengthening effect on the immune system, so they are popular in resorts.
6 Benefits of Bathing in Artificial Hot Spring:
Artificial hot springs look not only great but also have many benefits. Installing a hot spring in your backyard can be a very smart investment for your family. Below is a list of the 6 top reasons to add an artificial hot spring to your home; some of these may surprise you!
1. Relaxation:
A large part of why people like to hang out there is that it’s relaxing. Taking a bath in a natural hot spring feels great and helps relieve stress, but artificial hot springs can do even better! The heat feels just as great, especially since it lasts for hours on end. So, if you are tired of dealing with long lines at the real one or not enjoying the benefits of a hot spring because they’re not your own, this is something you should consider.
2. A Great Place to Hang Out With Friends:
This is another thing that hot springs are known for. They tend to be located in really nice spots, so it’s always fun to go there and enjoy some good company while you soak. Artificial hot springs can be built in the comfort of your backyard, so you don’t have to deal with work schedules or public transportation, and because they will feel just as good, it’s worth it!
3. Increase Blood Circulation:
One of the main reasons we like to soak in hot springs is that it increases our blood circulation and makes us feel better and more relaxed. So, if you have always wanted your onsen, an artificial one can be a great option. Once it’s built, all you need is some water and the relatively cheap heaters to run, so it’s cost-efficient.
4. Skin Care:
Soaking in hot spring baths is one of the most effective ways to care for your skin. Many chemicals and minerals found in hot springs can help keep you looking young, such as sulfur and sodium chloride (salt). Although it’s not exactly like real hot springs, artificial ones have these same beneficial ingredients, so you can get the same skincare results without having to walk for miles or deal with crowds.
5. Prevent Illness:
Studies have shown that soaking in hot springs can help prevent Illness, especially respiratory illnesses such as colds and allergies. It may not be a cure, but It helps if you’re often sick! This is also one of the reasons why people love to spend time at hot springs. One reason is that it’s relaxing, but another is that it helps prevent Illness, which means you can feel better all year round!
6. Relax Muscles:
One of the best things about soaking in natural hot springs is how amazing your muscles feel afterward. It’s very relaxing and helps prevent muscle aches. Artificial hot springs can do the same thing, so this is another great reason to consider getting one installed.
What Supplies and Materials You’ll Need?
Water:
The most important component for creating an artificial hot spring is water. Depending on the size of your container, you will need a significant amount of it. You also want to make sure that the water you use is clean and free from any chemicals.
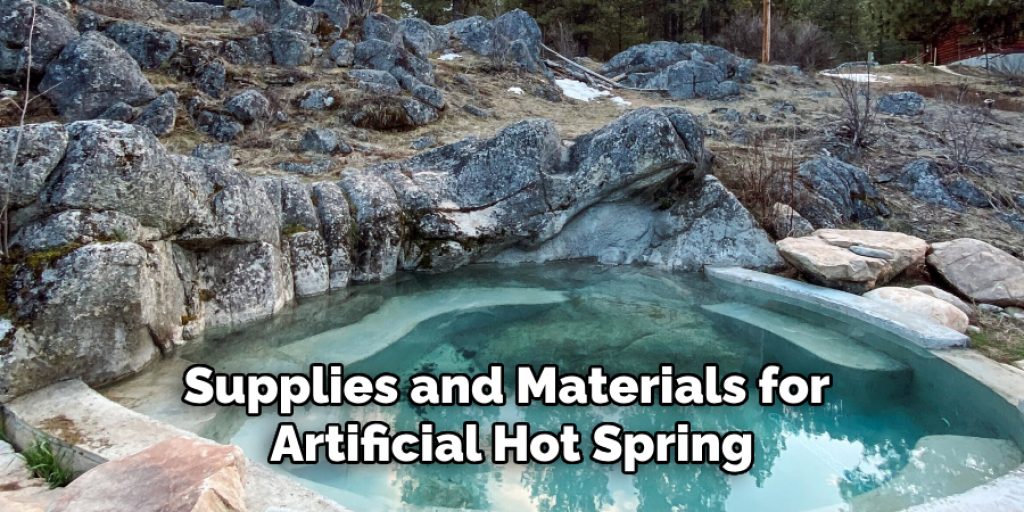
Insulated Container:
To create a realistic environment, you’ll need a container that is properly sealed and insulated. A wooden barrel, a large plastic tub or an old metal tub would all work well. You’ll also want to make sure the container is strong enough to hold the weight of the rocks and withstand high temperatures.
Rocks:
Rocks are essential for creating an artificial hot spring as they retain heat well and help simulate a natural environment. Make sure to choose smooth, non-porous rocks that won’t break easily. You can use any type of rock, but volcanic rocks are preferred as they have high heat retention properties.
Heating Element:
To heat your water, you’ll need a heating element such as a propane burner or electric heater. It’s important to choose a heater with the appropriate size for your container and to monitor the temperature regularly.
Hose and Pump:
A hose and pump are necessary to create a circulation system for the water in your artificial hot spring. The pump will help move the water through the heating element and into the container, while the hose will serve as a channel to circulate the water back into the heating element.
Chemicals:
To maintain a clean and safe environment, you’ll need chemicals such as chlorine and pH balancers. These will help regulate the water’s cleanliness and prevent any bacterial growth.
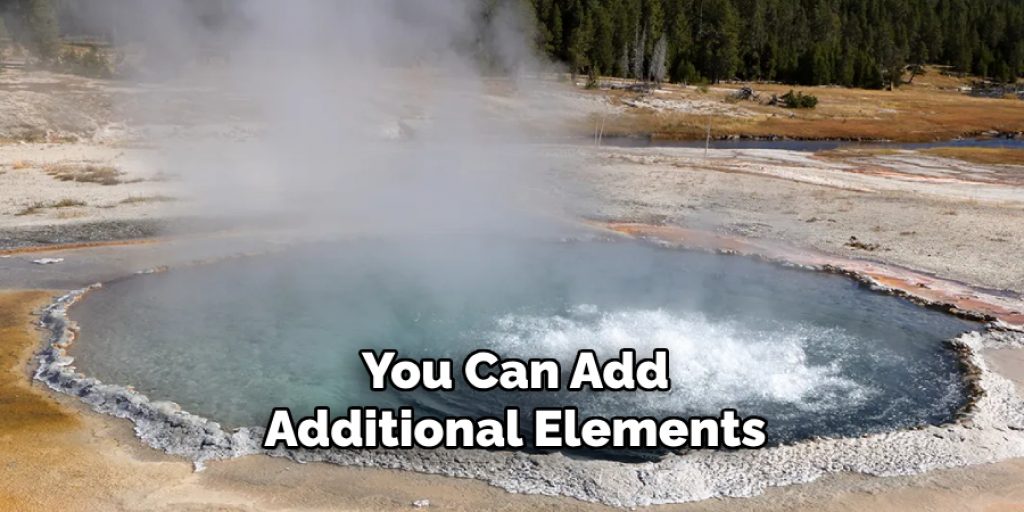
Extras:
You can add additional elements to enhance your artificial hot spring experience, such as a wooden deck or steps for easy access, seating areas, lighting, and even plants to create a more natural feel. Be creative and make it your own!
Step-by-Step Guide: How to Make an Artificial Hot Spring
Step 1:
You will need to find a good location to place your hot spring. It should be next to an existing water source, such as a river. Please make sure the ground of the spot you choose is easy to dig in; otherwise, it will make the construction of this project very difficult. Also, remember that the floor you choose must have good drainage and slope away from the spring. You can build a small channel and lead the water to another area if it doesn’t.
You’ll also want to make sure the location is away from any flammable objects and has enough space for your desired size of the container. It should also have a solid foundation to support the weight of the container and its contents.
Step 2:
Dig out an oblong pit about 1.5 meters x 3 meters long and 80 centimeters deep. Make sure the floor of this pit has good drainage so water will not collect after that; make sure to choose a place that gets at least six hours of sunlight every day so that the sun can warm up your artificial spring. You can also install a drainage system or even add gravel to the bottom of the pit to ensure proper drainage.
It’s important to also consider the depth of your container and how much space you’ll need for the rocks, so dig accordingly. You may also want to create a slanted area for seating or steps.
Step 3:
Cover the bottom of the pool with a thin layer of small, rough rocks. These will help create a natural filtration system that can purify your water. Make sure to cover the sides of the pit with rocks as well. You can use larger rocks or boulders for this. This step is essential as it will help secure your container and prevent leaks.
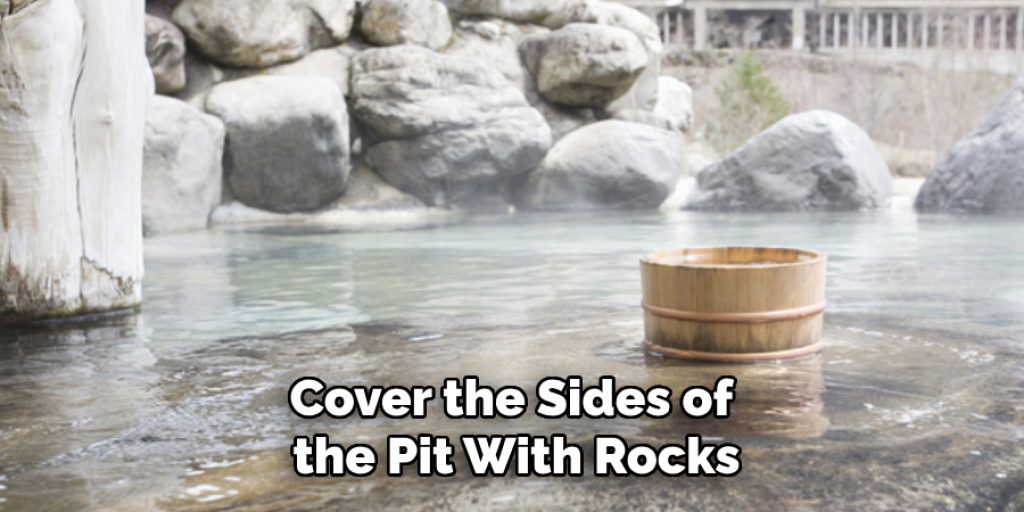
Although it may be tempting, do not use any sharp rocks as they can puncture your container and cause issues later on. It’s also important to note that you should not use concrete to line your pit, as it can crack under high temperatures.
Step 4:
Pour about 100 pounds of rock salt into the pool. The salt will act as a water softener, so don’t be alarmed by the very salty taste of your artificial hot spring. This also helps to soften up your water and make it milkier in color. You can also add other minerals such as Epsom salt, baking soda, and borax, to create a variety of benefits for your skin.
You can also add some herbs or essential oils for aromatherapy benefits, such as lavender for relaxation or peppermint for rejuvenation.
Step 5:
Build up layers of larger rocks around the edges of your pool to act as a border for your artificial hot spring. Make sure they are evenly spaced and fairly flat. Ensure that you have an even layer of rocks going from one side of this outer rim to the other so you don’t have a lip overhanging on any side or too much of a gap. You don’t want water to flow out of the spring, so make sure it is well-contained. Then, pour about 100 pounds of rock salt around the edges for stabilization purposes.

It’s important to also add some smaller rocks on top of the larger ones to fill in any gaps and create a smooth, even surface. This will also help prevent injuries when getting in and out of the hot spring. But make sure to leave some space in between the rocks for water circulation.
Step 6:
You need to fill your artificial hot spring with water now that you have built up its border with rocks. First, make sure you are far enough above the pool level that you can screw on the cap to your water container. Place a waterproof container with holes drilled into it or something similar that allows water to pass through but stops any large debris from passing. Fill it up, screw on the lid and watch your artificial hot spring fill up.
The water will also help stabilize the rocks and prevent them from shifting or moving. Once the container is full, you can use a hose to fill up the remaining space. Make sure to check for any leaks in your container and fix them immediately if found.
Step 7:
Use aquatic plants or decorative stones around the rim to make your pool look more attractive. Also, use some laminate flooring to cover any large rocks sticking out of the mix. This will help prevent scratches and other problems. Then you can install the pump and heater according to manufacturer instructions. You can also install any additional elements such as lighting, seating, and planters at this point.
It’s important to test the water and make sure everything is functioning correctly. Adjust any chemicals or pH levels as needed. You may also want to add a cover for your hot spring when not in use.
Step 8:
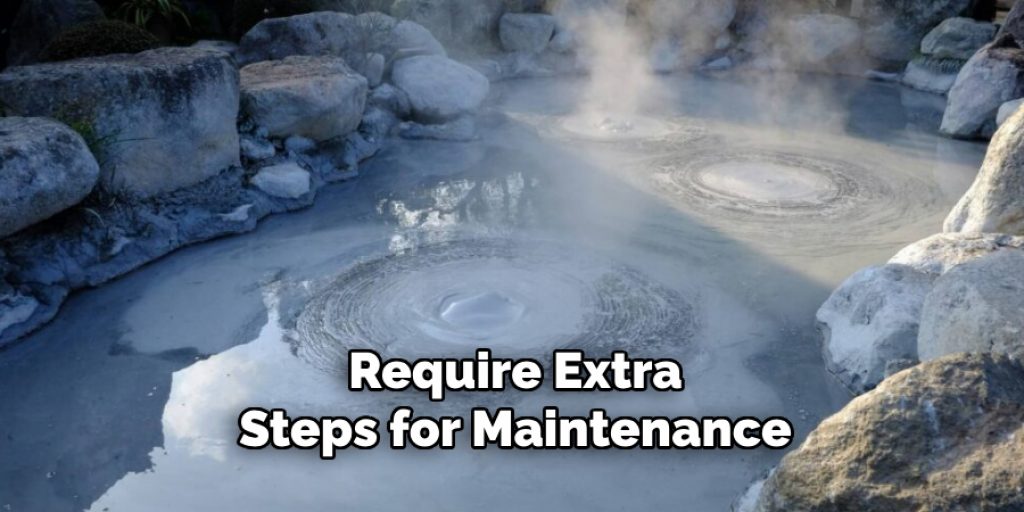
Once your pool is full, add in some chemicals to control the pH levels and keep your water clean. This includes chlorine or other pool chemicals bought at a local store. Read all directions carefully before applying them to the water because each chemical works differently and may require extra steps for maintenance and upkeep. Make sure to keep your hot spring clean and regularly check for any damage or needed repairs.
Enjoy your very own artificial hot spring! You can use it all year round, no matter the season. Invite friends and family over for a relaxing soak or use it as a therapeutic treatment for any muscle or joint pain.
Step 9:
You can now use your artificial hot spring. It works the same way as a natural hot spring, so you need to be very cautious when getting in and out of it. Please remember that water that is much hotter than your body’s natural temperature may cause severe burns, which is why older children and teens should only attempt this project with adult supervision.
You can also enhance your hot spring experience by adding in floating chairs, candles, and music for a more luxurious soak. Don’t forget to regularly check the water levels and maintain proper chemical balance to keep your hot spring clean and safe for use.
Step 10:
To keep your artificial hot spring looking nice, you should clean it at least once a week by running the water from the pool out into an existing body of water, such as a river. This will help remove any trapped debris and prevent buildup in your artificial hot spring.

You can also drain and refill the hot spring periodically for a thorough cleaning. Remember to always check for any damage or needed repairs before refilling. With proper maintenance, your artificial hot spring can last for many years of enjoyment. So go ahead and start planning your next relaxing soak in your very own backyard paradise!
After following these steps on how to make an artificial hot spring and creating your own, you will have a unique and refreshing addition to your home. Not only is it a fun project to do, but it also provides many benefits for your physical and mental well-being. So grab some rocks, salt, and water and get started on creating your very own artificial hot spring today! Happy soaking!
Conclusion:
As you can see, it’s not too difficult to make a hot spring by yourself. It might take some time and effort upfront, but the result is worth it! You’ll never have to wait for someone else or spend money on expensive spa treatments again when you know how to make an artificial hot spring of your own at home.
We hope that this article has helped you decide whether to invest in an artificial hot spring for your home. If so, we’ve provided some information about how they work and what you need to do before installing one of these systems. Remember, if you have any questions at all, don’t hesitate to contact us! Thank you for reading the blog post; see you next time!