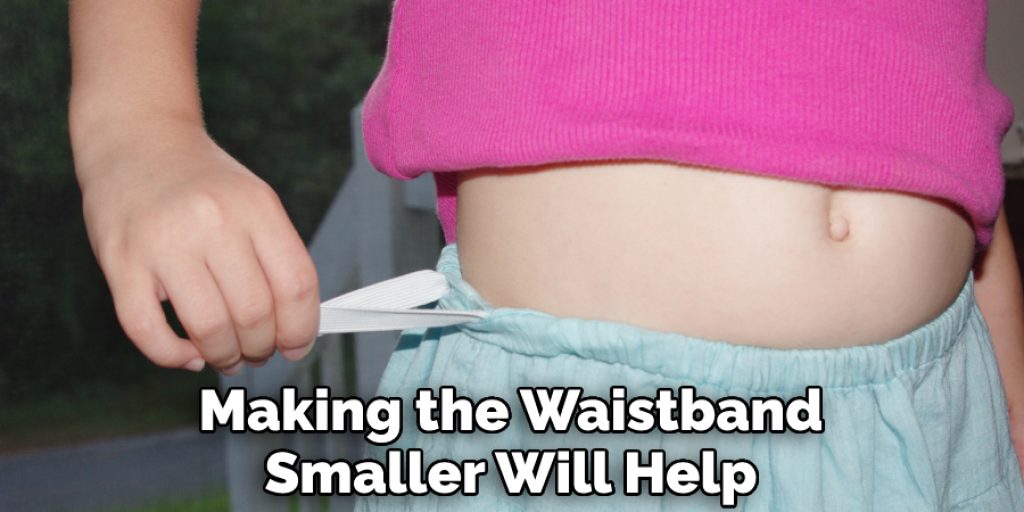
How to Make an Elastic Waistband Smaller
Introduction:
Do you want to know how to make an elastic waistband smaller? If yes, then you may follow this entire article because it is specifically dedicated to you! Elastic is regularly used to make belts in garb.
Yet, you may likewise need to stitch elastic to make fitted sleeves on a blouse, the pinnacle for a dress, or provide a cozy shape in whole regions of an article of garb.
Sewing flexible into a piece of writing of garb is not the same as commonplace sewing because you need to represent the stretchiness the bendy will give the cloth. However, you can sew it to the clothing article straightforwardly or make packaging for the versatile and embed the flexible through the packaging.
Summary: If you’re looking to reduce the size of your elastic waistband, there are a few things you can do. First, make sure your band is tight enough. Second, try wearing a belt or waistband extender. And finally, cut the band off after it’s no longer snug.
Required Materials:
- Elastic,
- Scissors,
- Sewing Machine
Methods on How to Make an Elastic Waistband Smaller:
Method One
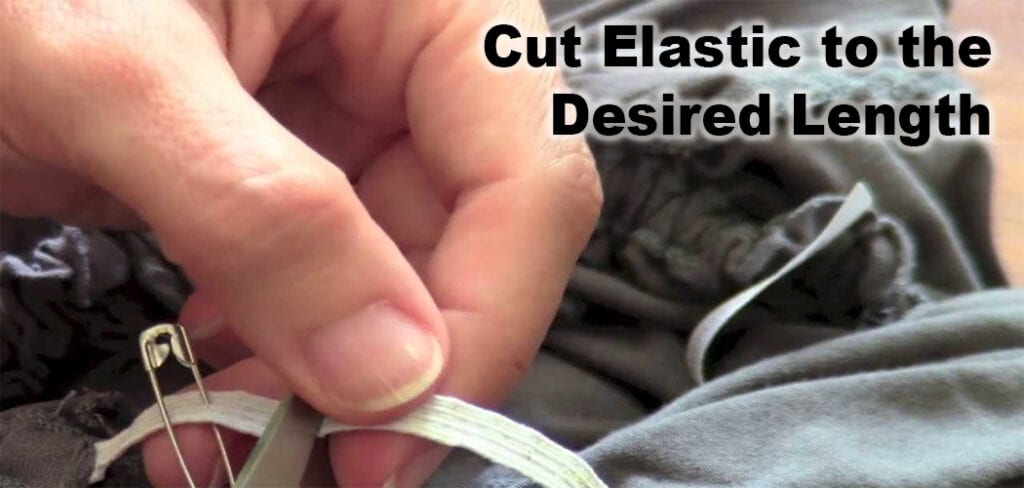
Step One: Cut Elastic to the Desired Length
Cut the elastic to the length you want it. The shorter you cut it, the tighter it will be on your waistband. Thread the elastic through the casing and sew it in place, using a zigzag stitch.
Step Two: Fold the Elastic
To make a secure elastic band, fold over one end of the elastic about a quarter inch with the wrong side of the fabric facing you. Sew it into place just outside each seam near either edge of where it meets your garment’s seams.
After you cut out the shape of the fabric, sew along the two long edges using a zigzag stitch. This will prevent the fabric from unraveling if it gets pulled on when you’re wearing it.
Be sure not to stretch too much while stitching; otherwise, stitches may become loose after repeated wearings, but if that happens, simply recut, then redo the elastic. Cut the elastic a little longer than you need to allow for any stretch or inaccuracies in cutting, and then either finish with a needle and thread, or by using a wider elastic, fold it over and sew in place.
Step Three: Fold Waistband in Half Lengthwise
Turn right side out and stitch in place around waistband on either edge about ½” from its raw side. Fold waistband in half lengthwise, right sides together. Stitch around the fold, leaving a 3″ opening on one side.
Step Four: Turn the Elastic to Its Right Side
Turn the elastic to its right side. Then, stitch next to it in place at both ends, about half an inch from the raw edges. This can be tricky at first, but you’ll soon see that the results are worth it.
Step Five: Stitch Any Other Loose Threads
Stitch any other loose threads around waistband near seam allowance or on either edge, then turn over ¼ of an inch, fold under again, and topstitch close to the first stitching line. If your waistband is double (it has an inside and outside), you have to be careful when sewing it down.
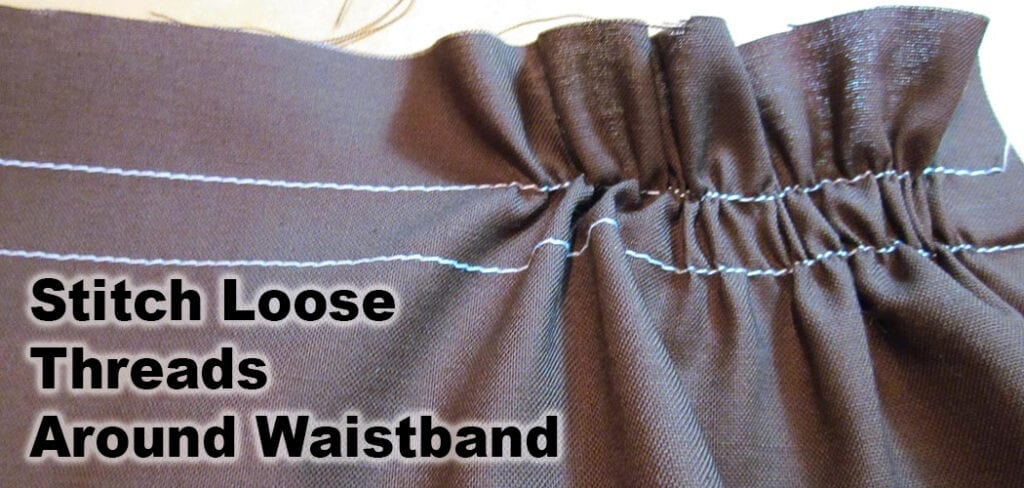
We recommend doing this step with a zigzag stitch, such as overcasting for extra security, since this is where most pulling force will be applied while wearing your garment.
This process can easily be reversed if you would like the fabric’s natural stretch back into the elastic after repeated wearings. When you pull up on it, there is room within the hole created by pulling upwards for a larger waist.
Method Two
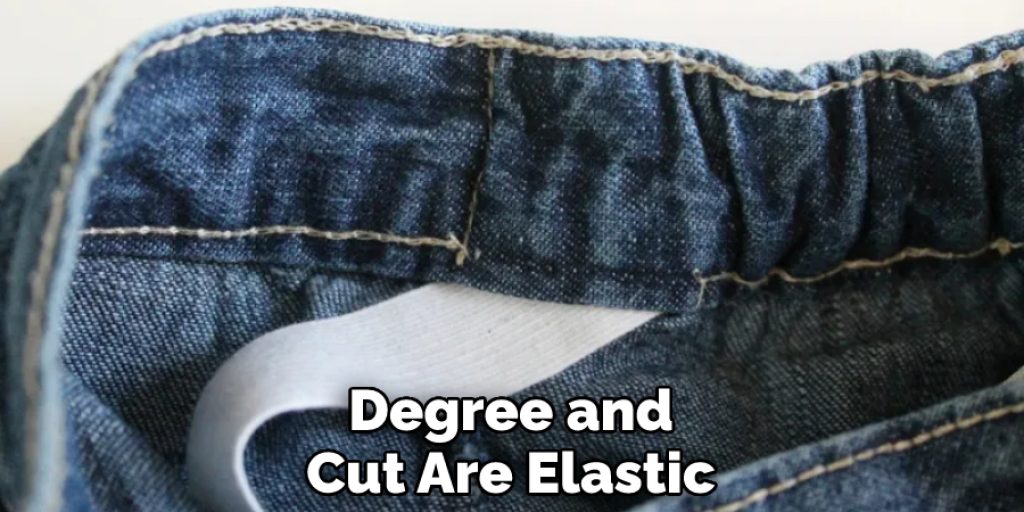
- Degree and cut are elastic. To decide how plenty of flexibility you may require for the band to your piece of garb, measure the territory of the individual’s frame that the band will fold over.
- Sew together the finishes of your versatile.
- Pin the universal to your texture in 4 equitably dispersed spots. Start by sticking the crease of the elastic to the crease on your texture.
- Sew the versatile to within the texture. After you have wrapped up the elastic to the texture, stitch the relaxed setup utilizing your sewing system.
- Crease over the feel to cowl the flexible band. Shroud the versatile within the texture you are joining in, overlaying the elastic towards within the texture.
- Stitch alongside the bottom edges of the collapsed texture.
- We believe you have now learned all the vital details of how to make an elastic waistband smaller. Thus you may execute the whole work all your own by applying your acquired knowledge practically. So then, why are you still waiting to get started?
Some Helpful Tips and Suggestions:
1. If you have an elastic waistband that is too large, you can easily make it smaller by stitching a new seam. This will cinch the fabric and reduce the size of the waistband.
2. Using a sewing machine, use a zigzag stitch to create a more secure seam.
3. You can also try using a twin needle to create a more durable seam.
4. If you are hand-stitching, use a strong thread and knot the ends securely.
5. You can also try shrinking the elastic waistband by soaking it in hot water for a few minutes. Be careful not to overdo it, or the elastic may lose its waistband, use a blind stitch for a more finished look.
5. If you are short on time, you can also try using hem tape or hemming glue to create a temporary seam.
6. Once the seam is in place, you can then adjust the fit of the waistband by tightening or loosening the stitches.
7. If the waistband is still too large, you can also try trimming the excess fabric.
8. Finally, once you have made the necessary adjustments, make sure to press the seam flat before wearing your garment.
Why Should You Make an Elastic Band Smaller?
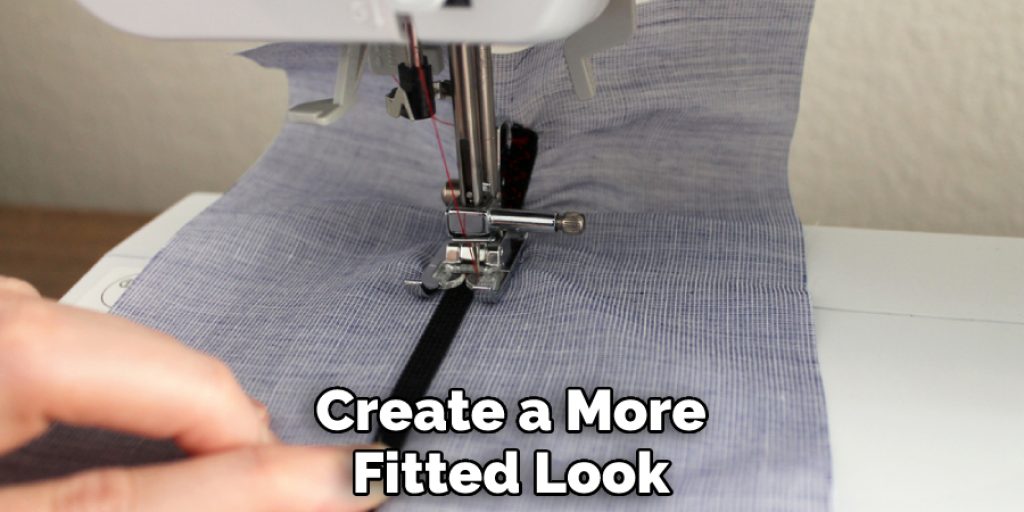
There are a few reasons you might want to make an elastic waistband smaller. It can help to create a more fitted look and feel to the garment. It can also help keep the waistband in place and prevent it from stretching out over time. Additionally, a smaller waistband can also help to create a more polished and finished look to the garment.
Warnings:
1. Be careful not to overdo it when shrinking the elastic waistband, as this can cause it to lose its shape and function.
2. Always use caution when sewing, as even a small mistake can cause the elastic waistband to malfunction.
3. Make sure the new elastic waistband is the same width as the old one, or the garment may not fit properly.
4. If the elastic waistband is too tight, it can cause discomfort and health problems.
5. If the elastic waistband is too loose, the garment may sag or fall off.
6. Take your time when adjusting the stitches, as too much or too little pressure can distort the waistband.
8 Benefits of Making Elastic Waistband Smaller:
1. You’ll Look Thinner:
When an elastic waistband is too large, it can add bulk to your frame and make you look heavier than you actually are. Making the waistband smaller will create a cleaner, more streamlined silhouette.
2. You’ll Feel More Comfortable:
A too-large waistband can be quite uncomfortable, particularly if it’s digging into your skin. Making it smaller will provide a better fit and make you feel more comfortable.
3. You’ll Have More Breathing Room:
A too-tight waistband can restrict your breathing, which is uncomfortable and dangerous. Making the waistband smaller will give you more breathing room and make it easier to breathe.
4. Stay Warmer in the Winter:
A large waistband can let in cold air and make you feel cold during the winter months. Making it smaller can help keep you warm.
5. Get a Better Fit:
Smaller waistbands fit better and look more flattering. If your current waistband is too large, you can make it smaller by following the steps outlined in this article. Then, with a little patience and some basic sewing skills, you can have a perfectly fitted waistband that looks great and feels comfortable.
6. Look More Put Together:
A well-fitting waistband makes you look more put together and polished. If your current waistband is too large, take the time to make it smaller for a more polished look.
7. Conceal Your Belly:
If you have a bit of a belly, a too-large waistband can accentuate it and make you look heavier. Making the waistband smaller will help conceal your belly and give you a more streamlined appearance.
8. Feel More Confident:
A well-fitting waistband can make you feel more confident and comfortable in your clothes. If your current waistband is too large, take the time to make it smaller for a more confident appearance. Making an elastic waistband smaller is easy to improve your appearance and feel more comfortable in your clothes. With a little patience and some basic sewing skills, you can have a perfectly fitted waistband that looks great and comfortable.
Frequently Asked Questions
Why Make an Elastic Waistband Smaller?
If you are considering making your elastic waistband smaller, then there is a good reason. Elastic waists can be challenging to wear if they’re too tight or too loose. The size of the waistband must match up with your current body measurements for it to feel comfortable and not make you look awkward while wearing it.
When measuring your waist, it’s best to wear the same type of undergarments you plan on wearing with the elastic waistband. This will give you a better estimate of the size of the elastic that you need. While it is possible to make your elastic waistband smaller, there are several steps you can take to get a better fit.
What is The Longevity of an Elastic Waistband?
An elastic waistband’s longevity depends on the quality and type of material that it is made with. Elastic bands are one of the most common waistbands because they provide a snug fit, stretch to accommodate weight fluctuations, and can be worn alone or under clothes as underwear.
However, while natural rubber has long been considered the best choice for latex-free elastics due to its durable properties, there are some considerations you should keep in mind when choosing this fabric, like thicknesses available and durability against abrasion.
How Long Will The Process Take to Complete?
If you have all the materials at hand before starting the process, it will not take more than twenty minutes to accomplish the work. But for the people who are new to using sewing machines must be well aware of the working method of the machine beforehand. Otherwise, they will find it difficult to handle the machine while trying to sew the cover.
Conclusion:
If you are watching your waistline, an elastic band can cause a lot of frustration. But don’t worry! No matter the size or age, there is a solution to this problem and we’ve got it right here for you. Read on to find out how you can make any elastic waistband smaller by following these five easy steps. It’s time to get back into those jeans that have been sitting in your closet waiting patiently for their chance at being worn again!
You may also read now:
1.How to Make a Waffle Costume
Nancy Behan
Nancy is an embroidery artist, fashion blogger and a full time editor at DIY quickly. Nancy edits the fashion section on DIY quickly, focusing on the embroidery and cross stitch articles, alongside with fabric and other costume design elements. She graduated from the University of Michigan with a Bachelor of Arts in Art History. She loves to work on her own projects, read books and watch romantic movies in her spare time.