
How to Make Cardboard Look Like Wood
Cardboard can be made to look like wood quite easily with a few simple steps. In this blog post, we will show you how to do it. So, if you are looking for a way to give your cardboard projects a more polished appearance, this blog post on how to make cardboard look like wood will help you achieve the results.
To give your cardboard a more wood-like appearance, you can apply a few simple techniques. This will help make your project look more polished and finished. By using some common items that you may have around the house, you can get great results in just a few minutes! Keep reading for more information.
Summary: In this blog post, you will learn how to make cardboard look like wood. First, you will need some cardboard and a marker. Next, draw a rough outline of a tree on the cardboard. Next, use the marker to fill in the details of the tree. Finally, use a sharpie to add color to the tree.
What Things You’ll Need
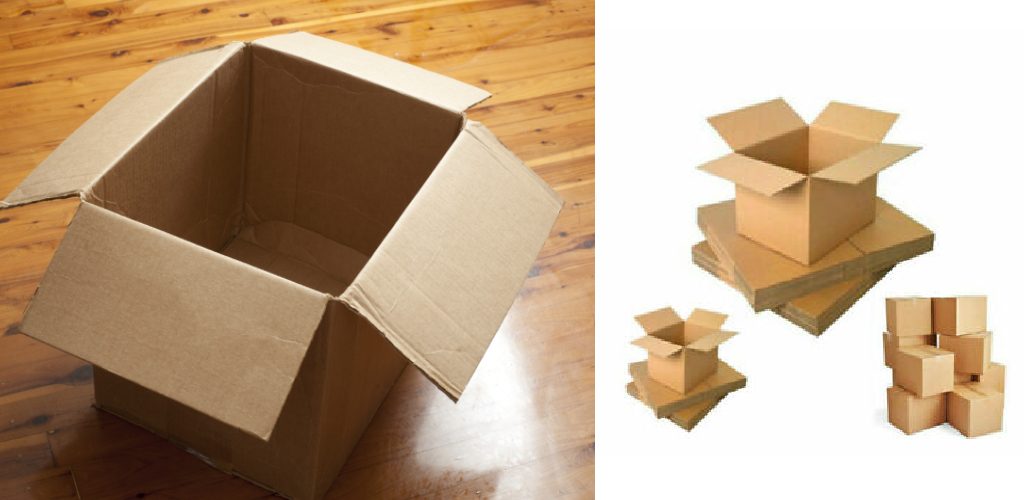
- Cardboard
- Acrylic Paint
- Fabric or Leather Cloth
- Toothpick or Other Pointy Object
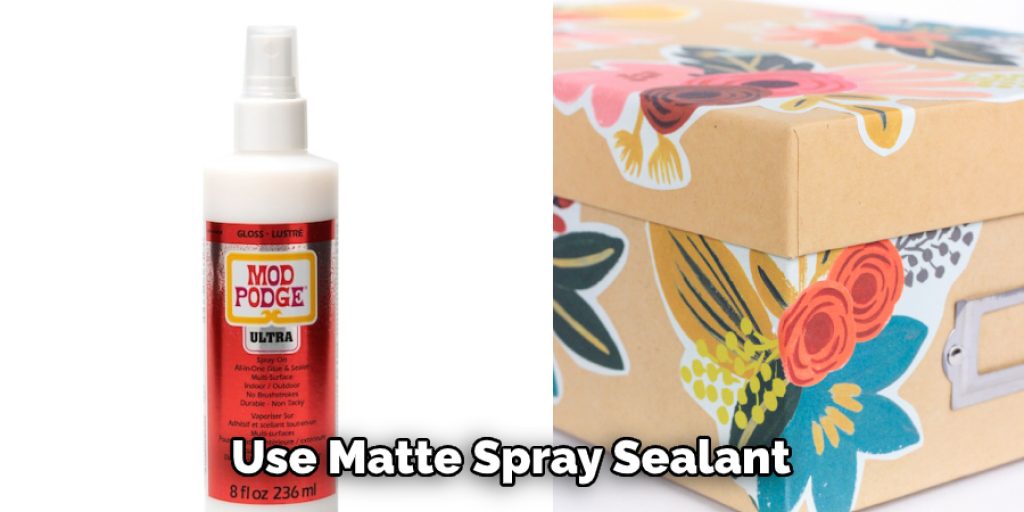
- Matte Spray Sealant
Step by Step Process: How To Make Cardboard Look Like Wood
Step 1: Position the Cardboard
Position the cardboard on a flat surface, and cover the cardboard by wrapping it with fabric or leather; make sure that the edges of the fabric are also stuck on to something.
For example, if you’re using cardboard for a box, then stick the edges on some sturdy object like another box. If you’re making flat stuff like picture frames, use masking tape to attach the cloth onto the cardboard. Cut any excess material that gets stuck outside the sheet of cardboard because this will get in the way later.
Step 2: Paint the Cardboard
To paint it, use either acrylic or latex paints; both are easy to apply and cover-up surfaces. The fabric should be able to absorb liquids, so don’t worry about it getting messed up.
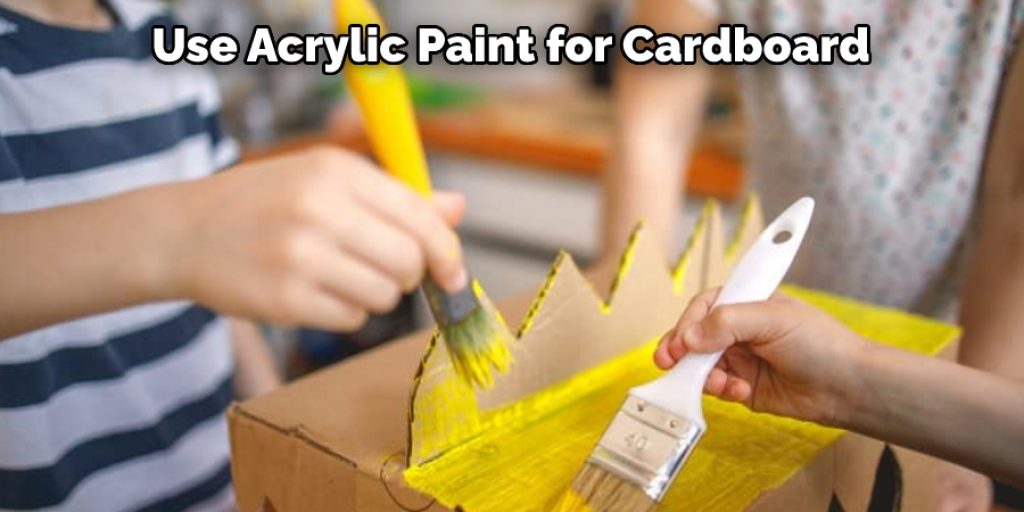
Use a brush to apply the paint evenly all over the cardboard. Make sure not to smear any paint off on the fabric or on any other locations on the cardboard’s surface.
Step 3: Let it Dry Completely.
Since acrylic paints are usually thin, they will dry fast. However, to ensure that it’s completely dry, let the paint sit on the cardboard for about two hours. Look at the edges of the cardboard carefully; if any areas feel sticky, then there might still be some wet paint in that area, so check it with your fingers or a piece of fabric or something.
Step 4: Apply the Matte Spray Sealant
This spray can be used to give a matte finish on pictures, furniture, or other wood-looking surfaces. Hold the can 8-12 inches away from the surface and press down for around 2 seconds to apply it. You can hold up a piece of fabric at this point to check if there are any noticeable areas where they can spray too much. If so, wipe it off immediately because the sealant will dry in seconds.
Step 5: Making the Base Layer
To make a cardboard turtle, you will need to cut two strips of cardboard 2 cm by 3 cm and paint one side with brown acrylic. Once the paint is dry, submerge the pieces of cardboard into a few milliliters of water for about ten seconds. Be careful not to let any water into the cavities of the wood. After the pieces have absorbed some water, place them on a paper towel with the painted side facing down.
Step 6: Making Patterns
Creating patterns can be easy. Take a pencil and make dots across the surface of the cardboard-like in the picture above. Make sure you space them evenly by counting or measuring with a ruler.
Step 7: Making Tiny Wooden Pieces
For this step, cut out small squares using scissors; they don’t have to be perfect, but they will affect how smooth your wooden pattern looks. Cut them out of excess cardboard, but try not to waste any material because you’ll need the pieces later.
After cutting out the squares, use a toothpick or similar object, dip it in acrylic paint, and lightly tap it over the squares. Make sure that they are completely dry before moving on to the next step.
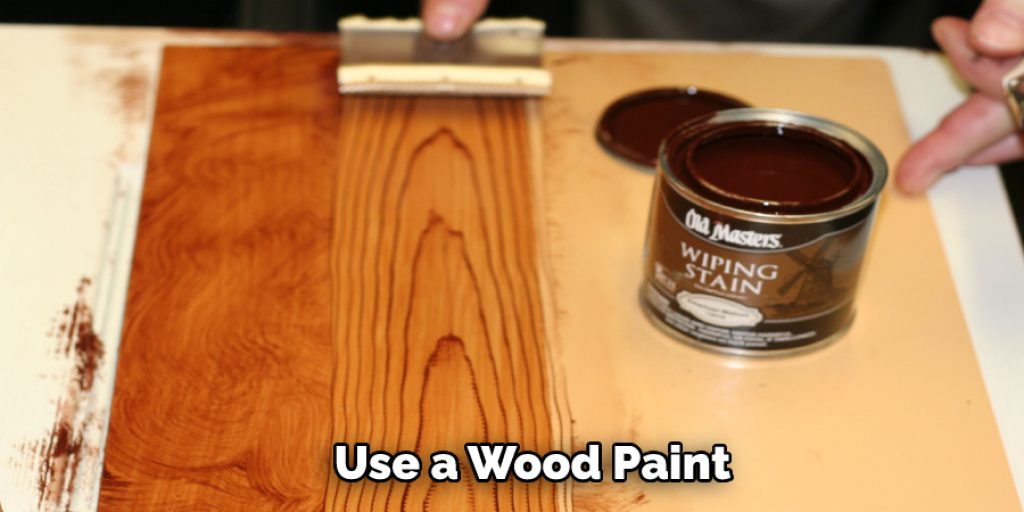
Step 8: Spray Paint on Cardboard
Spray the cardboard with a light coat of brown paint. Make sure you spray from a distance to avoid damaging the surface and splattering the paint. Spray evenly across the entire piece so that it’s not visible where one part of the pattern begins, and another ends.
Step 9: Dip the Squares in Water Again
Remember those little squares you cut out? They should be dried by now, so dip them into a bowl of water and let them sit for about fifteen seconds. Remove any excess liquid from them using a paper towel. Check carefully if there are any visible wet spots on the pieces. If so, pat them with a paper towel until they are completely dry.
Step 10: Tap a Square onto a Wet Surface
Begin by tapping a square onto a wet surface. Make sure that it sticks flatly and firmly onto the water because if not, you have to remove it and try again. When you successfully stick it on, leave it there for a minute or two to make sure that it sets in firmly and won’t budge.
You Can Check It Out To Make a Doorstop Out of Cardboard
What’s the Difference Between Laminate and Composite Boards?
Composite wood boards are made up of shredded wood that has been compressed into a panel. They look almost identical to real hardwood but are more resistant to moisture, scratches, fading, and dents. Even though the appearance is close to being indistinguishable from actual hardwood floors, they may not feel the same.
This is because composite boards often contain a plastic resin, which can change how it sounds when you walk on it and how certain stains look depending on how much resin was used in the manufacturing process. For example, if a wood flooring company uses a very high amount of resin to make its composite board, that product might take on a plastic appearance.
The same goes for stains; if too much resin is used, the wood color might not be able to absorb the stain as well, causing it to look lighter once finished. For this reason, some individuals think that laminate flooring looks better than composite boards.
Final Thoughts
Cardboard can be made to look like wood with a few simple steps. If you are looking for an easy way to give your cardboard a more polished appearance, follow these tips to make it look like wood. Cardboard can be made to look like various materials, including wood. This process is simple, and the result looks great.
We hope this blog post on how to make cardboard look like wood has given you some insights about this topic. There are many different sealants available, so be sure to choose the one that works best for your project. Also, have you tried making cardboard look like another material? Let us know in the comments!


