How to Make Chenille Patches
Without the chenille patches, many jackets will remain incomplete. That’s how we can express the importance of these patches. Besides, the Chenille patches have been around us for years. They are traditional, and at present, they are used for stylish terms too.
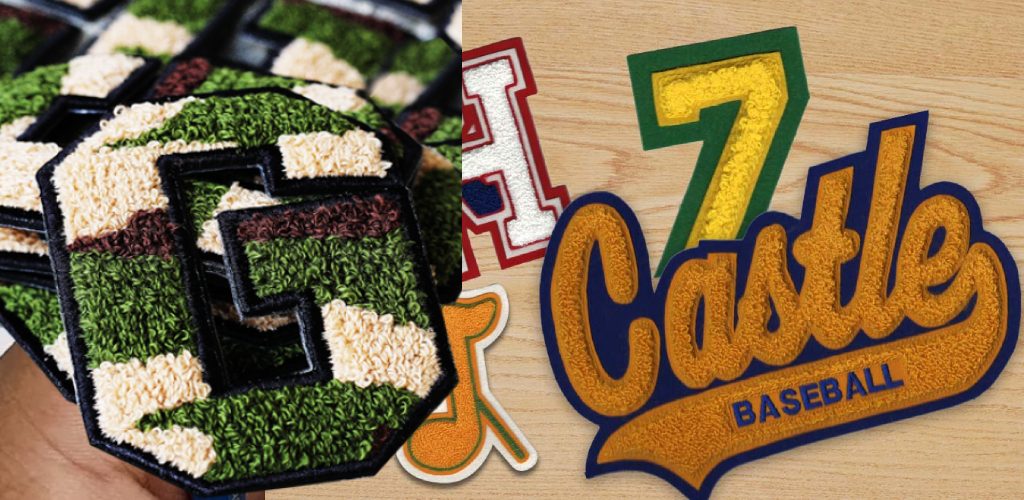
Now the question is, how can you make your clothes more interesting with chenille patches? They look delicious and can bring new life to any boring clothing. So learning about the process of making chenille patches is a great idea. And guess what? You’ve chosen the right place to learn. So focus on the process below and you’ll be patching up your clothes in no time!
Required Materials:
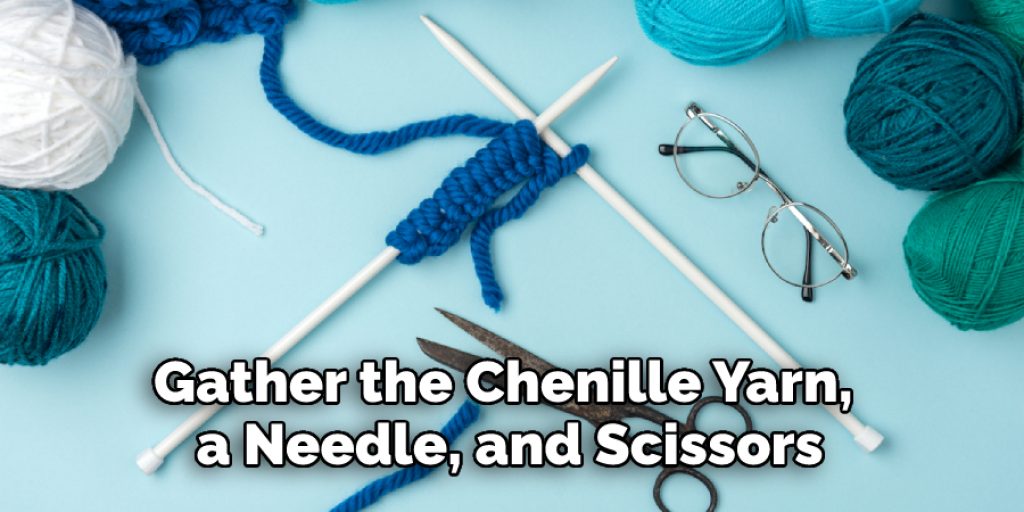
- Fabric scraps – one per patch.
- Chenille yarn – you will need a lot of it.
- Scissors or rotary cutter and mat, embroidery floss, the needle with a large eye, iron.
- Template for desired shape (optional). I’ve included the template for my favorite chenille patches in this tutorial so you can get started right away. Of course, you can also use your own drawing skills to create shapes like hearts or flowers if that’s what you’re into.
Processes on How To Make Chenille Patches:
Process One
- You will need chenille yarn, a needle, and scissors to complete this project.
- Cut the end of one strand of chenille to about a foot long with your scissors.
- Thread the loose end onto your needle (length should be around 12 inches)
- Tie it in at both ends tightly so that you have two loops on either side of the knot. Put these loops over something like an arm or chair back to hold them steady while you work; this will keep the tension even throughout all strands when used as well (you may want someone else to help if working alone).
- Separate each strand by running between thumb and index finger against it lengthwise until no more tangles are left connecting any strands.
- Twist each strand in opposite directions to form a loop.
- Tie the doubled loops together around on one side of your needle, leaving about 12 inches of loose ends at the other end; knot tightly to secure. This should be done for all strands simultaneously and can also benefit from someone else holding onto them while you tie to keep the tension even.
- If the chenille is too long or messily cut, use scissors to cut off any excess from either end. Don’t worry, though – this won’t be visible when the finished product is used.
- Begin sewing patches by attaching yarn near one edge of the fabric where desired patch placement is designated, using running stitch (overcast) to stitch around edges of the patch.
- Once sewn, cut yarn near the edge so that there is a small thread hanging from the backside of the fabric to pull it tight and knot securely on the underside of the fabric with a needle.
- Continue sewing patches this way in the desired pattern until the entire garment has been covered or the design feels finished.
Process Two:

- First of all, you will have to draw your pattern and label what color goes on in the specific places. Then place the fabric on your sewing machine. Make sure to place the fabric appropriately according to the pattern you have made.
- Now, take a punch needle and put the thread inside of the needle just as you do. If you feel complications, you can search for the process of putting a thread into the punch needle.
- “To start, take your punch needle and thread it with the color you want for your emoji’s base. For my smile emoji, I’ve chosen yellow. As you sew, follow the color codes and change the thread when needed. For the eyes, I’ve chosen black.”
- After completing the first stage of sewing, you will notice the laxity of thickness. So, to make it thick, target the empty places and use your punch needle over them again. Continue this until you reach your right consistency.
- Once you complete your sewing, iron up the pattern, take a scissor, and cut out the Patch you made earlier. That’s it; you can now use this patch anywhere you want.
Precautions:
- The fabric should be pre-washed in hot water and dried to remove any excess dye or sizing. It is also important that the fabric has not been stretched out of shape, resulting in a crooked final product.
- Once washed and dried, iron at medium heat until all wrinkles are gone. This step may need to be repeated several times for heavily starched fabrics such as wool or linen.
- If there is an especially soiled spot on the material that cannot be removed with soap and water, it can first be treated with liquid laundry detergent dissolved into warm water.

Frequently Asked Questions
Can You Iron on Chenille Patches?
Yes, you can iron on chenille patches. You will need to use a heavy-duty iron with a press cloth and be careful not to burn the fabric.
The best way to go about this is following these steps:
1. Place the patch on top of your fabric so that it covers the entire area.
2. Set your iron on its lowest setting for a few seconds until you see some light steam coming out of the machine.
3. Move the patch around while still pressing down firmly until it adheres completely to your fabric or garment surface.
What Do You Use a Chenille Needle for?
Chenille needles are most commonly used in knitting, crocheting, and needlepoint. They are also often used for embroidery and sewing on thick fabrics such as denim or leather.
In general, a chenille needle is a long pointed needle with a round eye that is used to form loops of thread or yarn into stitches.
What Kind of Machine Makes Chenille Patches?
A chenille machine is a device that creates chenille fabrics. This includes the creation of pom-poms, pompons, tassels, and other novelty items.
There are many types of machines but they can be broadly classified into two categories: mechanical and electronic. Mechanical machines make single layers at a time whereas electronic machines make multiple layers simultaneously.
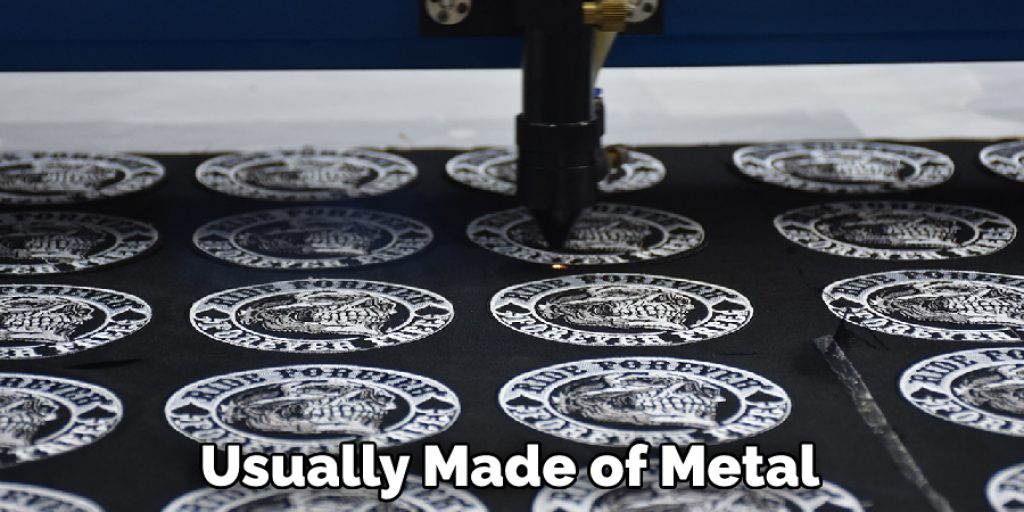
How Long Is a Chenille Needle?
A chenille needle is a needle with a ball at the end. They are usually made of metal and have nylon cord attached to them, so they can be threaded through fabric easily.
This is how long a chenille needle is: The length of the needle varies depending on the thickness of the thread that it will be used for. If you want to know how long your chenille needles are, then measure from one end of the needle to the other and divide by two.
Conclusion
Lastly, we hope that the processes we have mentioned here will help make chenille patches. Of course, you should always maintain safety while performing the task. Thank you, and have a good day.
Check it out to learn to remove sewn-on patches.
Nancy Behan
Nancy is an embroidery artist, fashion blogger and a full time editor at DIY quickly. Nancy edits the fashion section on DIY quickly, focusing on the embroidery and cross stitch articles, alongside with fabric and other costume design elements. She graduated from the University of Michigan with a Bachelor of Arts in Art History. She loves to work on her own projects, read books and watch romantic movies in her spare time.