How to Make Closet Doors Out of Plywood
Plywood closet doors are a great way to save money when doing your own home renovation. They’re also fairly easy to install, and you can paint them the color of your choice! If you’re looking for a more unique closet door, consider using a piece of plywood cut into the shape of your door.
This blog post will cover how to make closet doors out of plywood with simple tools that you may already have in your garage. So read this blog post to know the steps and guide in making closet doors out of plywood. First, measure the opening of your closet and cut the plywood to size.
Can You Use Plywood for Closet Doors?
You can use plywood for closet doors because it’s strong enough to support the weight of the clothing and whatever else you’re going to hang on your new closet doors. However, you should make sure that the plywood is at least 1/2-inch thick so that it doesn’t warp over time. You can also use a different type of wood, such as MDF, but it’s not as strong as plywood.
It’s also when you’re finished with your closet, and you can paint it to match the color scheme of your room. Or, if you want a rustic look for your new closet doors, then coating them with barn wood stain will give that great natural look to your new closets. You can also add stained glass panels to your new closet doors. This can give a unique look that’s perfect for a modern home.
Tools and Materials You’ll Need:
- Reciprocating saw
- Wood screws
- Cordless drill and screwdriver
- Level (optional, but handy)
- Hammer or nail gun with finishing nails
- Plywood sheets (at least ½” thick)
- Painter’s tape
- T-square or triangle (optional)
Steps To Follow: How to Make Closet Doors Out of Plywood
Step 1: Measure and Mark the Plywood
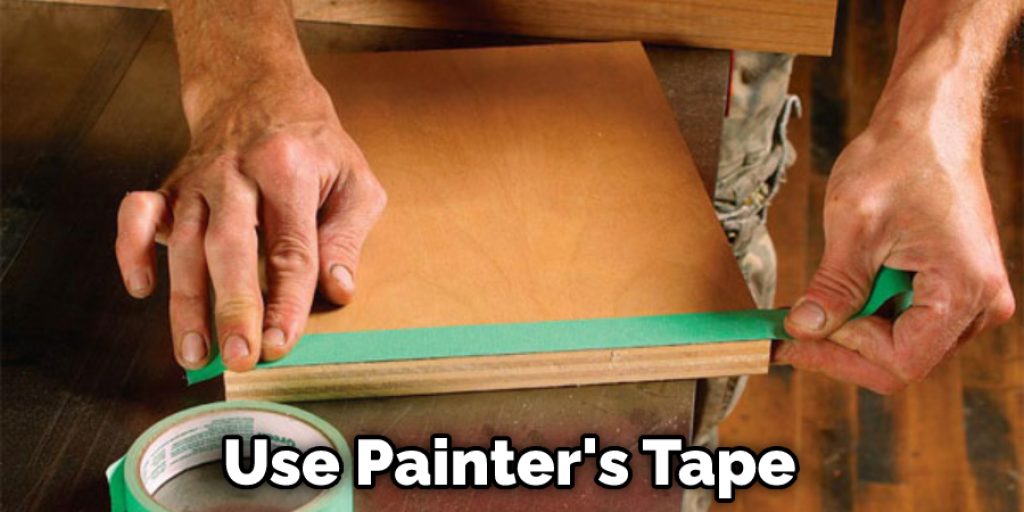
Measure the closet opening and use painter’s tape to mark the plywood sheets. Always place your tape on the back of the sheet, not in the middle. This way, you can line up each row with ease. If you placed it in the wrong spot, it’s no big deal because you’ll be cutting off a lot of excess plywood. If you’re making a closet that is deeper than a standard 12-inch shelf, make sure to measure how deep the shelves will be. That way, you can plan for how many sheets of plywood you’ll need.
Step 2: Score the Marked Lines with the Saw
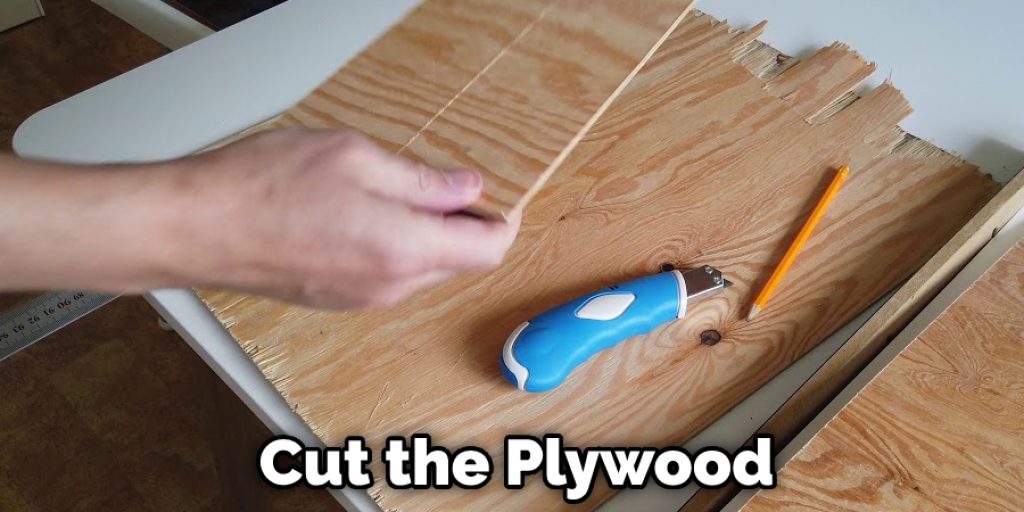
Set up your saw with a new blade if necessary. Ensure that the saw is exactly perpendicular to the plywood sheet by using a level as a guide. Now, when you turn on the saw, it will rip through the wood fairly quickly and easily, so be careful not to damage or cut yourself!
Step 3: Trim Excess Plywood
When you’re done cutting, there will be large pieces of excess plywood on both sides. Ensure to clean these off with a hammer or nail gun so that the bare edges are smooth and not sharp.
Step 4: Nail the Edges of the Plywood
Anywhere your saw was even the slightest bit off will show a rough edge. To fix this, simply hammer or nail some finishing nails into the veneer along that edge to cover and fill in any gaps. If you’re using a nail gun with brad nails, just place them around the edges instead of only on top of the seam because it’s actually the sides that usually need more nails.
Step 5: Cut Framing Lumber for Braces
Cut the plywood into smaller pieces. This will make it easier for you to carry around your tools and get them in and out of tight spaces. Now, using a level as a guide, measure up where the top row of framing lumber is and mark that on your new piece of plywood.
Step 6: Nail Braces to the Top of The Framing Lumber
You’ll be nailing these to keep things sturdy and balanced. Line up your braces with the marks you made before. Keep making new marks on the framing lumber as you make progress so that you know how far along you are when it comes time to nail them in place. Nail from both directions as well. This will make sure that the framing lumber is strong and won’t break.
Step 7: Attach the Outer Braces
Now that the braces are in place use a level to make sure that they’re even. When you’re ready, set them aside and drill pilot holes into the plywood with your cordless drill. Make sure that your drill bit is the right size for the wood screws you plan on using. Next, use a screwdriver to drive in the screws. Now, you can go back to the braces and lay them in place. You should have a few inches of wood on each side and over top where your screws are for extra support.
Step 8: Screw the Plywood Together
Screwing plywood together is an easy process, but it’s also one that can take some time. You’ll want to put 1 screw in every 3 to 4 inches along the side seams (2 screws on each end) and in every 6 to 8 inches along the top of the seam. Make sure that you’re evenly spacing these as well; otherwise, your plywood will not stay sturdy and upright when it’s installed.
Step 9: Add a New Piece of Plywood
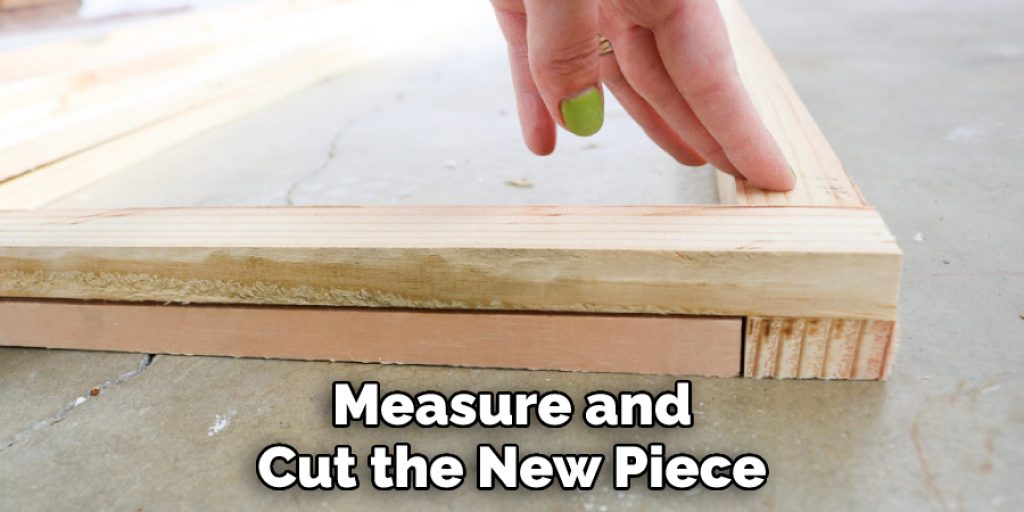
Measure and cut the new piece so that it’s slightly smaller than the plywood you’ve already assembled. Now, place your freshly cut piece on top of the existing one so that it overlaps. You’ll be putting screws in this as well, only they will go through both pieces of wood at once so that they will be strong and secure. If you also put screws in the overlapping areas of your first piece of plywood, this will add even more stability to your closet door.
Step 10: Drill Holes for the Hinge
Measure and mark the hinge holes with a pencil. You’ll want to drill these out with your cordless drill before you put on any hinges so that your opening is as big as it can be. Be careful not to let the wood splinter when you’re drilling because this could ruin your paint job! Use a drill bit that’s the right size for your hinges so that you don’t end up with ragged edges.
Step 11: Add Determine Hinge Placement and Install
Layout your hinges, hammering in the nails as you go. It would be best to install two hinges on each side of your closet door to ensure that it’s secure and provides maximum stability. Now, your closet door is ready to be painted!
Step 12: Paint the Closet Door
Once your hinges are in place, all that’s left to do is paint. You could also install some handles on each side if you wanted to add those as well. Finally, if you’re looking for an easy way to add a privacy door lock, you can install a magnetic latch that only requires the door to be pushed into place against another surface. It’s super simple and very effective!

With this technique, your finished closet door will look like it was professionally made. If you have any questions or comments about how to make closet doors out of plywood, please share them with us in the comment section below.
You Can Check It Out to Waterproof Plywood for Boat
Things To Consider When Making Closet Doors Out of Plywood
1. Proper ventilation –
It is important to have adequate air circulation when using the plywood doors. One way of solving this dilemma is by installing a small fan at the top of each door.
2. Coating –
White is the most common color for closets doors. You can add a more expensive and durable finish with marine-quality paint.
3. Proper size –
The plywood size should be around 3/4 inches thick and 1-1/2 feet wide for both sides, with a door thickness of at least one inch. When you measure your closet space, add 2 inches to each side while considering the width and height of the closet.
4. Installation –
It’s important to let the plywood sit for 24 hours before installing them into the closet so that it can acclimate to its new surroundings.
5. Design –
You need to make sure that your doors fit properly to prevent any kind of leaks, drafts, or other problems with air circulation. You need a clean and clear line of sight between each door so that they can operate properly.
6. Materials –
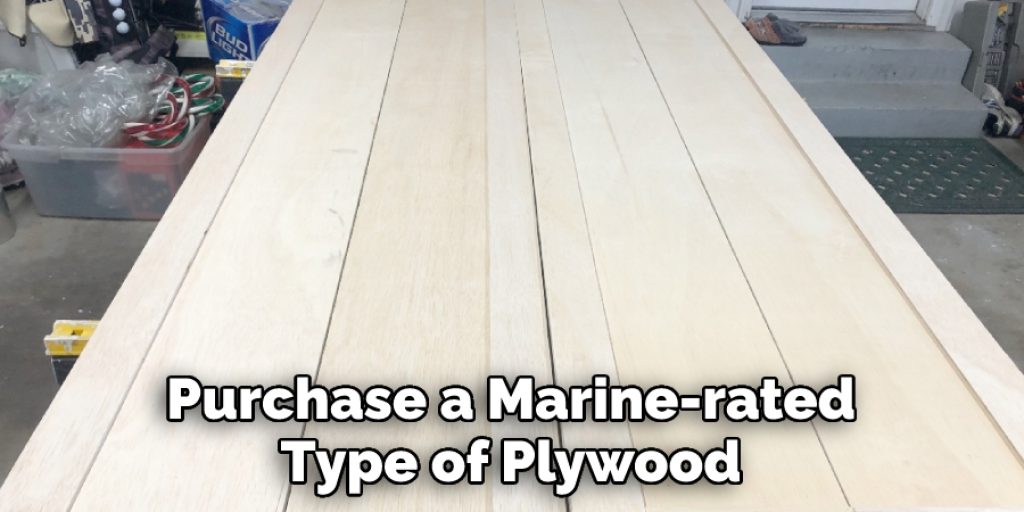
Plywood is the best choice when making closet doors out of plywood because it’s affordable, easy to cut, and available at most home improvement stores. You should make sure that you purchase a marine-rated type of plywood for your closet door.
7. Sanding –
To ensure that the plywood is smooth and shiny, you’ll want to sand down each panel after installation to soften the edges. If you don’t do this, you’re likely to find that they stick or rub against each other during use.
8. Finishing –
One of the best finishes that you can apply to your closet doors is paint. You can also add a clear coat of polyurethane or varnish so that they last longer.
9. Firm hinges and latches –
Since these doors will be used for closets, they must work properly without any issues. If you use a metal rod that’s 1/2 inch wide and 1/8 inch thick, you can drill holes in the doors. The total length of each side should be 2 inches, with the hole at least 3/4 of an inch from the edge. Next, you need to find something sturdy for your latches and hinges, like a square bracket to support the doors.

10. Waterproofing –
Before installing your closet doors, you should waterproof them with a marine-quality primer. This will ensure that they don’t get damaged as easily, which can help extend their lifespan.
Precautions To Take
- When buying your plywood (or any other woodworking material), go for one that is of good quality.
- Follow the instructions given in this article with utmost care and attention.
- Always wear safety gear while working on a project like this. Protecting your eyes, ears, etc., is extremely important as you are dealing with tools that can cause a lot of damage.
- Measure your space before buying the material. Make sure you buy exactly what you need.
- Don’t make dadoes (grooves for shelves etc.), rabbets, or any other fancy cuts in the plywood, as they would weaken the doors and may lead to cracks while opening or closing.
- Before assembling your cabinets, make sure you sand each piece to remove any rough patches and splinters because they would look bad and affect the quality of the job.
- Take good care of your tools so that you can use them for a long time.
- For applying paint and finishing touches, use quality brushes that do not shed bristles.
Frequently Asked Questions
Q: How To Make Sliding Doors Out of Plywood?
A: If you’re looking for a new way to decorate your house, or if you want to change the look of something in your home that really needs an upgrade, you might want to consider making sliding closet doors.
Sliding door systems are easy to install and can transform a room inside your home into a showplace. However, it must be noted that it is not possible to install these closet doors with the old sliding panel and door. You will have to replace those doors for your new sliding doors to be installed smoothly. Like any other woodworking project, you need a plan before you begin construction of the doors.
Q: What Kind of Wood Should I Use for a Closet?
A: If you choose to make your own closet, you’ll want to use strong hardwood such as oak, maple, or birch. If the wood is 1/3″ thick, it can stand up to years of heavy closet doors being opened and closed without warning.
Stay away from softwoods like pine and fir. They won’t last as long, and they’re more likely to warp with time. If you don’t have these hardwoods on hand, stop by your local lumberyard for a quick consultation. They’ll be able to steer you in the right direction based on what type of woodworking project you’re looking to make.
Q: What Kind of Plywood Should I Use for a Shed Door?
A: Some people choose to use solid wood doors for their sheds. However, most of the time, you’ll find that these aren’t as strong or durable as plywood shed doors. Plywood is made up of multiple layers of thinner wood sheets glued together with waterproof adhesive. This makes it considerably stronger than a solid one-piece wooden door, which can have all kinds of weak spots that would be prone to breaking.
You’ll want to use prefinished plywood for your shed’s door. Be sure you pick a coated one since the wood won’t be exposed to the elements and won’t need as strong of a coating as it would on something like an outdoor deck or patio. You can buy a variety of thicknesses. Thicker doors will be sturdier and more resistant to water damage, but they may bend or bow if not installed correctly.
Conclusion
In this post, we’ve covered how to make closet doors out of plywood. We hope you have found it helpful and that the tips shared will help you create a functional door for your home! If not, feel free to reach out with any questions or comments; we’ll be happy to answer them. Have fun crafting!


