How to Waterproof Plywood for Boat
Waterproofing plywood is a necessary step in any boat building or repair project. Choosing the right material and applying it properly for maximum results is essential. This blog post will cover waterproofing plywood for boat projects and tips on the best materials and application methods.
It will also discuss what you should avoid when working with this type of material and some safety precautions that should be taken before applying any waterproofing product.
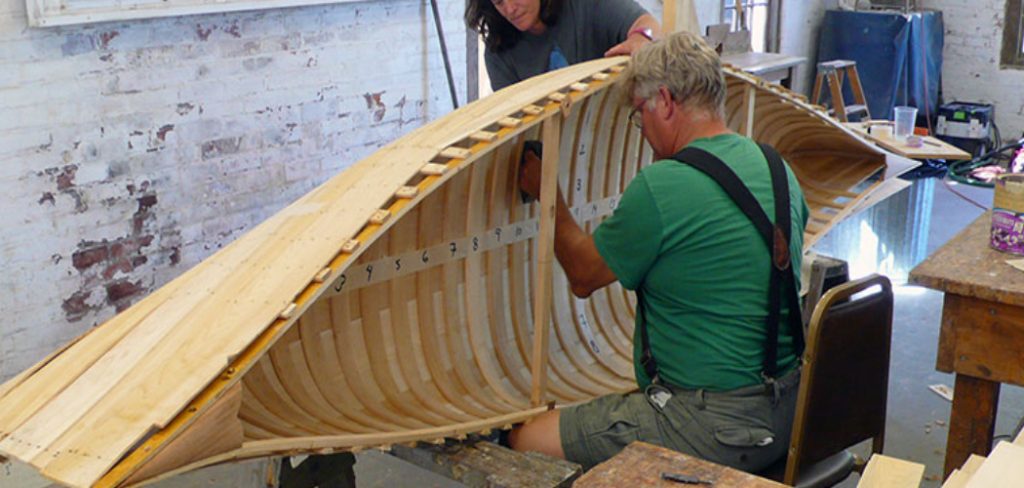
Plywood is an excellent material for boat construction. It’s lightweight, durable, and affordable. However, it doesn’t have the waterproof properties of other materials typically used in boat construction. If you’re building your plywood boat at home or need to waterproof some plywood sheets used for storage onboard your vessel, read on!
8 Reasons Why You Should Waterproof Plywood for Boat:
- All boat plywood that comes into contact with water should be waterproofed
- Waterproofing plywood makes for a better, stronger bond between the layers of the plywood
- Making a boat waterproof prevents seepage or leakage, which can cause serious damage to your vessel and its contents
- Waterproof plywood is more durable than regular plywood, not to mention it’s stronger when wet
- If you’re refinishing or overhauling your boat, waterproofing the plywood will provide an excellent base for finishing with paint or varnish
- Plywood that isn’t waterproofed can become brittle in colder climates where ice, snow, and air may seep in through the seams of your boat
- Seeping water that isn’t properly sealed away can cause rot if it isn’t dried out promptly
- While plywood is strong when dry or wet, only making the plywood waterproof prevents damage from moisture penetration
You Can Check It Out to Fix a Waterlogged Skateboard
11 Ways on How to Waterproof Plywood for Boat:
1. Apply the Proper Primer:
Primers ensure that the surface of plywood is fully sealed and protected from moisture. The primer also makes paint adhere to the wood and seal out water droplets (or ice), even if they form on the surface. Using a primer or sealant under exterior paint will ensure optimum performance for an outdoor boat project.
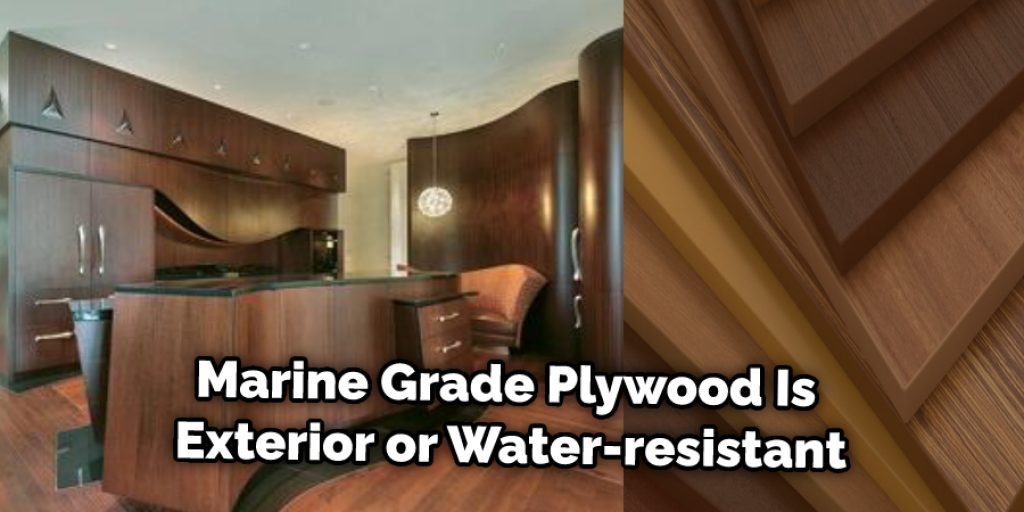
2. Use Marine Grade Plywood:
” Marine-grade plywood” simply means that the plywood is of higher quality and more resistant to water damage. Plywood from a marine supply store will be treated differently than common household plywood found at your local hardware store. Marine-grade plywood typically has many more layers of varnish to create an impenetrable water barrier.
3. Paint the Plywood:
Paint is one of the most common ways of waterproofing plywood for boat projects. However, durable paint for an external application, such as a wooden kayak or canoe, will need to be thicker and more resistant to damage from UV rays which can make exterior paint fade and crack over time.
Ask your local paint store for recommendations on products to combat UV light damage, or use a marine-rated high-gloss exterior paint specifically made for boats. Painting the entire plywood sheet helps if it is used as the bottom of a boat.
4. Build and Decorative Grids:
Grids help water drain from the plywood panels instead of pooling on top. Thin metal grids can be fastened to the exterior surface with screws or glued in place before applying paint; flexible plastic grids are pressed into grooves routed into the face of the plywood sheet after it has been painted.
5. Use Denser Plywood:
Plywood that has a dense grain pattern will be less porous and allow water to drain through more efficiently. A more visible light-dark grain pattern (compared to a whiter, striped pattern) is ideal for making plywood water-resistant. However, dark stains should be used when painting the plywood to ensure it does not absorb excessive amounts of water.
6. Use Woven Screen or Felt Paper:
Boat manufacturers often use felt paper when making wooden boats. However, the same method can be used for smaller home-built models. Felt paper works by creating a waterproof barrier between the plywood exterior and any moisture within.
7. Screw it Together:
Screws can be used to attach pieces of plywood, thus creating a stronger surface that is less likely to warp or crack under pressure (like when boats move through choppy water). Depending on how tightly the screws are applied, they may create a stronger surface and seal out water better.
8. Seal the Joints:
Sharp edges and joints in plywood sheets (where two pieces meet) allow water to seep into the wood and remain trapped inside. Coating plywood sides with waterproof glue before assembling will help keep these areas from creating leaks.
9. Wrap it in Fiberglass:
Layered fiberglass matting, attached to the exterior of plywood, provides a durable waterproof seal by filling in all the pores and grooves on the surface of plywood sheets. This process helps prevents water from seeping into the composite and corroding its structural integrity over time.
10. Use Structural Foam:
Exposed plywood edges are prone to wet rot and erosion, especially on higher-end vessels encountering choppy water. Therefore, manufacturers often cover exposed edges with a waterproof structural foam board or use a waterproof polymer varnish or paint to prevent plywood deterioration. This also prevents rusted screws from eroding the wood further.
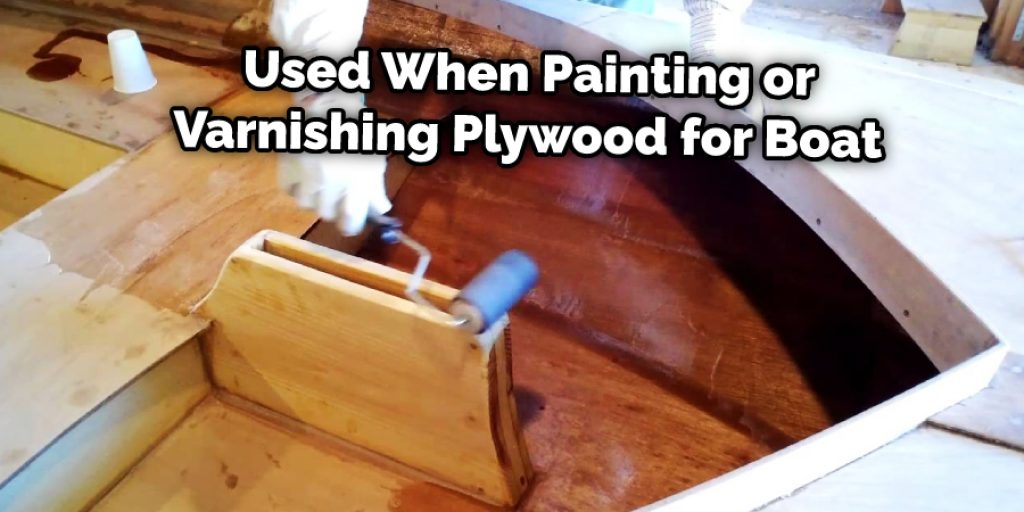
11. Use Paint Primer:
Priming your plywood before painting or varnishing is another great way to waterproof it and prevent paint or decorative grids from peeling. Marine-grade primers are specially designed to withstand the elements, so they’re perfect for this job. Just apply the primer to the plywood and let it dry before proceeding with your project.
You Can Check It Out to Make a Boat That Floats for School Project
Some Tips and Suggestions:
- To increase the lifespan of your plywood boat, you need to apply a protective coating.
- Wood is naturally porous and absorbs water quickly, so you’ll want to paint or varnish it to seal it off.
- Don’t wait until the boat is finished before waterproofing it because you will want to sand down areas to fit your hardware.
- Apply a coat or two of varnish or paint in an inconspicuous area to test for compatibility with any anti-fouling paints that may be applied later.
- If you’re applying a varnish, apply the first coat and leave it to dry for 48 hours before proceeding with the next coat.
- If you’re using exterior paint, allow enough time to dry each coat when you add the next one completely.
- Drill pilot holes in areas such as the bow and stern of the boat and apply a layer of waterproofing adhesive specifically designed for marine use.
7 Common Mistakes to Avoid When Waterproofing Plywood for Boat:
- Not using a good primer.
- Not sanding the plywood well enough to allow for proper adhesion of sealer or paint.
- Not applying sufficient coats of sealer (minimum two) and paint (minimum three).
- Using the wrong type of sealer or paint, which can cause bubbles and peeling.
- Not applying enough coats of clear finish to protect sealer or paint.
- Use a low-quality varnish or paint, which can crack & peel easily.
- Not following the manufacturer’s directions when applying your coats of sealer and paint.
Conclusion:
The key to waterproofing plywood is using a latex-based sealant with UV inhibitors. This will protect the wood from sun damage and water penetration, which is important if you want your boat project to last for years without needing repairs or refinishing.
Remember that this process can take up an entire day depending on how many boards need treatment; we recommend starting in the morning before it gets too hot outside! If you have any other questions about how to waterproof plywood for boat construction or need help with another part of your boat building process, we would be happy to offer our assistance.