
How to Make Fake Leaves
If you want to know how to make fake leaves, this article will tell you how. First, you will need some materials, including green construction paper, scissors, and a pencil. Next, you will need to trace the outline of a leaf onto the green construction paper. After that, you will need to cut out the leaf shape. Finally, you will need to glue the leaf onto a piece of paper.
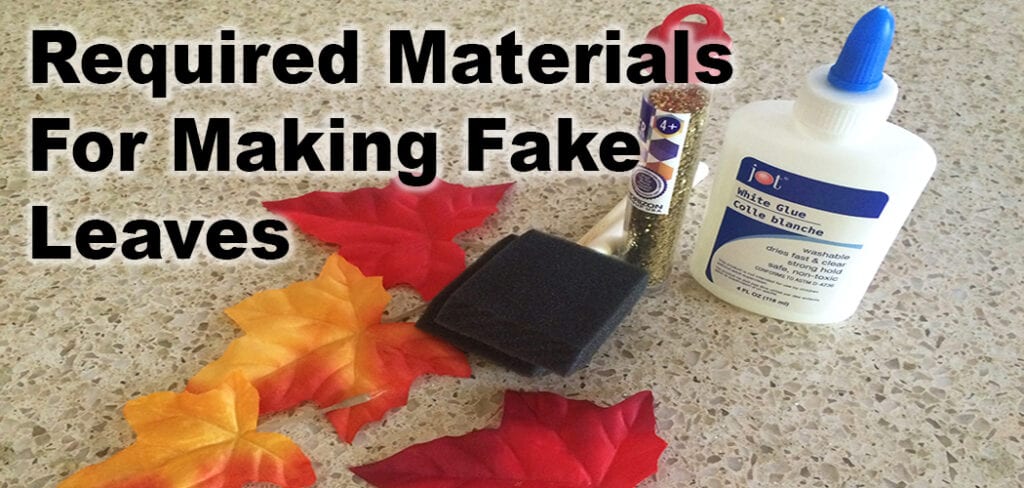
Required Materials For Making Fake Leaves:
- Glue
- Paintbrushes of various sizes and shapes. You can get different types at a craft store for less than $0.50 each, or you can use things like Q-tips or paint rollers to create the texture on leaves with paint that has been thinned out with water
- Green washable marker (or any color)
- Acrylics paint in colors close to those used by nature: yellow, orange, brown/greenish tints such as olive green, gold, etc., black acrylic ink. If you’re using large leaves, it may be easier to print them off from an online image file rather than drawing them freehand onto your surface first; this will also save time then later
- A small brush (I suggest a new one)
- Clear acrylic sealant and finish, or matte varnish. Be sure to use paint thinner if you’re using an oil-based product. You can also get creative with other materials like feathers for the edges of leaves.
Processes on How To Make Fake Leaves
Process One:
Step One – Cut Out Leaves from Cardboard –
To cut out the shapes of your fake leaves, start by creating a template on cardstock with an outline of where each leaf will be placed. Make sure that it’s big enough so that you can fold over both sides without making them too thin if desired when folded in half later on. Then take your cardboard or paperboard and trace the template onto it. Be sure to trace two of each leaf shape so that you have a pair for each.
Step Two – Paint the Leaves –
Cut out leaves from cardboard or paper, and then paint them brown and green to create a autumnal scene.
Step Three – Add Details to the Leaves
If you want a feathery look for your leaf pattern, dip each side of a paintbrush in different colors. Run one side of the brush over one part of the leaf’s outline while dipping another brush only halfway. Brush both brushes against the edge of a crumpled-up piece of newspaper so that they create two lines meeting at their tips. You can use any type/color combination you please!
For other details such as veins or freckles, try using small pieces of tape placed strategically around various leaf sections.
Step Four – Add Grasses
Cut out long strips of green construction paper and glue them to one side of a piece of cardboard, then fold it over so that they are stuck together. You can create more details by adding leaves in between the grasses and other types such as yellow, brown, etc.
Step Five – Attach Leaves to Tree Stem
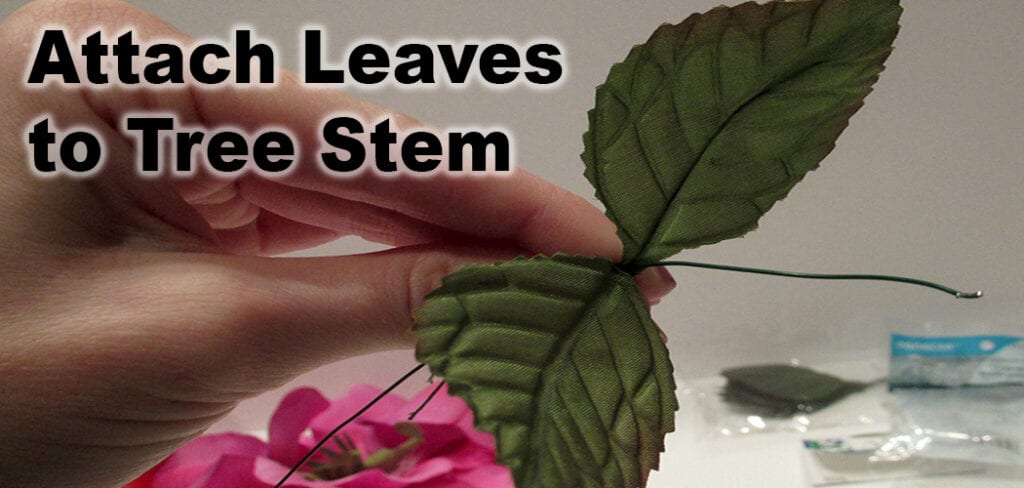
Glue your cutouts onto an uncoated tree stem with a hot glue gun (try not to get any on the backside). The sticky side should be facing upwards for attaching the leaves. Make sure you do this step when your tree is standing upright; otherwise, some sections will droop down while others stick up.
Step Six – Add Detail
Use a marker to draw veins on the leaves and other details such as stems. You can also use an eraser to create shadows for your tree while sitting in different lighting conditions if you’re trying to make it look more realistic. For the branches, start from the bottom and then add more as you go. Use a light touch at first and then put a little more pressure as you go up.
Process Two
1. Overlap a paper, draw an example, and complete the accompanying strides to make the leaf!
2. Take a piece and slice it nook to the corner to make two triangles. Apply stick to any one aspect of the internal overlap and be a part of the inward elements. Permit it to dry. Take a page component of 1X6 inches and overlay it into ½.
3. Cut the paper slantingly from one nook to the subsequent. Unfurl the page. You may get a stage triangle. Maintain and overwhelm the point of interest of the triangle. Apply stick to any person’s facet and be part of the inner facets for framing the leaf. Permit it to dry.
4. Draw a 1/2 curve form at the paper, maintaining the curve’s bend on the collapsed paper’s open facet. Hold the paper’s focal point and crush it to unite the dreamboats. Apply stick along someone’s side of the inward crease.
5. Take a page conveniently, crease it first, draw a 1/2 curve shape just like the beyond one. Hold and crush the collapsed paper’s focal point to unite the pin-ups.
6. Take a square molded art pape, overlapp it in half, and do thatsteps again.
Check it out to learn to make fake corn stalks.
Final Thoughts
Lastly, if you manage to follow the steps mentioned above accordingly, nobody can stop you from learning the perfect process of making fake leaves!


