
How to Make Lion King Masks
A lion king mask will help you to express how you loved the movie. You can also express your true love with a mask. But do you know how to make lion king masks? Well, it may seem to be a bit hard but trust me, I have got you covered. I have prepared a list that’s gonna take you through some simple steps to make lion king masks. So, if you really want to express how you have enjoyed the movie, leave all your tasks for a while and concentrate on the article till the end.
Children like to imitate and act out their favorite scenes. This means you can also use a lion king mask to provide them with something more fun. This also makes these masks a perfect present on their birthday. In fact, you can also hang these masks on your wall and extend the beautiful appearance of your interior design. In both ways, you can quench your thirst. That’s why learning the methods and making a lion king mask by your own effort is really very crucial. So, let’s take you through the steps that I have told you earlier and help you to make something that you really like.
Supplies You Will Need
- Some yellow papers
- Red papers
- Orange papers
- String
- Pritt stick
- A stapler
- Masking tape
- Black marker pen
- And a paper plate
How to Make Lion King Masks
Here I am going to show you how the patterns go together basically in the same way as you have done before. You know, you just have to cut the cardboards out according to the pattern and put them together. This basically takes an hour or five minutes, but if you are making it for the first time, it may require a couple of hours. Don’t hurry; use the required time; it will allow you to make the mask errorless. In fact, you will also need to add some Styrofoam balls and some foil around his ears, around his eyes. So, those things take a bit of time too. Okay, that’s enough talking; now let’s dive into the process of making a lion king mask.
Step 1: So, the first step to making our line is making his muzzle. Take your piece of paper and fold it in half. Then take the scissor and cut a semicircular kind of shape out of your paper. This doesn’t have to be too specific. The best thing is to do is fold that bit of paper so that it tucks in and then bring the other two bits of paper round to create your muzzle.
Step 2: Now, I am just going to use a little bit of Pritt stick to hold this together and make the muzzle. Once you have got your muzzle glued together, it will look like something close to a lion shape. Now I am going to use my foam sheets and some wire to make the mane.
Step 3: You will need to cut some flaps around the edge of the back of the muzzle and secure it onto the paper plate with masking tape. Make sure that the flaps are evenly spaced and that the mask is securely attached to the plate.
Step 4: First, the person cut away a bit of the plate around the bottom of the mouth. Next, they turned the plate over to see what they had done. Finally, they moved on to the next step.
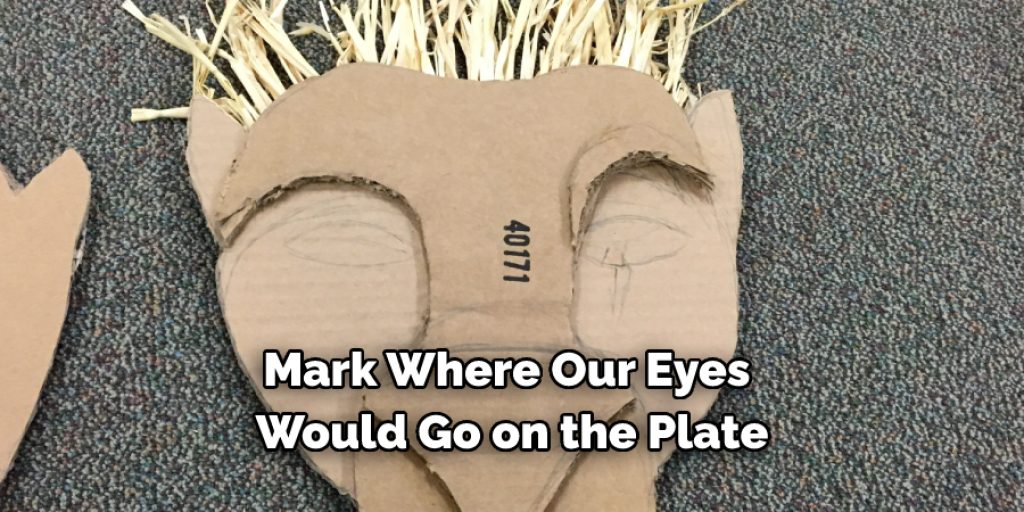
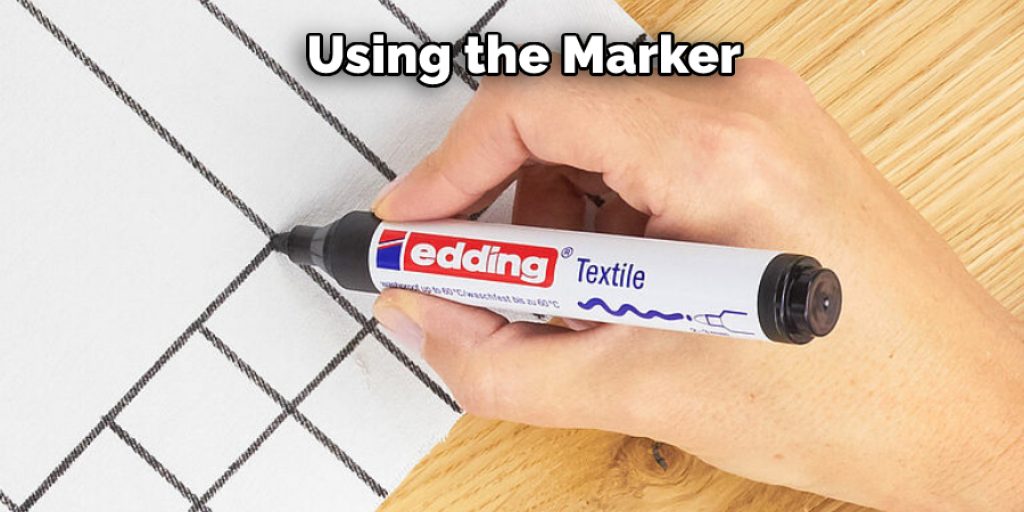
Step 5: You will need a plate, a marker, and a pair of scissors. First, use the marker to draw where your eyes would go on the plate. Next, use the point of your scissors to pierce through the plate and cut around the eyes. Trim to the edges, and then flip the plate over and finish cutting it out from the other side. It will be a lot easier if you cut it from the backside because you won’t have to face the barriers of the muzzle from there.
Step 6: In order to make the lion’s mane, take your three different colors of paper and shred them into strips. Make them as much as you can, and then separate the colors out into their three different piles. Then starting with the red around the outside edges, we are going to work our way back in to make this cool main effect. Then I am going to put another paper on these, but this time I have made them a little bit shorter than the previous one. Again I am gonna work my way all the way around the edge. Apply all three colored papers and follow the same process for the attachment.
Step 7: So, now I am just going to pop a little bit more of this torn paper onto my muzzle, and again I just use my print stick to cover up the muzzle with some adhesive. Then I start to tear some beats of paper and start applying them on the muzzle and stick them down. It will give your mask a little bit more texture. After all, your kids will prefer something that looks close to the character, and that’s why I will suggest you apply as much detailing as you can for the texture. Once you finish adding them down, it will look close to the character that you are going to express through your mask.
Step 8: It’s time to give some curls to the lion to make it look more realistic. To make the curls, just take a pencil and roll the paper up along the colored paper. This will give you some nice little curls into your lion’s mane. That’s it; the curls are made.
Step 9: You have to give the final detailing by your hand. So take your black and give yourself a nice triangular nose by coloring that in. If you need, you can even give your lion some moisture details. In my case, I have added also added some detailing at the eyes. Just for making it stand out a little bit more. You can also add some eyebrows to give it a more detailed look.
Step 10: One thing that I forgot to mention is also a very important thing. Can you guess what that could be? We just forgot to give our lion some ears. So, take another piece of paper and fold it up as you have done at the first stage. Remember, it should maintain a similar color to your muzzle. Now, cut along the outside edge. Cut yourself some pointy peak shapes that should look like an ear. Once you have that cut-out, just pop a little slit into the front of them. That way, you can fold them over and give them a little bit more volume. Then using a little bit of Pritt stick, you will be able to create a nice ear shape. The way to stick these onto your lion is also pretty easy. Just use a little bit more print, get your mask and slide it in between its mane. Repeat the step again with the other ear. That’s how you can add your lion’s ear.
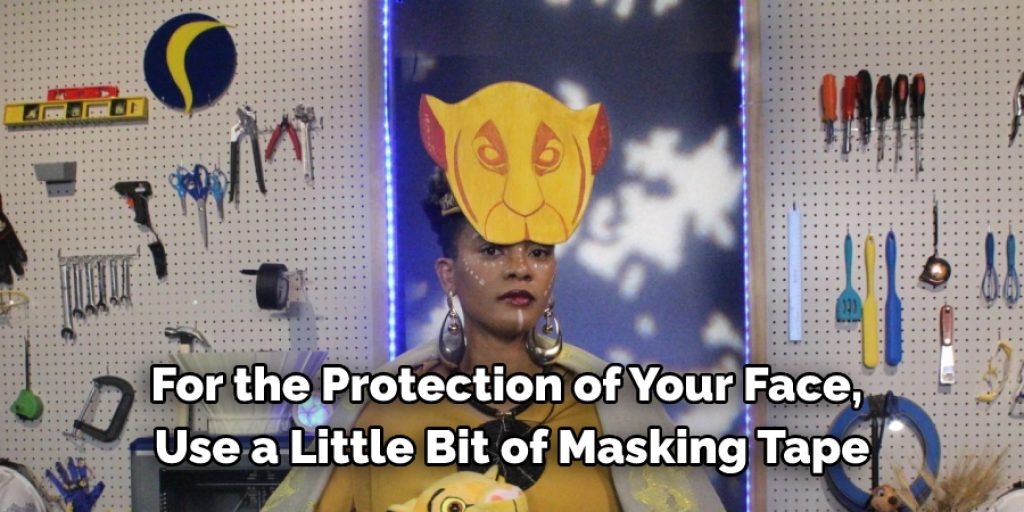
Step 11: Take your string, hold it roughly where you want it positioned near your eyes and using a stapler, slide that along and staple it down into position. Use a couple of staples so that it remains nice and secure. For the protection of your face, use a little bit of masking tape over the top of these. You just have to repeat the step for the other side, and that’s it; your mask is ready.
Frequently Asked Questions
Which Is Better Reusable or Disposable Face Mask?
Reusable masks are far better than disposable ones because they can be reused again and again, unlike the disposable ones thrown away after one use.
Reusable masks also have more benefits such as:
• They do not need to be fitted for each person.
• They are more comfortable and can fit around your nose and mouth easily.
• The material used in reusable masks is often made from natural materials that can help reduce pollution.
What Size Is a Pleated Face Mask?
A pleated face mask is a surgical mask that has been folded over and sewn. The size of a pleated face mask depends on the width of the material it is made from.
What Can You Do With Old Cloth Face Masks?
You can use old cloth face masks to make a DIY costume or a mask for your pleasure. The most common idea is to turn them into costumes for kids, adults, or animals.
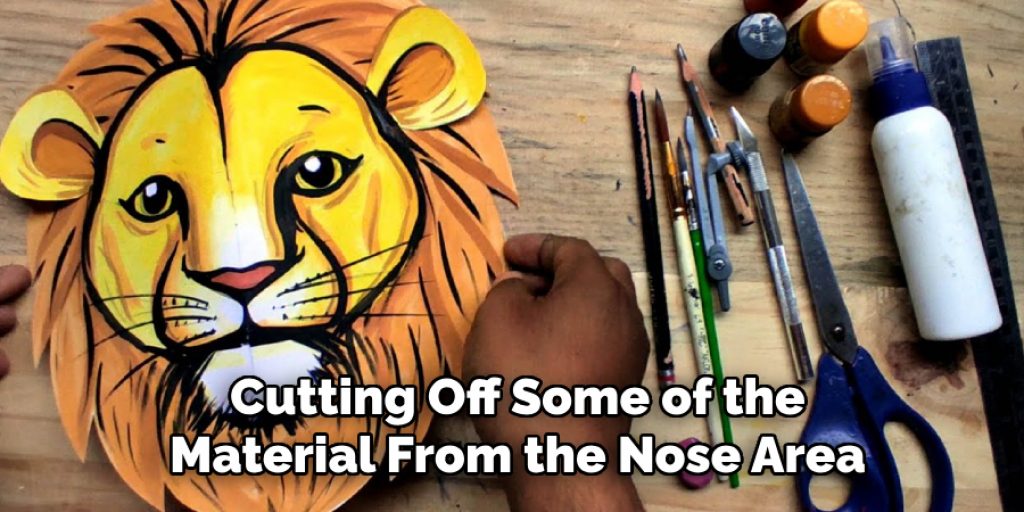
If you are going to do this as a DIY project, then it is best to start with the easy ones first, like making an old child’s ghost costume. You could also try turning it into an animal mask by cutting off some of the material from the nose area and using it as hair.
Can You Recycle Blue Face Masks?
You can recycle blue face masks but the best way to do it is by making them into a part of your artwork. The artist-in-residence at the Boston Sculpture Garden, Chelsea Boylan, created her own line of recycled face masks that she uses in different pieces of art. She has used a mask as a background for sculptures and paintings and even encased it in resin.
You Can Check It Out to: Make a Robin Mask With White Eyes
Final Thoughts
Hopefully, you have understood the above process and will be able to make as many lion king masks as you want. If you have got any questions about how to make a lion king mask, you can feel free to ask me through the comment section below.
You may read also – How to Make a Large Masquerade Mask
Elizabeth Davis
Elizabeth is a creative writer and digital editor based in the United States. She has a passion for the arts and crafts, which she developed from a young age. Elizabeth has always loved experimenting with new mediums and sharing her work with others. When she started blogging, she knew that DIYquickly would be the perfect platform to share her tutorials and tips. She's been writing for the blog from the beginning, and her readers love her helpful advice and easy-to-follow instructions. When she's not writing or editing, Elizabeth enjoys spending time with her family and friends.


