How to Make a Robin Mask With White Eyes
Do you want to make a robin mask for your next costume party? It’s easy to do with white paint and a few simple supplies. Wearing a mask is a great way to get into the spirit of a character or holiday. This simple project can be completed in an afternoon using supplies from your local craft store.
When most people think of masks, they think of the traditional masks worn during Halloween or at Carnival. But masks can be made for occasions, including holidays and parties. This blog post will show you how to make a Robin Mask with White Eyes using materials that are likely already in your home. So let’s get started!
Summary: If you’re looking for a spooky Halloween costume, make a Robin Mask! This mask is easy to make and requires only a few materials. First, cut a white sheet of paper to fit your head. Trace the outline of your face onto the paper, then cut out the mask. Next, use a black marker to draw eyebrows, eyes and a mouth on the mask. Finally, use red and black felt to create the feathers on the mask.
Step by Step Process: How to Make a Robin Mask With White Eyes
Step 1: Prepare Your Work Area
When making a bird mask, you will need to work with paper mache. This is a water and flour-based mixture that dries hard and stiff. For this reason, it’s best to cover your work area with newspaper or other scrap materials before you start; not only will this protect the surface from things like glue, but it will also allow you to clean up easier after your mask is complete.
Step 2: Prepare Your Materials
You will need the following items for this project:
- One paper lunch bag
- Two pieces of construction paper (one for the eyes and one to be used as a stencil if desired)
- Scissors
- Pen or pencil
- White craft glue or flour and water mixture (explained below)
- Water
Step 3: Cut Out the Mask Pieces
Sketch out your mask pieces onto both pieces of construction paper. If you choose to use a stencil for the eyes, trace it on the second piece of paper. You may want to draw one eye slightly smaller than the other, making your mask look more realistic. The beak should be longer than wide and should run along the middle of the face between the eyes. Cut out all three pieces.
Step 4: Drawing and Cutting the Eyes
Draw two, even circles on the paper lunch bag; these will be used as a guide to place the eyes. If you want your mask’s eyes to be larger than those of a robin, make them slightly bigger than you intend. Then, cut out the circles and set them aside for now.
Step 5: Making the Beak
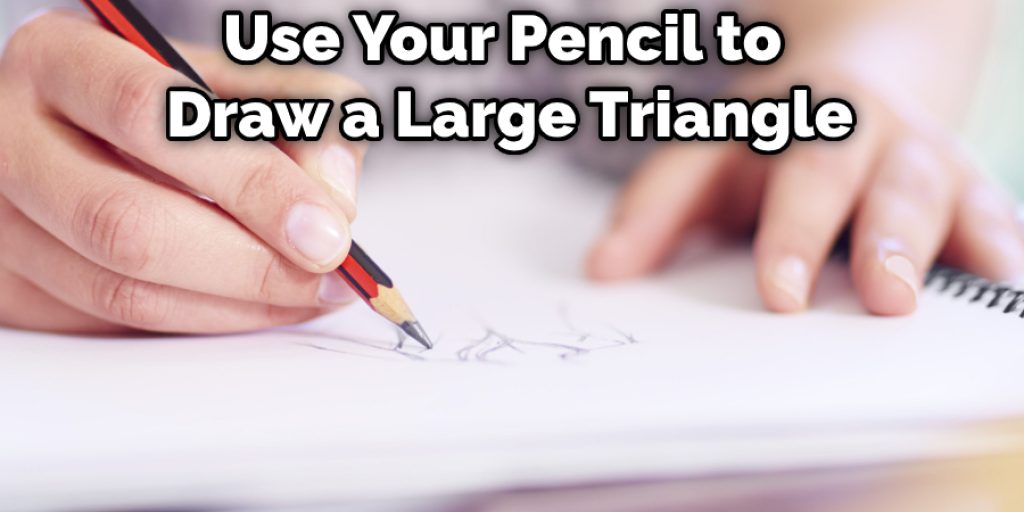
Use your pencil to draw a large triangle on the paper bag. This should be close to an equilateral triangle, with one side about two inches long and the other two sides slightly shorter. Cut this shape out; it will act as the base for your bird’s beak.
Step 6: Making the Base of the Mask
Draw a v-shape on one of the two flat sides of the beak base. This will give your mask a place to rest against your face when you wear it, with most of it resting on either side of your nose. Cut this v-shape out and paint the leftover piece brown or black; this will be the top part of your mask’s base.
Step 7: Making the Mask’s Bottom
Fold your construction paper piece that you drew your eyes on in half lengthwise, then cut out a rough quarter-circle shape with the tip of the triangle pointing up. This will act as your mask’s bottom flap. Don’t glue it down just yet. Instead, paint it white on your forehead and the points brushing your cheeks.
Step 8: Placing the Eye Pieces
Now that the pieces are cut out, it’s time to fit them together. Take your paper bag circles and place them on top of the beak base where you envision the eyes will go. You can also take a pencil and draw around each circle to mark the placement.
Once the pieces are in place, and everything looks good, glue down all three layers, first gluing down the paper bag circles to the beak base. Use rubber bands or tape to hold them in place while they dry. You can then glue down your eyes and bottom flap to ensure everything stays together until they are completely dry.
Step 9: Glue Your Mask Together
Apply a thin layer of white craft glue to one side of each piece of your mask. Be careful not to apply too much glue; remember, this is paper mache, and the more glue you use, the heavier your mask will be. Gluing everything together can take several hours or a day, depending on how much time you have and how long each layer takes to dry.
Step 10: Let Your Mask Dry!
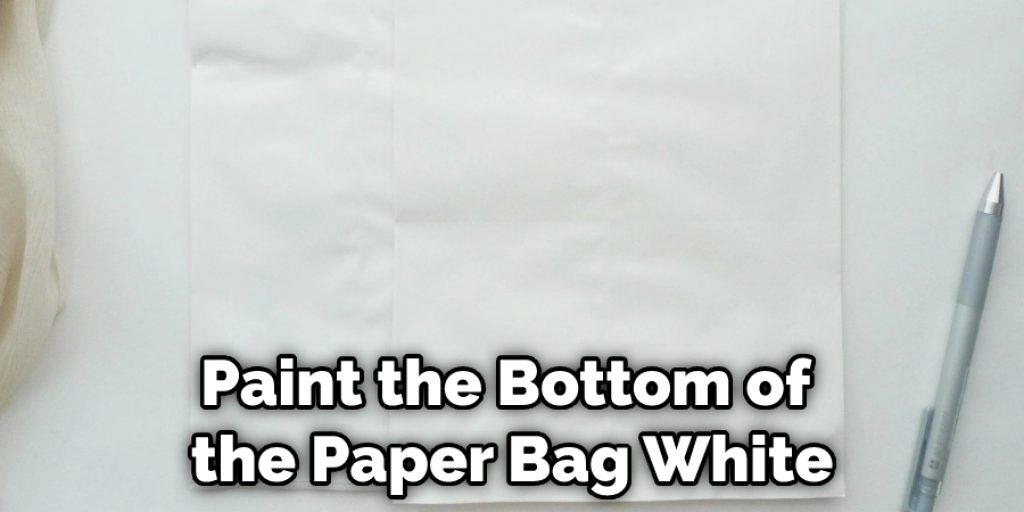
Once everything is completely dry, you are ready to paint your mask. First, paint the bottom of the paper bag white, and let it dry until you can handle it without destroying it.
Then paint the rest of the outside brown or black, leaving a thin strip around your eyes untouched so that they stand out. Let this layer dry for about an hour, and then apply a thin layer of paint to the inside and outside of your mask. It should be completely dry in about an hour.
Step 11: Test the Mask out
Finally, put on your mask and admire your hard work! Make sure the bottom flap rests comfortably around your neck or chin. The beak should rest against the bridge of your nose between your eyes but not cover most of them. If you are satisfied with how it looks, take off the mask and use a pencil to draw an oval line around the outside of your mask.
Cut along this line to give yourself a cutout around your eyes with which you can see more easily.
Some Helpful Tips and Suggestions
Here are some helpful tips on how to make a robin mask with white eyes.
1. Use hot glue to adhere the felt feathers to the mask.
2. Cover most of your forehead so it’s not noticeable if you mess up because you might have to start over again.
3. If you can’t find white eyes with black dots, paint them on with white paint or cut the hole for your eyes out, make the pupil out of black felt, cut a small white circle in the middle, and glue or sew it to the felt.
4. You might also want some long yellow feathers for the beak and feet.
5. To hold up more weight, use some old shoulder pads from any sports equipment and pair them with suspenders or a suspender belt.
6. If you want, you can use a black marker for the eyes and make them smaller and place them more towards your nose instead of your forehead.
Is Sleeping With an Eye Mask Bad
Halloween is known for its many strange, scary, and downright creepy costumes. One of the creepiest costumes in this event includes demons. These terrifying creatures are often seen with their eyes turned either completely white or red (which also reflects off their skin). But what’s up with this creepy Halloween staple? Is it really bad to sleep with a mask on?
To understand why turning your eyes white would be considered “bad,” you first need to learn about the anatomy of the eye. The natural color for healthy eyes is brown due to melanin in the iris. Melanin is produced by cells in the iris called melanocytes. This coloration protects the eyes from ultraviolet light and removes glare from bright lights.
You Can Check It Out to: Make a Realistic Mask
Conclusion
When you are ready to create your Robin Mask, draw the eye holes so that they have a white iris. This will make it easier for others around you to see where your eyes are looking and interact with you more easily. After drawing in the eyes, use black liquid eyeliner or fabric paint to outline them if desired but remember not to go outside the lines!
The last step is adding some plump red lips below those hypnotic white orbs. So now all that’s left is wearing this mask proudly as you spread Christmas cheer across town! We hope this blog post on how to make a robin mask with white eyes has been helpful. If you have any questions or want to know more, then feel free to comment below!
Nancy Behan
Nancy is an embroidery artist, fashion blogger and a full time editor at DIY quickly. Nancy edits the fashion section on DIY quickly, focusing on the embroidery and cross stitch articles, alongside with fabric and other costume design elements. She graduated from the University of Michigan with a Bachelor of Arts in Art History. She loves to work on her own projects, read books and watch romantic movies in her spare time.