
How to Make Paper Shiny With Glue
Introduction:
Paper is a material that has been used for centuries. It comes in all shapes and sizes, thicknesses, and colors. You can even buy paper with pretty designs printed on it to make your scrapbook or hand-made card stand out from the rest!
But what if you have some plain white paper and need to make it shiny?. In this article, I will discuss how to make paper shiny with glue. So let us get started.
Summary: In this blog post, we will show you how to make paper shiny with glue. First, gather all the materials you need: a bottle of glue, a piece of paper, and a magnifying glass. Next, mix the glue into a thick paste and spread it over the top of the paper. Use the magnifying glass to help you evenly cover the surface of the paper. Finally, let the glue dry for a few hours. When it’s ready, the paper will be shiny and smooth!
Stepwise Guide on How to Make Paper Shiny With Glue:
Step-1
Start by mixing the glue with water in a bowl till you get a homogeneous mixture of approximately the consistency of milk.
You can make your own glue by mixing equal parts of water and glue or by adding more water to the glue and stirring it well until you get the right consistency. Make sure that both the glue and water are at room temperature before you start.
Step-2
Next, dip your paper in this mixture, turn it upside down, let excess water drip for one minute, and then place it between two hardback books to press out any bubbles from underneath (on either side).
NOTE: You can also use a wallpaper roller to roll over piles of papers, ensuring that no bubbles form under them, which would later ruin them.
Step-3
Once the bubbles are out, you will have to dry your paper under a lamp or in direct sunlight until the glue is completely dried up. In case you do not have access to a lamp or sunlight, you can also dry it in the oven at 70 degrees Celsius for 40 minutes (as instructed on the glue packet itself), after which you should take out your paper from there and place it between two hardcover books as mentioned above to press out any bubbles underneath.
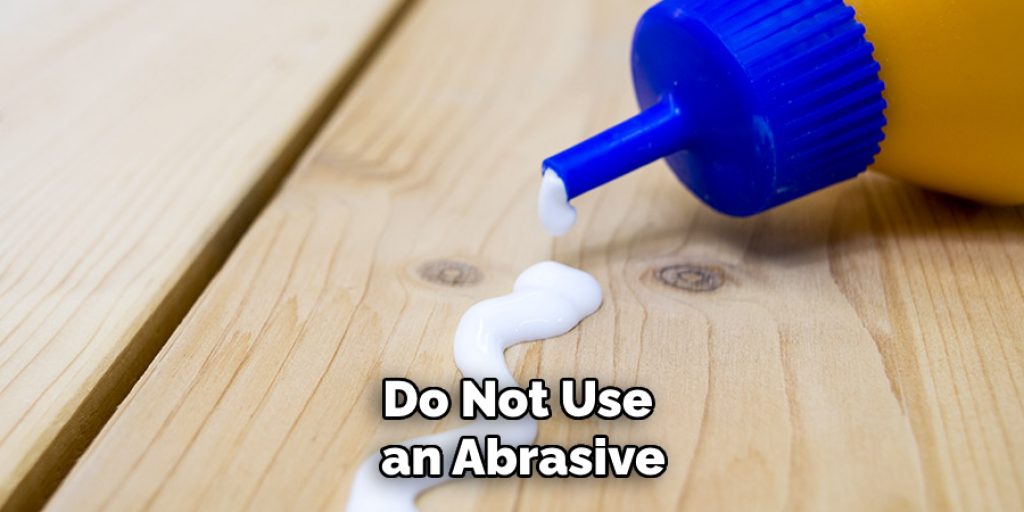
NOTE: Do not use an abrasive cloth like sandpaper or scrapper on finished shined papers as this would dull down their shine; instead, just use a clean, soft cloth with water over them when required.
Step-4
Now that your paper is completely dry and shinned, you can use it for multiple purposes like gift wrapping, decorating cards, making gifts like boxes and envelopes, scrapbook making, etc.
NOTE: You could also use acrylic paint instead of glue to give your paper a shining effect, but the paint would not last long compared to glue, giving the durability of your paper.
Lastly, ensure that the finished shine is well-fixed to avoid coming off with time or water drops. If all goes well, you will have a fantastic-looking shiny paper that looks just like glass!
Glue Paper Info
Glue from an envelope generally consists of wheat starch without additives. The advantage of using such a thing on paper is that wheat starch is a paper sizing agent. It makes the paper shiny and interferes with the surface tension of water on the paper, making it smooth at any angle you look at it. Other types of glue or paste have different effects when applied on paper with varying degrees of shininess.
After applying glue onto your notebook, canvas material, cardboard sheet, wood piece, or structure that you want to be shiny, let it dry out for about 2 hours before adding paint on top of them (if desired). The glue dries up fairly quickly and does not soak into any porous materials like drawing papers.
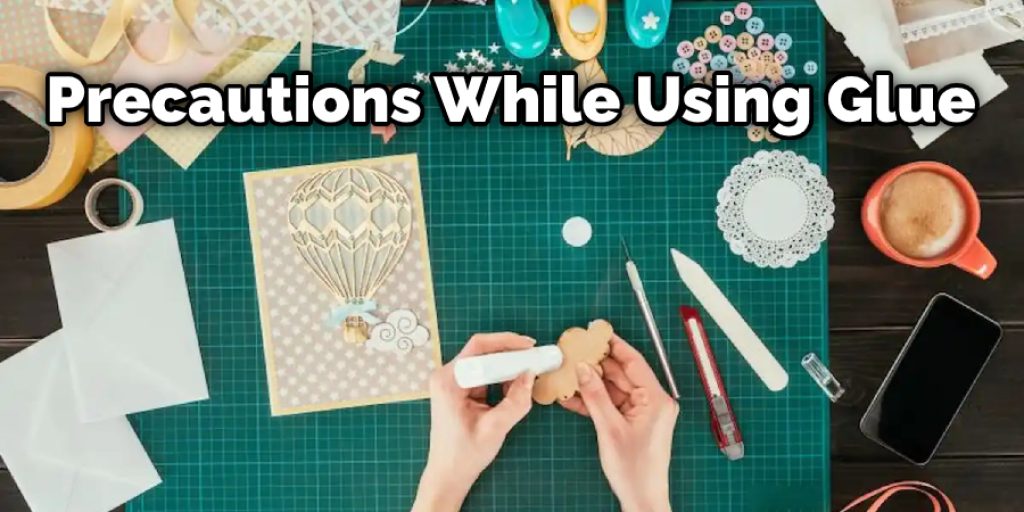
Precautions While Using Glue to Make Paper Shiny:
Glue and paper maybe two things that most people throw away, but they can make something amazing if you put them together! Yes, we are talking about making paper shiny with glue. Now here’s how:
Remember not to use too much glue while making your product. Also, remember not to soak the paper in the glue as this will desensitize it, and its properties will then change. To avoid dripping excess glue, put a sheet of old newsprint or blotter below where you will be working before applying any glue.
If you wish to use more than one type of glue for varying effects (such as gloss and matte), work on small samples first until satisfied with the results. Remember that sometimes the paper’s texture is important for your project.
Put on rubber gloves, mix the color with several drops of water, and then apply it to the surface while working quickly to not dry. Generally, it would help to let the glue thoroughly dry before applying colors or finishes to protect your work from smearing. You may also want small samples made before doing this in case you do not like the results or if they are too complicated for your intended use.
Also, remember that not all glues will take paint or ink well without destroying their adhesive properties, but they can look good stained first with food coloring, which is very permanent.
Conclusion:
I hope this article has been beneficial for learning how to make paper shiny with glue. However, ensure the precautions while performing the process. Thank you, and have a nice day!
You may also read – How to Glue Cork to Wood


