
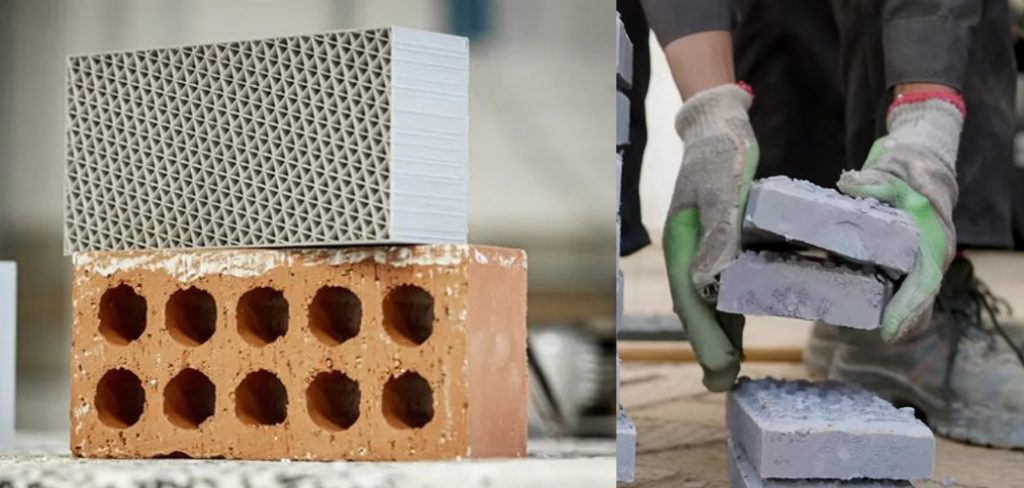
How to Make Plastic and Sand Bricks
Introduction:
Plastic and sand bricks are made by binding together small pieces of clear plastic with special cement. The bricks also contain fine-washed sand to provide strength. The material makes an ideal substitute for standard clay bricks for use in areas without a plentiful supply of building materials (such as wood, bricks, or concrete) but with plenty of waste plastic available. In addition, the bricks can be used to make a wide variety of building structures and many other items such as furniture, workbenches, pots, troughs or basins for animals, etc. In this article, I will discuss how to make plastic and sand bricks. So let’s begin.
Summary: In this article we will be learning how to make plastic and sand bricks. These bricks can be used for many purposes such as creating models, sculptures, ornaments, or even just for adding an extra bit of decoration to your project. By following the steps outlined in this article you will be able to create your very own plastic and sand bricks.
Step-wise Guide on How to Make Plastic and Sand Bricks:
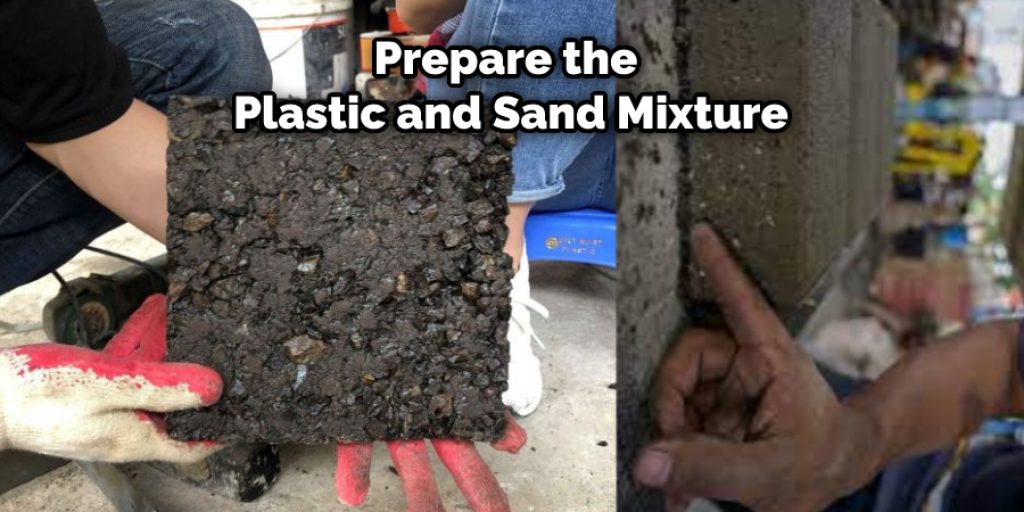
Step 1: Prepare the Plastic and Sand Mixture
Use a clean, unused tub or bucket. Fill half the bucket with sand. Place some number of empty water bottles in the middle of this layer and pack it down. The height from the bottom of the bucket to the top rim should be about 2-3 inches. Then fill up the rest of the space with more sand till you have around a 12-15 inch high brick wall.
The plastics and sands used for making bricks should have similar characteristics like size, texture, color, etc.. Otherwise, your final product may not look good or even be unusable if there is a difference in their densities. Mixing HDPE(high-density polyethylene) and silica sand is the best combination for building blocks. Such a brick will weigh around 6-8 pounds per cubic foot, ideal for handling and stacking.
For best results, use plastic bottles that are slightly smaller in circumference (this will help them hold the sand). Also, choose a bottle shape that will easily hold the sand without losing its circularity.
You may use other materials to do this, like car tires, shredded tires from garbage dumps, etc., but I would prefer plastics since they are easy to find and cheaper too! The extra cost of buying bigger mixing tubs or buckets with hinged lids might also prove prohibitively expensive sometimes!
Step 2: Attach Knives Inside Bottle Caps and Paddle Mixers
Paddle mixers make the sand and plastic mixture into a uniform mass by mixing and stirring. Using your hands is easier to pack but will be harder to make uniform bricks in the end. Attach knives inside bottle caps using glue or strong tape to handle the paddle mixer easily. A table knife can also be used instead of knives.
The size of the paddle should be such that it does not touch the bottom layer of sand when fitted on top of water bottles, and its diameter should also be large enough to stir around 1 square feet area at a time when moved with force. This is because we need only one side coated with plastic at a time. The method of roping paddle mixers used for stirring concrete for flooring is similar to that described above.
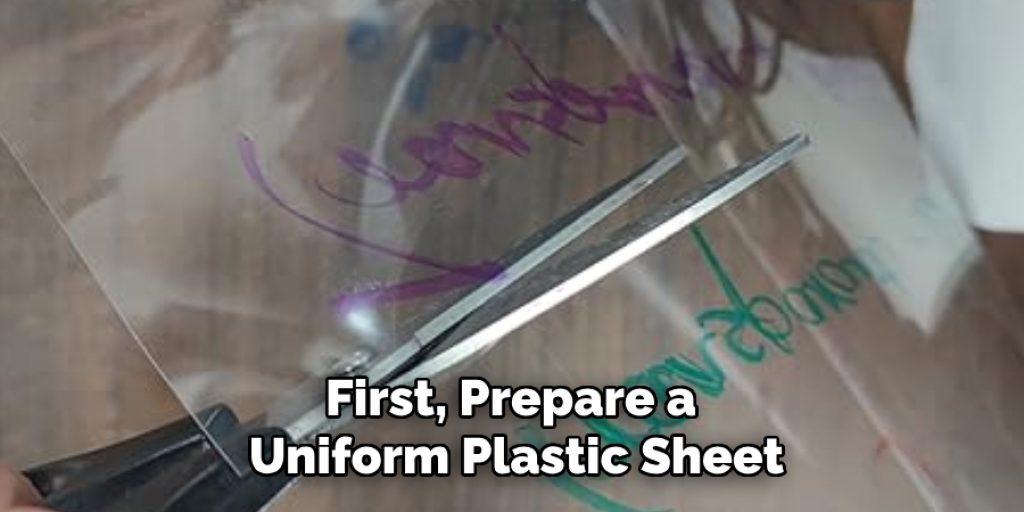
Step 3: Making Plastic Bricks
First, prepare a uniform plastic sheet for covering the brick wall. Next, cut one end of the water bottle to rest directly on the tub’s rim. This will help you keep track of the total number of bricks that are being prepared in one go!
After cutting holes inside all empty water bottles, gradually place them vertically on top of the bricks, making sure they touch one another. The row should be such that it covers around 1-1.5 feet area and not more or less than this. For bigger coverage areas, use more rows. After covering the brick wall with plastic bottles, you will have to cut holes inside each bottle at an interval of 2 inches.
Try to cut as few holes as possible on space constraints for fitting paddles through these holes. This step is better performed by two persons working simultaneously, i.e., one person holds the paddle mixer in place and the other cuts the pocket inside water bottles.
While doing this, make sure that you scoop out a small amount of sand from inside each bottle, arrange it neatly, and start making pockets. If you scoop out too much sand from inside bottles, you will not be able to properly glue the plastic to bottle walls since there is no void space in between!
Now slowly fill the paddles with a mixture of sand and water using either buckets or tubs, place it on top of water bottles, and cover one side of the brick wall completely with plastic sheeting. To pack this tightly, make sure to keep the paddle mixer flat against the brick wall without applying any force. Repeat this for another row of bricks; use different colors of plastic sheeting if you want. This completes one layer!
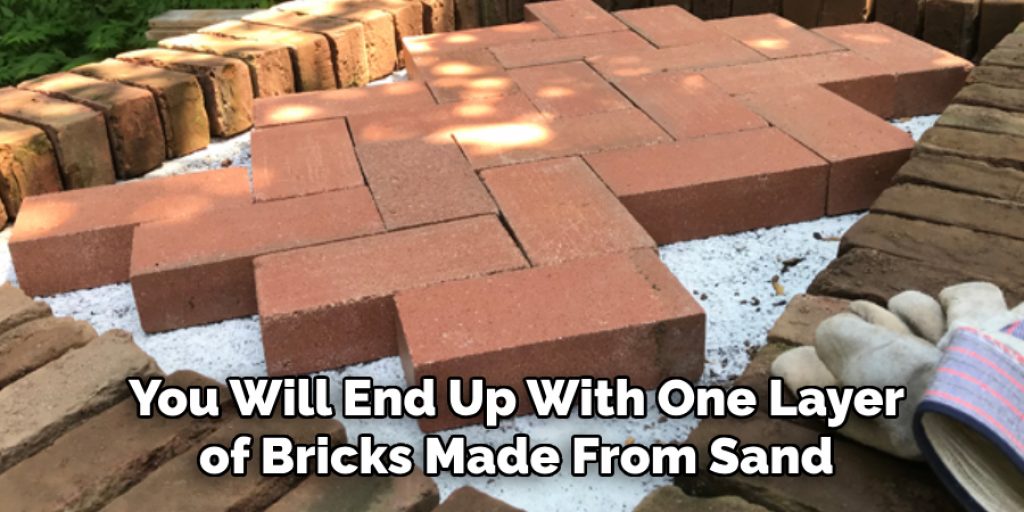
Step 4: Making Sand Bricks
Follow steps 1 to 3 above, and you will end up with one layer of bricks made from sand. If you want a second layer, remove the paddles from one side and then follow steps 4 to 6 to cover another brick wall completely, ensuring that paddle mixers are placed at the same level as the previous row.
Now make pockets inside bottles of side B by following steps 4 to 6 again, using different colors to see these in the finished product! This is how two layers of plastic bricks are prepared, i.e., the first layer is made with water bottles and a second layer with sand, thus giving the appearance of a double-layered wall.
Conclusion:
I hope this article has all the necessary information on making plastic and sand bricks. Thank you and have a nice day!


