
How to Make Plastic Bricks at Home
Introduction:
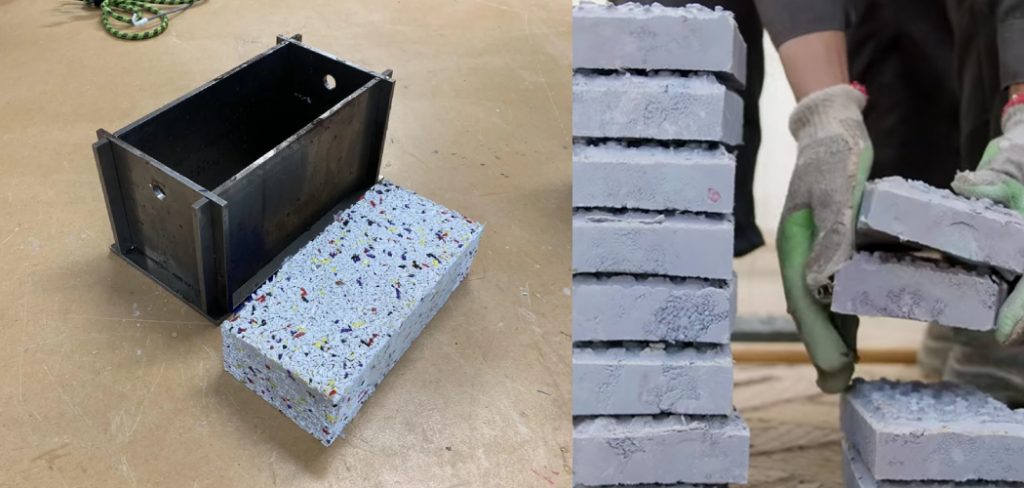
The bricks we are talking about in this article are made of plastic bags or sheets. These bricks can be used for decoration, and they can also prove to be cost-effective as well. You don’t have to purchase expensive brick molds if you wish to follow any DIY project requiring this kind of brick. These bricks will add the required amount of charm and personality to your home, even if you decide on constructing a wall with them. So let us dive into the main discussion on how to make plastic bricks at home.
Step-wise Guide on How to Make Plastic Bricks at Home:
Plastic bricks are a versatile and affordable building material that can be easily sourced and made at home. With a variety of uses in and around the house, plastic bricks are a great way to get more done for less money. This article will help you learn how to make these plastic bricks to get the most out of your home improvement projects.
Step 1: Gather Your Materials:
You will need approximately 20 pounds of drywall stucco mesh or chicken wire the size of your mold (you may need more depending on the size of your mold). You’ll also want some 3 inches or 4-inch PVC pipe and two pieces of PVC pipe slotted on each end for handles and some elbow joints to fit them together. You’ll also need some thin pieces of wood placed within the mold to ensure the plastic mesh stays in place when you start pouring the concrete.
If you can find it, the Masonite board is useful for making your molds as it works very well with cement and holds its shape better than many other materials. Chunks from old and broken-down cardboard boxes work well, too, as long as they have a flat surface on all sides and are rigid enough not to bend when poured into.
You’ll also want to get some silicon caulk or aquarium sealant to properly seal the mold so no hairline cracks form, which may weaken your blocks later on down the road.
Step 2: Make Your Mold
You will need to cut approximately 2 inches off the pipe that meets each elbow joint to make the PVC into a “T” shape. You’ll also want to have your handles placed about an inch or so from the open ends of the elbow joints and on opposite sides so that you can easily lift your mold by two people on either side when full.
Step 3: Make The Mesh Into A Box
Next, you’ll need to find a way to secure the mesh onto both sides of your molds. You can use any adhesive material (silicone caulk works great) and glue down one side at a time working in sections around your mold until all sides are completely covered with mesh.
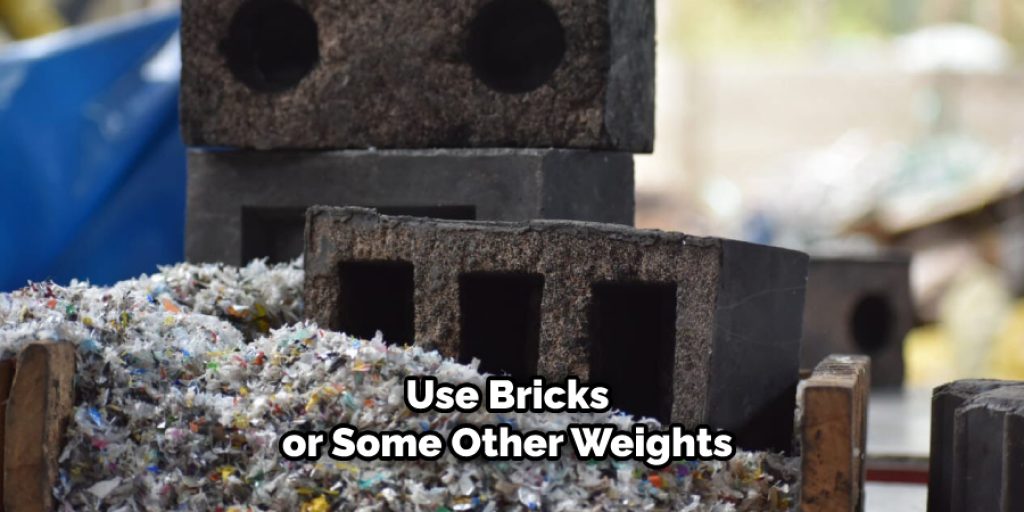
However, since the mesh is light, you will likely have to use bricks or some other weights between the rows of mesh and your mold to hold its shape well and easily remove when dry.
Step 4: Begin Pouring The Concrete
Now that your mold is finished, place one end of a PVC pipe into the first elbow joint on each side of the T-shaped pipe and connect them at either end. This will be how you can begin pouring concrete for your plastic brick pile!
Make sure to insert another piece of wood into the center of your molds (on top) so that it doesn’t touch the mesh edges, which may cause some unwanted holes after drying. Once done pouring, make sure to pull out any absorbent material that may have been in the concrete mix before this stage, as it could make your bricks less sturdy or solid.
Step 5: Let The Concrete Dry
Once you’ve poured your concrete into the mold and filled it up, lay the entire mold out flat onto a dry surface (ideally outdoors, just in case) and let it completely dry for a few days minimum before taking off and removing the mesh from around your blocks.
Then, remove the wooden pieces inside each mold by pulling them out horizontally on opposite corners of each block. This will ensure that all corners are left cleanly cut smoothly around your brick!
Step 6: Cut Your Bricks From The Mesh
Now is time to remove the mold and cut your bricks free from the mesh. Use a pair of large, heavy-duty scissors to snip away at each row until you have freed all of the plastic bricks!

Step 7: Clean And Polish Your Bricks
Now that your brick is free from its mesh covering, you’ll need to wash them off with some warm water using an old rag. Again, make sure not to use anything abrasive or harsh as it may damage the plastic fibers and cause the block to crack later on down the line.
You can also choose to spray paint these pieces if you like, but make sure you are careful about spraying around the center holes so that there’s no chance of getting it inside any open parts where the air will get stuck.
Now that your bricks are done, it’s time to use them and create something great! You can use these pieces in various ways as they can easily be handled for building projects since they’re all attached.
You Can Check It Out to Pick a Greenwald Coin Box
Precautions While Making Plastic Bricks at Home:
1) Breathing in the vapors from plastics can cause serious damage to health. Therefore, care should be taken to ventilate the area while making bricks using plastic.
2) Use gloves and safety glasses while handling chemicals like Acetone thinner or other solvents. The vapors from these chemicals are toxic and can cause itching & irritation in the eyes.
3) Use cold water for washing hands after contact with such solvents as they may get absorbed into your skin if washed off with hot water.
4) Children should not use this method of making bricks without supervision. It is always recommended that children use safer and non-toxic materials.
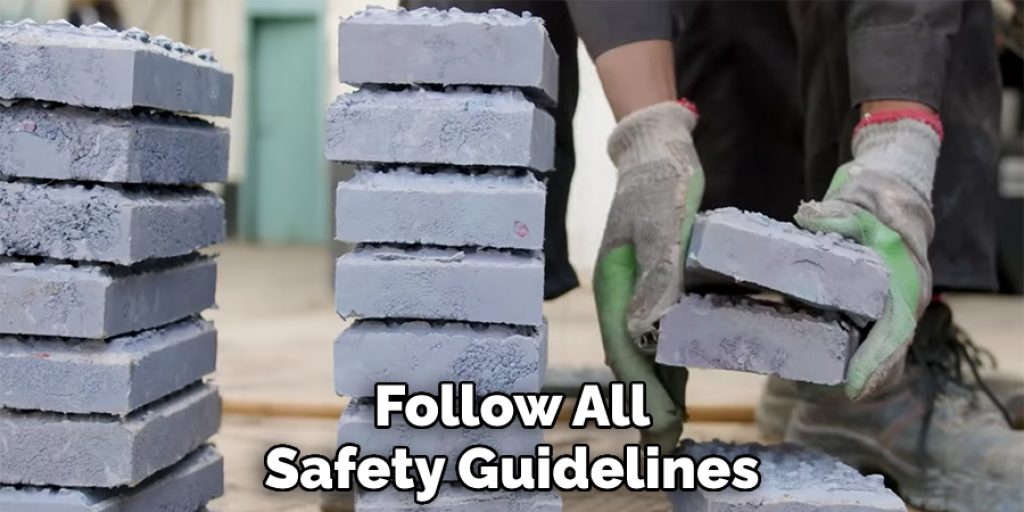
5) This technique might require adult supervision as you need to work with fire. It is also in your interest to follow all safety guidelines with the required chemicals for making bricks.
6) Do not store plastic, as it may trap the gases emitted by the decomposing garbage or other organic material and cause damage to the environment.
Conclusion:
I hope this article has been beneficial for learning how to make plastic bricks at home. Ensure all the precautions while performing the process. Thank you, and have a nice day


