
How to Make Removable Boot Covers
You would definitely not like to risk your hundreds of dollars boot to some emergency environment, would you? Well, that’s where you need to put a shoe cover on your shoe. Sooner or later, you will definitely feel its importance. Besides, it is a must-have item when you really love your shoes and keep them protected for a long time.
You can simply buy them from your nearest shop; even they are outnumbered in different online shops. But do you know you can easily make them in your home? Yes, they are quite easy, and you can save your money too. The good news is, you won’t have to go anywhere else to learn how to make removable boot covers. I am gonna show you the simplest way here in this article. So, leave all your tasks for a while and concentrate on this article until the end.
Summary: If you’re looking for a way to protect your boots from rain and snow, removable boot covers might be the perfect solution for you! These covers are easy to put on and take off, making them ideal for when you need to take your boots out but don’t want to get wet.
How to Make Removable Boot Covers
Step 1
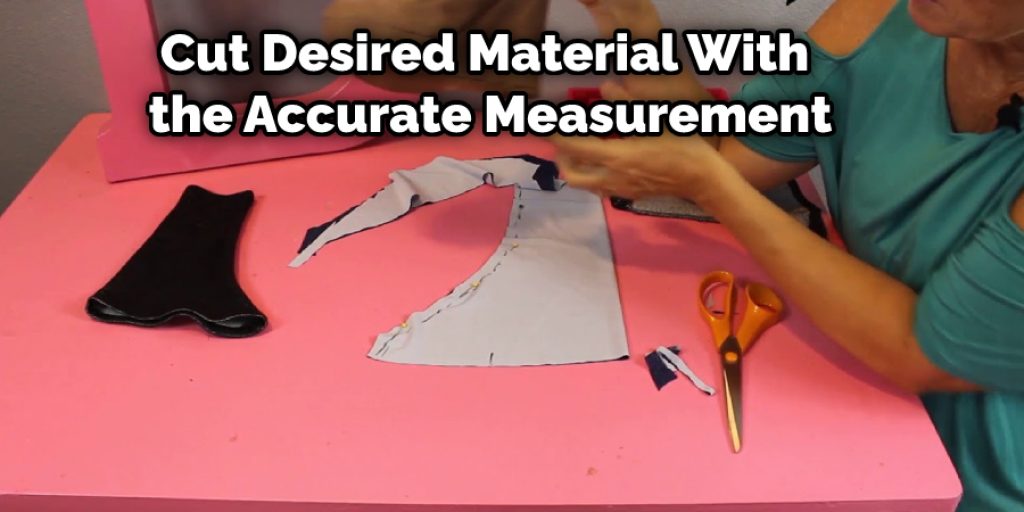
First, you’ll need to cut out your material for the boot covers. Place your boot on the material you’ve selected and get an accurate measurement. You can use several types of materials, but it generally depends on your purpose for using it.
You can choose a different color fabric for your boots if you are using them for cosplay. However, if you are using the covers to protect your boots, you need to choose something durable and waterproof.
Step 2
In order to make a boot cover, you need to cut out a piece of fabric that is the right size for your boot. Then, you need to pin the fabric around the boot, making sure to leave some extra space. After that, you will sew the fabric together and put a zipper on it.
Step 3
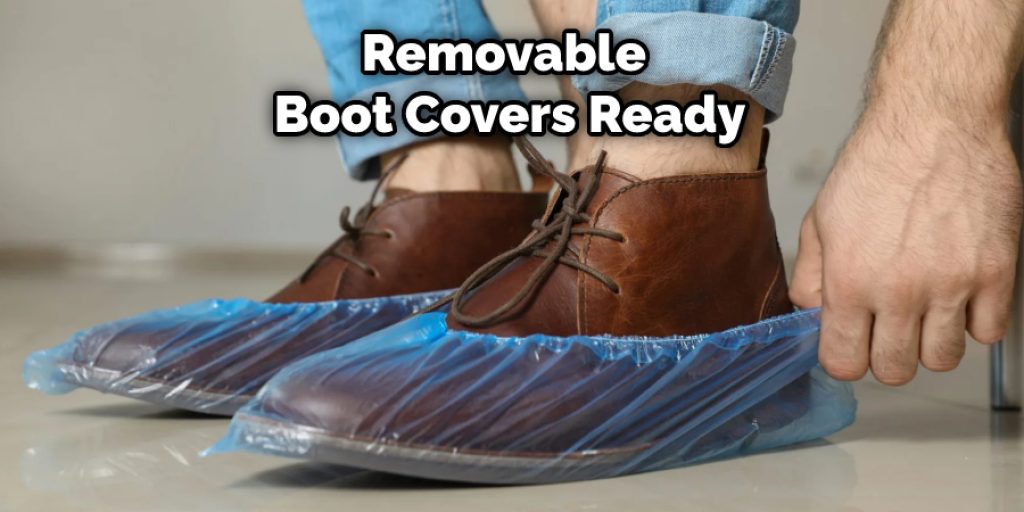
Now, use a marker pen and mark the area that you have pinned earlier. Now, you have to sew the ends following that marking lines. Sew a zipper enclosure at the rear part so that they can be taken off easily. If you are using any elastic type or stretchable material, you won’t have to install the zippers. They are ready to go without zippers. Once you complete the sewing process, your boot cover is partially ready.
If you want, you can apply some detailing on your boot cover to make it look nicer. This is especially important if you are going to use the boot cover for cosplay. However, the boot cover will still protect your boots even if you don’t add any extra details.
See, I told you it is easy. If you still have any questions, feel free to ask me through the comment section below. Good luck!
You May Read Also. How to Clean Rough Out Leather
Nancy Behan
Nancy is an embroidery artist, fashion blogger and a full time editor at DIY quickly. Nancy edits the fashion section on DIY quickly, focusing on the embroidery and cross stitch articles, alongside with fabric and other costume design elements. She graduated from the University of Michigan with a Bachelor of Arts in Art History. She loves to work on her own projects, read books and watch romantic movies in her spare time.


