
How to Sew a Lapped Zipper in a Pillow
A lapped zipper is a convenient and straightforward method of putting a zipper into the rear of a cushion or fabric covering. This offers a fully qualified and tidy end. Numerous people are worried whenever it does come to attaching zippers.
If you give it your best shot and pursue several other excellent step-by-step directions (shown below!), it’ll be kind enough to justify it to face the fear.
You will be so happy with your outcomes that you will compile each part of the house. I like an opening zippered on bedding topped, do not you? It merely makes the cushion appear a lot more pleasant. I started creating a few patchwork pillowcases and needed to bring in a zippered
release to add the pillow shape, but I didn’t need to use a 1/2 “seam allowance across the outer parts of the pillow top since it would affect my patterned layout.
The answer to my problem is to insert a lapped zipper away into a cushion. My pillow must end at 20 ‘square; however, these directions can be resized to the pillow of any dimension. I’m using painted denim for the rear of my cushion, so I didn’t want to see the colored part.
Instructions
- Slide alongside under 1 “on the opposite side under one of the squares, then press.
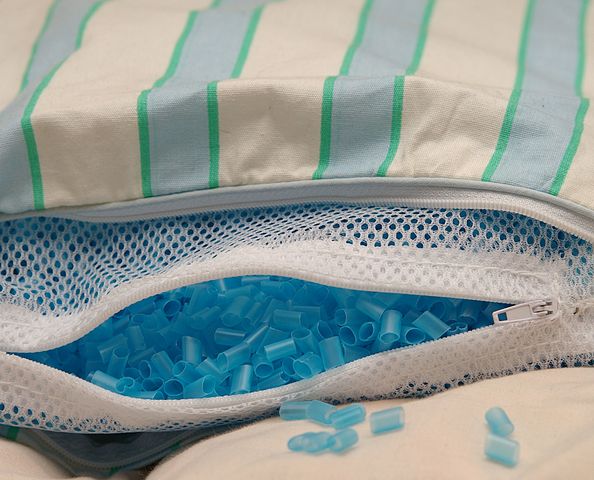
- Zipper core around the folding row, right-hand side up to the zipper bars of the fold. Pin in position, or I prefer using the Wonder Tape to keep the zipper in the spot without pins.
- When using a zipper foot connection on your machine, sew the zipper in the position below the fold and change the foot connection angle on the right leg.
- Put the remainder right edges of the rectangular alongside the zipper portion. Fit the rectangular prism’s raw side to the unsewn side of the zipper. Know, that the printable part is the opposite side in my situation. (I would like the flat surface as the completed back cushion).
If you wish to hold the rectangular shape and zipper together through knitting, pin, or use the Wonder Tape. Zipper-close knit. Modify the foot position of the zipper when needed. Rectangular shape to open and press away from the zipper.
- Starting for the rectangular, you had just sewn on the correct leg, and folded the cloth over the uncovered zipper such that the fold overlaps the exposed zipper for around 1/2′. Secure in position by parallel to the folding and very nearly to the folding side.
- Flip the cushion completely over and pursue the thread row to attach the lapped side on the opposite hand. Don’t think about the pins, they’re not going to be next to the thread, or get in the path.
- Let the pins off. Measure the long side of the rear in 1, “then tie the loose ends on either end of the shut zipper. Backstitch at start or end. Zipper Accessible.
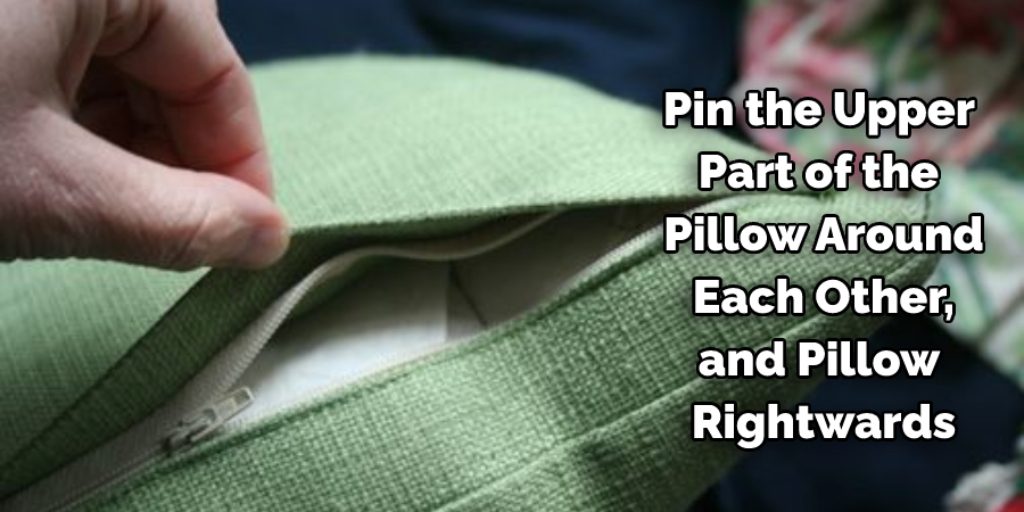
- Pin the upper part of the pillow around each other, and pillow rightwards. Knit with required seam allowance all around the edge. When needed, to clip corners. Switch straight out, and cushion shape adds. Zipper tight.
You may read also –
Nancy Behan
Nancy is an embroidery artist, fashion blogger and a full time editor at DIY quickly. Nancy edits the fashion section on DIY quickly, focusing on the embroidery and cross stitch articles, alongside with fabric and other costume design elements. She graduated from the University of Michigan with a Bachelor of Arts in Art History. She loves to work on her own projects, read books and watch romantic movies in her spare time.


