How to Make Shed Windows
Shed windows are essential for adding natural light, ventilation, and visibility to any type of shed. Windows can be customized for size, shape, color, and style. Making your shed windows is easy if you have the right materials and tools.
Making shed windows yourself is a great way to add style and value to your shed. This can help make the space feel more inviting and open up the area, allowing natural light in. Having windows also helps with ventilation and temperature control, so you can enjoy spending time in your shed without being too hot or cold. Additionally, if you have chosen to use windows in your shed, they can also act as a security feature. In this blog post, You will learn in detail how to make shed windows.
Tools You Will Need
- Tape measure
- Pencil
- Circular saw or jigsaw
- Router
- Chisel
- Sandpaper
- Level
- Drill and bits
- Hammer
- Staple gun or nails/screws
Step-by-Step Processes for How to Make Shed Windows
Step 1: Inspect the Shed
Inspect the shed to decide where you want your windows to be and measure their dimensions. Make sure there is enough space for your window frames as well as a layer of wood surrounding them.
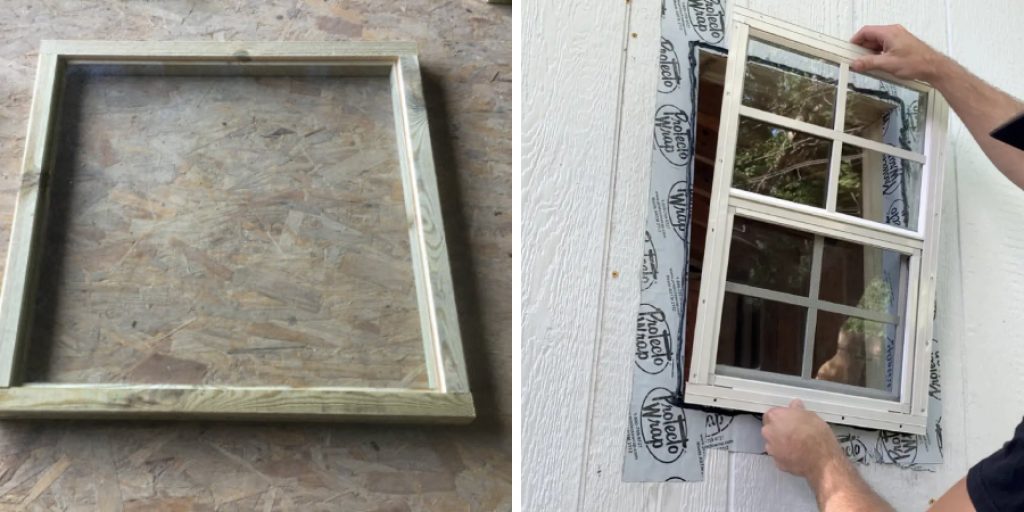
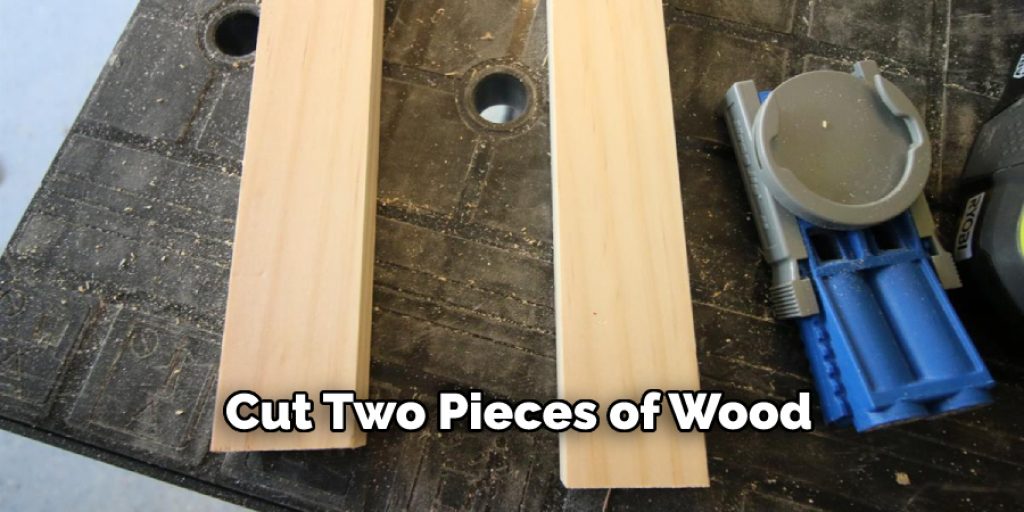
Step 2: Cut the Wood
Cut two pieces of wood that will form your window frame to fit within your measured dimensions using a saw. Securely assemble the two pieces of wood together to form a frame by using nails and screws in each corner.
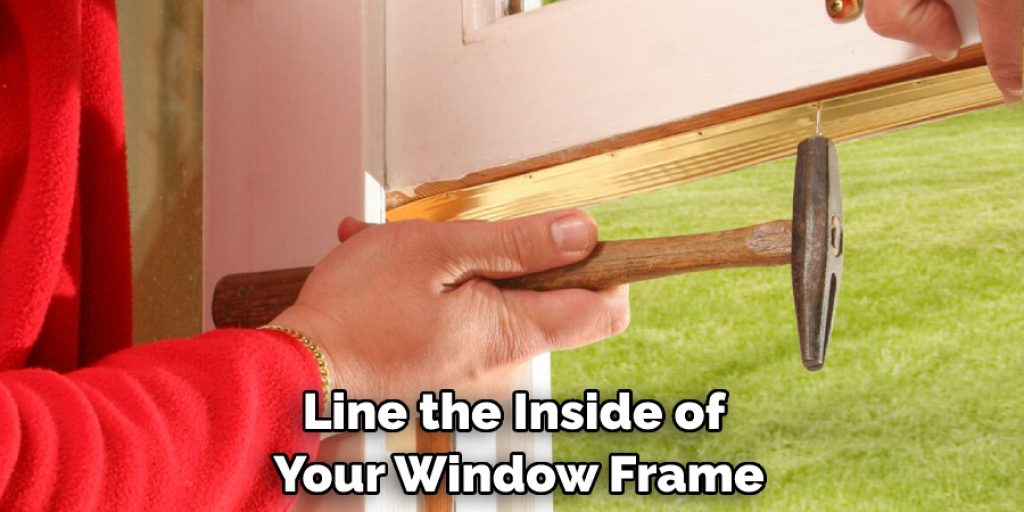
Step 3: Install the Lining
Line the inside of your window frame with weather stripping or other material that will protect against moisture, heat, and cold. This will ensure that the window is secure and weatherproof. Cut glass panes or use Plexiglas to fit within your window frame, adding extra protection from moisture and heat. Securely attach each pane with sealant or putty.
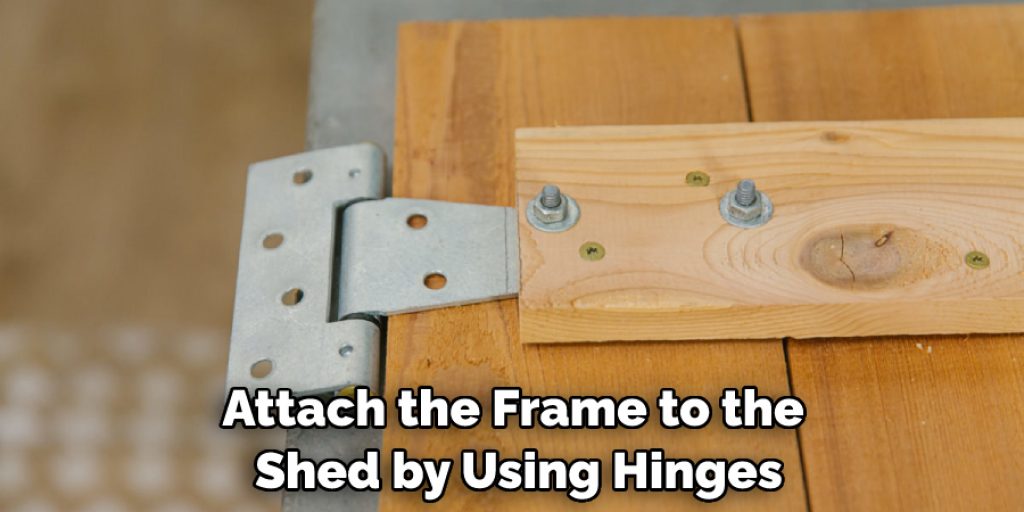
Step 4: Attach the Frame to the Shed
Securely attach the frame to the shed by using hinges on either side of the window. To keep your window secure, install a latch or lock that will fit within the frame and allow you to open and close it when needed.
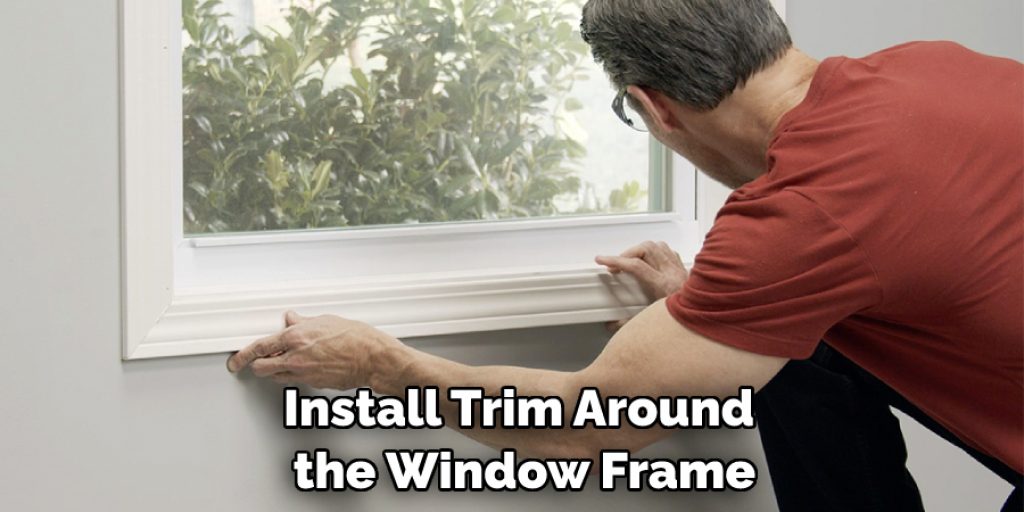
Step 5: Install Trim Around the Frame
Install trim around the window frame to give it a finished look and to protect against moisture and damage. Depending on your preference, you can paint or stain your window frame with a weatherproof sealant for extra protection from the elements.
Congratulate yourself on a job well done, and enjoy the added light, ventilation, and beauty that your window brings to your shed. Following these steps will create a sturdy and stylish window for your shed in no time. With just a few tools and materials, you can create an entirely new look for your space.
Safety Tips for How to Make Shed Windows
- Wear proper safety gear such as protective eyewear and gloves, when cutting materials and handling power tools.
- Measure the opening for your window before purchasing any materials to ensure a correct fit.
- Carefully cut out all pieces of wood needed to create your window frame with a handsaw or circular saw.
- Sand down the edges of the frame for a smooth finish.
- Nail or screw the frame pieces together, using enough nails/screws to ensure stability and proper alignment.
- Attach hinges and handles to your window frames if you plan on having them open and close.
- Secure the window in place with nails or screws and add weather stripping for an airtight seal if desired.
- Putty or caulk any gaps around the frame to ensure a proper seal further and prevent drafts.
Following these steps, you can confidently create your shed windows quickly and safely. With a bit of patience and the right tools, your windows will be sure to last you for years to come.
How Often Do You Need to Check and Maintain the Shed Windows?
Quality exterior paint is the best way to finish and paint your shed windows. This will give them an attractive look and help protect them against the elements. Choose a color that matches your shed’s exterior, and ensure you clean the surface before painting it. Make sure you apply multiple layers of paint to ensure the highest level of protection. Once the paint is completely dry, ensure all joints and edges are properly sealed. This will help prevent water damage and keep your shed windows looking great for years to come.
In addition to regular maintenance, you should also take steps to protect your shed windows from the elements. Make sure that your frames are not exposed to direct sunlight, and avoid placing anything around them that could trap water or moisture against the frame. You should also ensure that any shrubs or trees nearby are trimmed so they don’t obstruct the view from your windows. Taking these basic steps will help keep your shed windows looking great for years to come.
What Are the Most Common Mistakes When Making Shed Windows?
When it comes to making shed windows, there are some common mistakes that can be made. Knowing what these mistakes are is the key to avoiding them and ensuring that your window construction is successful. The first mistake people make when making shed windows is not measuring correctly. Taking accurate measurements is essential in order to ensure that the window frame fits in the opening.
The second mistake people make when making shed windows is not using a level surface for installation. It’s best to use a level surface for the window frame and wall in order to ensure that the frame is even and secure. Additionally, if you’re using screws or nails to attach the frame, it helps to make sure that they are all evenly spaced apart. The third mistake people make when making shed windows is not double-checking their work. Once the window is installed, it’s important to check that the frame is level and secure.
How Do You Troubleshoot Any Issues With the Window Installation?
If you experience any issues during the installation process, there are a few steps you can take to troubleshoot and fix them:
- Check the existing frame for any damage or decay – if there is, replace it with a new frame before installing your window.
- Measure twice, cut once! Double-checking the measurements of your window before you cut will help ensure everything fits correctly in the opening.
- Caulk and seal all edges of your window frame before installing to prevent water from seeping into your shed walls.
- Make sure there is a gap between the windowsill and the frame. This will allow water and condensation to be diverted away from the window and into the outside.
- If you’re having difficulty opening or closing your window, make sure the hinges are properly aligned and that there is no additional friction in the track of the windowsill.
Following these tips can help ensure you have a successful window installation for your shed. If all else fails, don’t hesitate to reach out to a professional for assistance.
What Kind of Maintenance Do You Need to Do on Your Shed Windows?
Now that you know to make shed windows, you may wonder what kind of maintenance is involved in keeping them looking and functioning optimally. Luckily, very little maintenance is needed with the right materials and techniques used when making shed windows. The thing to remember when it comes to maintaining your shed windows is that regular cleaning is important. This will help ensure that dirt and debris don’t build up, which can otherwise lead to the windows needing more intensive care.
If your shed windows are made with wood frames, you’ll need to make sure they’re regularly sealed so they don’t rot or warp over time. Using a water-repellent sealer will help protect the window frames and keep moisture out. You’ll also need to make sure to regularly check for any signs of chipping or cracking on the wood, in which case you’ll need to sand, prime, and paint as needed.
Conclusion
In conclusion, making shed windows is a great way to add functionality, light, and ventilation to any outdoor space. With just a few basic tools and materials, anyone can make their own shed windows from scratch. The process involves measuring the window frames, cutting out the pieces of wood, constructing the frame with nails or screws, attaching the siding around it, and finishing off the window with weatherstripping and glass. Whether you are a beginner or an experienced DIYer, making shed windows is an achievable project that can completely transform the look of any outdoor space. I hope this article has been beneficial for learning how to make shed windows. Make Sure the precautionary measures are followed chronologically.
Angela Ervin
Angela is the executive editor of DIY quickly. She began her career as an interior designer before applying her strategic and creative passion to lifestyle and home. She has close to 15 years of experience in creative writing and online content strategy for housekeeping, home decorations as well as other niche efforts. She loves her job and has the privilege of working with an extraordinary team. She lives with her husband, two sons, and daughter in Petersburg. When she's not busy working she spent time with her family.