How to Put a Border on an Uneven Crochet Blanket
Introduction
Blanket out of crochet us always an exciting thing for the people who love sewing. The beginners always ace a common problem while sewing the blankets is the uneven edges of the blanket.
This generally happens due to the lack of efficiency of the beginners. This can be quickly done by taking the necessary steps. Today, we will suggest some steps on putting a border on an uneven crochet blanket. This will be highly beneficial for correctly sewing the edge of the crochet blanket.
Step by Step Process: How to Put a Border on an Uneven Crochet Blanket
There are several ways to finish the edge of a crocheted blanket so that it looks neat and tidy. Some of these methods are easier for beginner crocheters to do. The steps are listed below with explanations.
Step 1: Gather Necessary Supplies
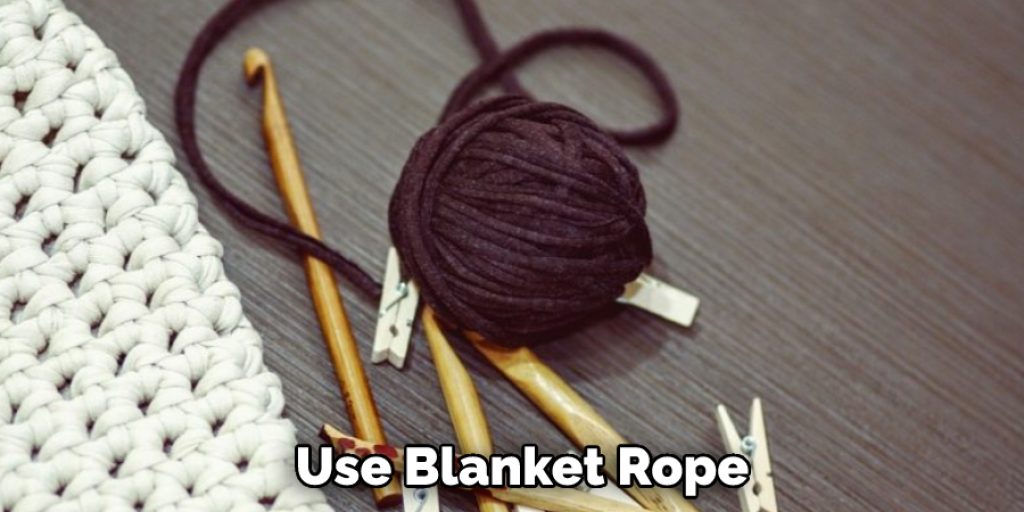
First, you’ll need to gather the necessary elements for the process. You won’t need many things for this technique; just the basics will do. You’ll need a hook that you’re already using for the process, and you’ll need yarn of the same color.
There are two main reasons why blankets have uneven edges: either there is a lack of wool, or the thread has crossed the limit of the blanket edge. In both cases, there are specific steps that will help you to settle down.
Step 2: Make Sure the Crochet Is Done Correctly
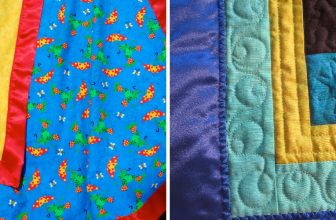
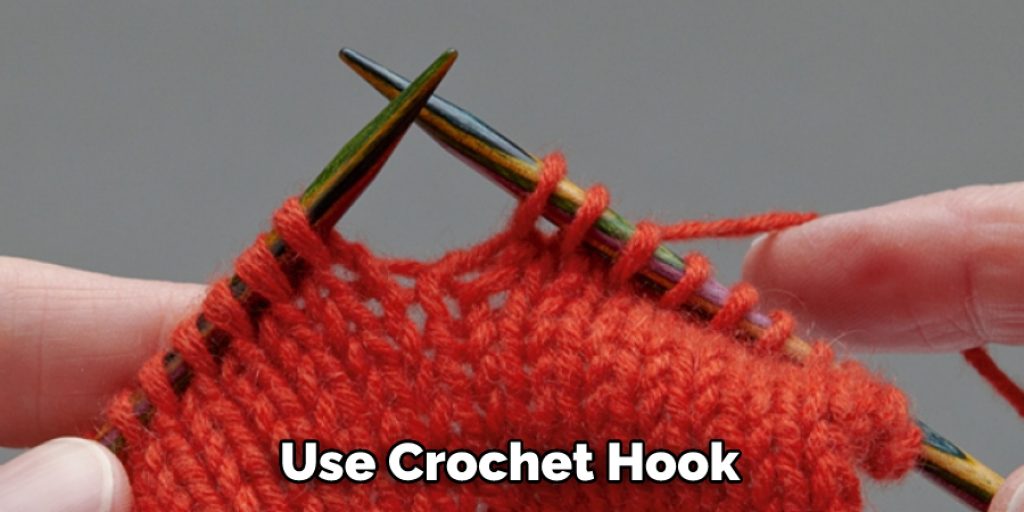
If there isn’t enough yarn on the edge of the blanket, you have to be careful when you’re crocheting so that it looks right. First, you take the hook and wrap the thread around it. Then you make sure there’s a knot tied on the corner of the blanket.
This will help you to attach the yarn to the blanket. You can easily detach the extra thread. Now you have to do the counting. This is essential for progress. The counting will give you the number of rows in the blanket.
Step 3: Assess the Crochet Pattern
After the rows are counted, you have to assess the crochet pattern. Then, you have to start by the edge for the single crochet and make a single crochet around the knot. And for the double crochet, you have to take the edge and start by double crochet. In this way, you have to advance through the dog steadily.
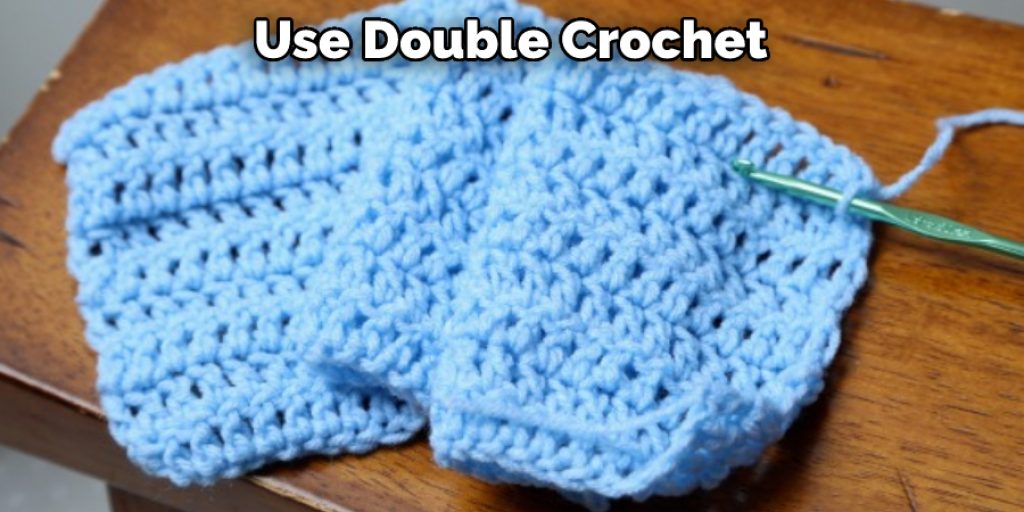
Step 4: Use Double Crochet
When you see a space in your crocheting, you need to insert your hook into the closest thread and pull up a loop. Then, continue your pattern. It’s best to use double crochet stitches in this case so that the line will be nice and dense.
Step 5: Make Necessary Arrangement
There is a lack of wool or an excess of it in some cases. In that case, you have to make arrangements as well. You have to start by making single crochet and then go on with double crochet. And in the same way, you will follow through the edge of the blanket. This will help you to adapt the crochet pattern on edge.
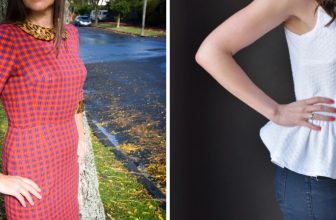
Step 6: Start with Single Crochet
To start, make a single crochet on the line where there is an excess of wool, or when it gets out of the point. Then, make two rounds of single crochet on that line. Finally, make the double crochet on the edge of the blanket.
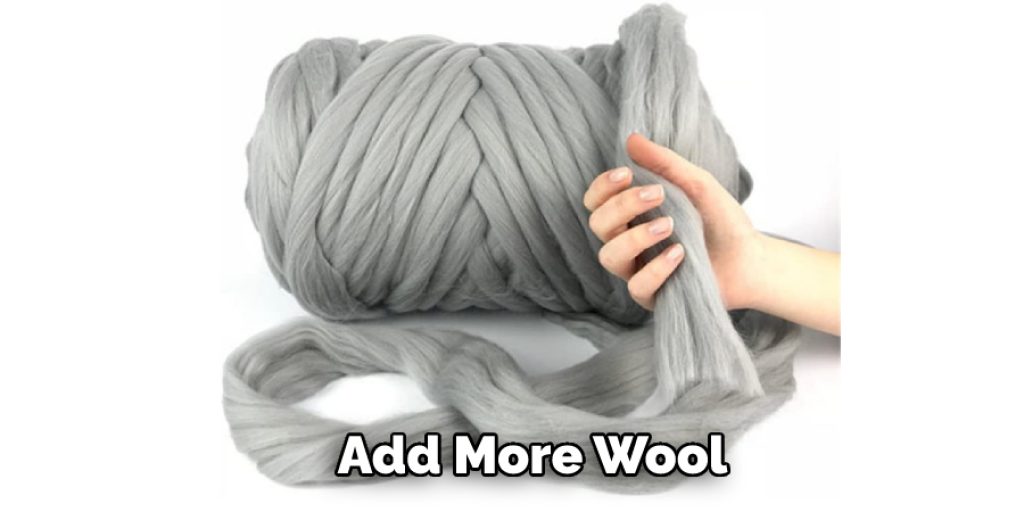
Step 7: Add More Wool
If there is too much wool on the point of the blanket, it will start to look like a large bump. You can remove it by making single crochet and cutting off all the excess yarn. Then, continue with the process of crocheting around the blanket.
In both cases, you will have to crochet from one point to another gently and smoothly. Don’t put pressure on your hook because it may break. If your hook starts breaking, you should change your hook immediately so that it doesn’t get spoiled.
Step 8: Watch Out for the Scissors
In this step, you have to watch out for your scissors because they can ruin the process at any moment. If you cut too much of the wool, it will be difficult to continue with the process. So always cut your thread from a specific length and remove it from the point. If you are cutting the excess yarn, you have to remove it from the point of the blanket.
Because there is no specific technique, you will not find much trouble crocheting around the blanket with this method. After all these steps, your work will look even more amazing than before. Now there won’t be any uneven or bumpy lines in your blanket.
Few Helpful Tips and Techniques:
1. Weave in all loose ends from the blanket. This will help show your line of stitches for the borders.
2. Fold the crocheted blanket in half or thirds, so it is easier to see where you should place the second row of SC stitches. It also makes it easier to count how many rows/rounds you have.
3. Decide on the border you want to use for your blanket and how wide it should be. If you want, take a piece of graph paper and try out different designs for your borders before tackling the blanket itself.
4. When designing or choosing a border, remember that any design with bpsc (back single post crochet, single crochet stitches worked around the post of the stitch below) will not be as stretchy because each row/round will be shorter than other border designs.
5. Most borders using only SC stitches will be equally as stretchy as the main body of your blanket.
6. If you need to expand a border after working on it, work a row/round or two more plain SC’s before continuing with the pattern. This can help make sure that your order will fit.
7. Crochet-a-round (C/A) borders are very stretchy, do not grow much when expanded and can be used for almost any weight or kind of yarn.
Final Thoughts
In conclusion, we would like to express our heartfelt gratitude towards the readers. The process which we have stated here will surely be advantageous for making the edge of your blanket appropriately sewn. The beginners who are new in learning crochet will also benefit from this technique, and your blanket will get a good look. Thank you for your precious time. Have a nice day!
You may also read now –
Nancy Behan
Nancy is an embroidery artist, fashion blogger and a full time editor at DIY quickly. Nancy edits the fashion section on DIY quickly, focusing on the embroidery and cross stitch articles, alongside with fabric and other costume design elements. She graduated from the University of Michigan with a Bachelor of Arts in Art History. She loves to work on her own projects, read books and watch romantic movies in her spare time.