How to Move Furniture on Hardwood Floors
Do you have hardwood floors that you trust will remain unscratched and unmarred, even after a furniture move? Are you intimidated by the thought of moving large pieces of furniture around your home without causing damage to the flooring underneath? If so, don’t worry – this task may seem intimidating and scary at first, but when done correctly, it can be surprisingly easy.
By drawing on necessary tips that we’ll cover in this blog post, such as using appropriate protection for the flooring and following safe handling techniques – successfully moving furniture on hardwood floors can be yours! Whether you decide to do it yourself or hire professional help, our goal is to inform and assist you throughout every step of the process, from proper preparation to successful execution.
So breathe deeply – let’s get ready for an enjoyable journey towards how to move furniture on hardwood floors.
What Will You Need?
The key to moving furniture on hardwood floors is having the right materials. We recommend that you have the following items at your disposal before attempting any furniture move:
- Soft cloths
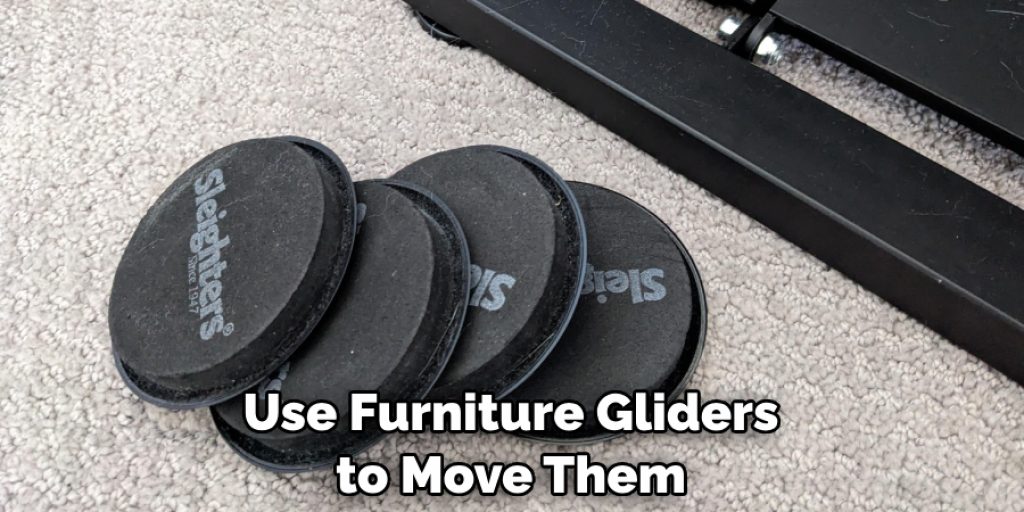
- Furniture sliders or felt pads
- Cardboard or plastic sheets
- Rugs or mats
Having these materials will ensure that you have all of the necessary tools to safely and efficiently complete the task without any worry.
10 Easy Steps on How to Move Furniture on Hardwood Floors
Step 1. Preparation
Before you start moving your furniture, it is essential to prepare your hardwood floors. This step will help prevent scratches, dents, or scuffs caused by dragging and sliding heavy pieces of furniture. Here are some tips for preparing your floors:
- Remove all rugs and mats from the area
- Clean the floors thoroughly by sweeping and mopping to remove any dirt, debris, or dust
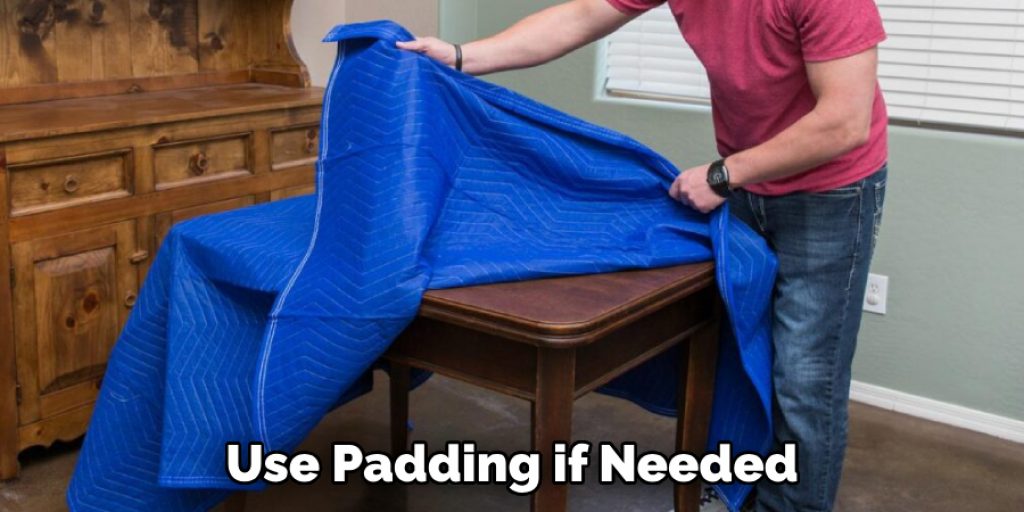
- Check the furniture for any sharp edges or protruding hardware that may damage the floors, and use padding if needed.
Step 2. Protect your Flooring
Once you have cleaned your hardwood floors, it’s time to protect them from possible damages caused by furniture placement. Follow these tips to ensure protection:
- Use cardboard from boxes or plastic sheets to cover the floors. This will prevent scratches and dings while you move heavy pieces of furniture.
- If you don’t have cardboard or plastic sheets, furniture sliders or felt pads can also be used as an alternative to protect your floors.
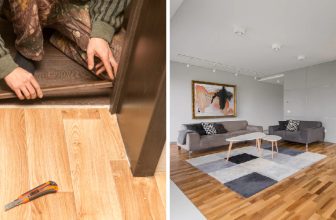
Step 3. Disassemble Large Furniture
Disassembling large pieces of furniture before moving them is highly recommended, as it makes them lighter and easier to handle. It also reduces the risk of damage to your floors or furniture. Be sure to keep all screws, nuts, and bolts in a safe place for easy reassembly.
Step 4. Use Soft Cloths and Padding
After disassembling your furniture, use soft cloths and padding to wrap around any parts that may come into contact with the floor. This extra measure can help protect your hardwood floors from any accidental scratches or dings that can occur during the moving process. Ensure that the padding is securely attached to the furniture to prevent it from slipping off during movement.
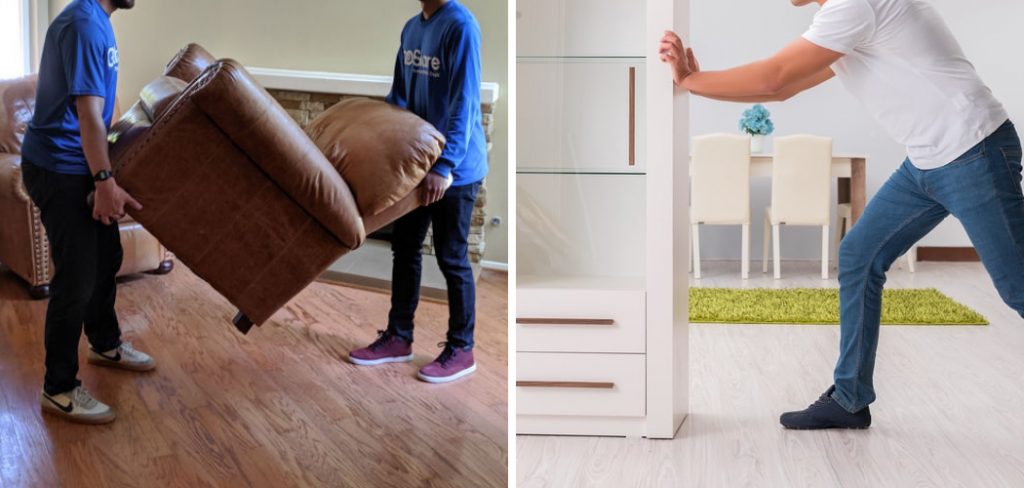
Step 5. Lift, Don’t Drag
When moving any piece of furniture, always lift it instead of dragging it across the floor. This is the most effective way to prevent scratches and damage to your hardwood floors. If the furniture is too heavy to lift, make sure to use furniture sliders beneath its legs. Move the furniture slowly and carefully, ensuring the sliders remain in place. Have another person help you with this step to ensure the furniture doesn’t tip over during the move.
Step 6. Use Rugs or Mats for Additional Protection
If you’re dealing with cumbersome furniture or are concerned about potential damage, rugs or mats can offer an additional layer of protection. Simply place the rugs or mats along the way, and you’ll move the furniture. Not only will this protect your hardwood floors from scratches, but it can also provide a more stable surface to move on. This approach is especially beneficial if you’re moving furniture across large distances or in areas with potential accidental slippage.
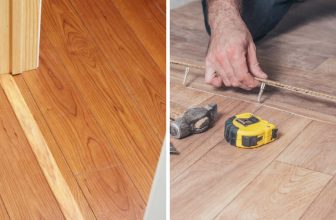
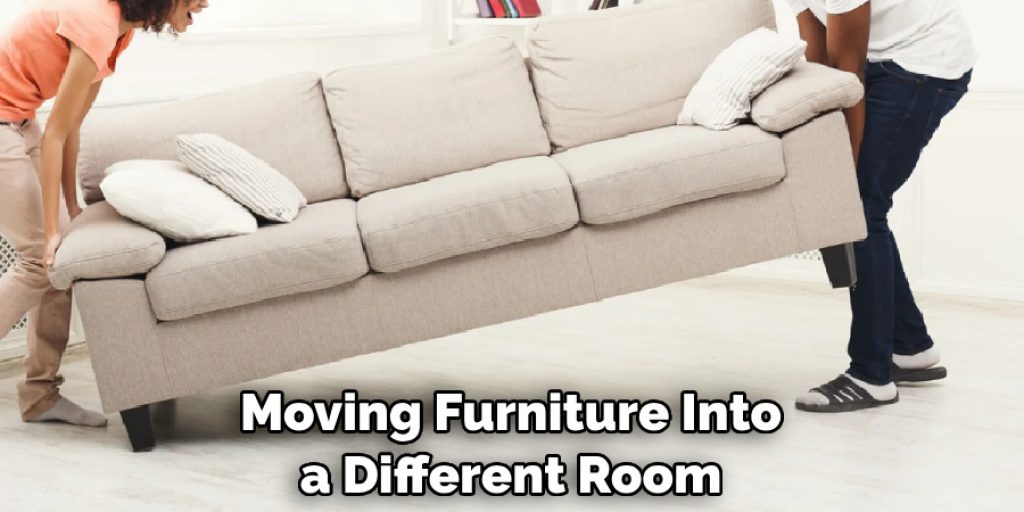
Step 7. Plan Your Route
Before you start moving, plan your route meticulously. Ensure there are no obstacles in the path that could potentially cause you to trip or drop the furniture. Having a clear path will make the task easier and safer. If you’re moving furniture into a different room, measure doorways in advance to ensure the furniture fits through. This step can save you time and prevent damage to your furniture or hardwood floors.
Step 8. Move Slowly and Carefully
When it’s time to move the furniture, do so slowly and carefully. Rushing through the process increases the risk of accidental slips and falls, damaging the furniture and your hardwood floors. Take your time, and don’t hesitate to take breaks if needed. Remember, protecting your hardwood floors is the priority.
Step 9. Reassemble Your Furniture
Once you’ve moved your furniture to the desired location, it’s time to reassemble. Retrieve all the screws, nuts, and bolts you safely stored away and put the pieces back together. As you do this, place a soft cloth underneath any areas of the furniture that might scrape against the hardwood floor. This step isn’t just about rebuilding your furniture. It’s also about doing it in a way that continues to protect your floors from any potential damage.
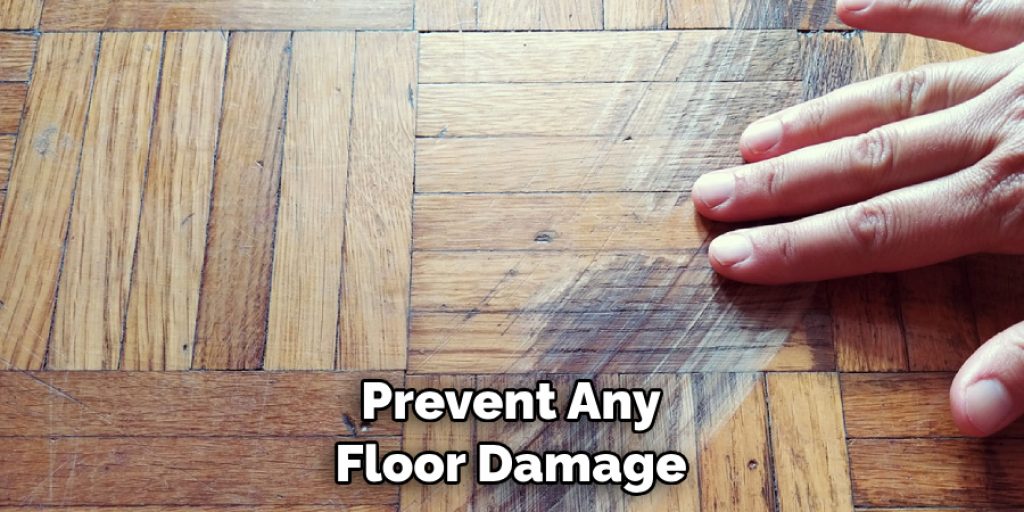
Step 10. Inspect Your Hardwood Floors
After all the moving, disassembling, and reassembling, take a moment to inspect your hardwood floors for any signs of damage. Look closely for any scratches, scuffs, or dents that may have occurred during the move. If you find any, don’t panic! Minor damage can often be remedied with some touch-up polishing or professional help. Remember, vigilance and regular maintenance are the keys to preserving the beauty of your hardwood floors.
By following these steps, you’re not only moved your furniture, but you’ve done so in a way that prioritizes the protection of your hardwood floors. Go ahead and give yourself a pat on the back. You’ve earned it!
5 Additional Tips and Tricks
- If your hardwood floors are newly installed, it is recommended to wait at least 2 weeks before moving any furniture on them. This allows the floors to settle and avoids any potential scratches or dents.
- To prevent scratches, wrap each piece of furniture with a soft blanket or cloth before moving it across the floor. You can also use plastic sliders specifically designed for hardwood floors.
- Moving heavy furniture is best to lift and carry instead of dragging it across the floor. This not only protects your floors but also prevents strain on your back.
- Ensure the furniture legs are clean before placing them on the hardwood floor. Dirt and debris can act as sandpaper, causing scratches over time.
- For larger pieces of furniture, such as sofas or dressers, use furniture gliders to move them across the floor easily. These gliders can also be used to quickly rearrange your furniture layout without causing any damage to your floors.
By following these additional tips and tricks, you can ensure that your hardwood floors remain in excellent condition for years.
5 Things You Should Avoid
- Avoid using any hard material like metal or plastic directly on your hardwood floors while moving furniture. These materials can cause irreversible scratches or dents. Even when using furniture gliders, ensure they have soft padding or are designed for hardwood floors.
- Never slide or drag furniture across your hardwood floors, even if it seems light. This can result in scratches or marks that can be difficult to remove. Always lift the furniture or use appropriate tools like furniture gliders.
- Do not rush when moving furniture. Take your time to ensure all the precautions are in place. Rushing can lead to accidents and potential damage to your hardwood floors.
- Avoid using wet mops or steam cleaners on your hardwood floors. Excessive moisture can damage the wood and cause it to warp.
- Do not ignore small scratches or dents. Small damages can become big problems if addressed after a while. It’s always best to repair any damage as soon as you notice it to maintain the beauty of your hardwood floors.
Avoiding these actions can save you time, money, and the hassle of repairing your hardwood floors.
How Do You Slide Furniture on Hardwood Floors?
- As mentioned, always lift and carry furniture instead of sliding or dragging it across the floor.
- If you need to slide furniture, use appropriate tools such as gliders or sliders with soft padding specifically designed for hardwood floors.
- Before sliding, ensure the surface is clean and free of any debris that could scratch your floors.
- Place the furniture glider under each leg of the furniture and gently push in the desired direction. Avoid using excessive force, as this can cause damage to your floors.
- When sliding larger pieces of furniture, such as sofas or dressers, use multiple gliders for added stability. This will also distribute the weight evenly and prevent any floor damage.
Always take your time and use caution when sliding furniture on hardwood floors.
Conclusion
Moving furniture on hardwood floors can be overwhelming; however, the process is much simpler when following the right techniques. Whether you are moving large or small pieces, it’s important to remember to use some type of padding or slip-resistant mat to protect your flooring from scratches and dents.
Make sure always to lift items carefully and use a dolly when possible. Also, remember that you can enlist professional help for heavier furniture pieces when needed. With the right advice and a little effort, moving furniture need not be stressful anymore!
We hope these tips for how to move furniture on hardwood floors scored you extra points for being a smart DIYer. With these pointers, you can enjoy your new home while keeping your hardwood floor intact. It doesn’t matter if you are a new homeowner or just reorganizing existing décor: protecting your wood flooring should always be a priority.
Angela Ervin
Angela is the executive editor of DIY quickly. She began her career as an interior designer before applying her strategic and creative passion to lifestyle and home. She has close to 15 years of experience in creative writing and online content strategy for housekeeping, home decorations as well as other niche efforts. She loves her job and has the privilege of working with an extraordinary team. She lives with her husband, two sons, and daughter in Petersburg. When she's not busy working she spent time with her family.