
How to Paint a Rain Barrel
Are you looking for a way to spruce up your rain barrel? Painting it is a great way to give it an attractive look that will last for years.
Painting your own rain barrel is an incredibly satisfying and creative project that can make your outdoor areas look great but also help save water! Whether you’re a beginner painter looking for the best way to start or an experienced DIYer needing some tips and tricks, this blog post is full of useful advice on how to get started with painting rain barrels.
From gathering materials and choosing colors to beginning prep work and taking things one step further by sealing your piece when finished – we’ve got you covered! So let’s get started – it’s time for some artistry meets thriftiness with our guide on how to paint a rain barrel!
What Will You Need?
Before you start your painting project, make sure to have all the supplies and materials needed on hand. You will need:
- A water-tight rain barrel
- Appropriate paints and drop cloths for covering surfaces
- Primer for prepping the surface
- Paint brushes or rollers, depending on what suits you best
- Sandpaper
- Lacquer or sealer, if desired
Once you have all the needed supplies, it’s time to select the perfect color palette.
8 Easy Steps on How to Paint a Rain Barrel
Step 1: Clean and Prep the Barrel
The first step to painting a rain barrel is to ensure it’s clean and ready for paint. This includes removing any debris and loose paint flakes from the surface. Start by cleaning the barrel’s exterior with warm water and a mild detergent. Use a soft brush to scrub away any dirt or grime. After cleaning, use medium-grit sandpaper to sand the surface of the barrel lightly.
This will provide a better surface for the primer and paint to adhere to. Remember to wear a dust mask while sanding to avoid inhaling any dust particles. Once the barrel has been sanded, rinse it off with water to remove the dust and allow it to dry thoroughly before proceeding to the next step.

Step 2: Apply Primer
After your rain barrel is clean and dry, it’s time to apply the primer. The primer serves as a base coat that helps the paint adhere to the surface of the rain barrel. Use a good quality primer appropriate for your rain barrel’s material.
Apply the primer evenly over the entire surface of the barrel using a paint roller or brush. Be sure to cover all cracks and crevices. Allow the primer to dry completely as per the manufacturer’s instructions before moving on to the next step. This step is important because it prepares the surface for the paint, ensuring a smooth and even finish.
Step 3: Apply Paint
Once the primer has completely dried, you’re ready to apply the paint. Choose a paint that is suitable for outdoor use and the material of your rain barrel. You can use a paintbrush or roller as you did with the primer. Apply the paint in thin, even layers. Cover the whole barrel, paying special attention to any crevices or hard-to-reach areas.
Depending on the color and type of paint you choose, you might need to apply multiple coats to achieve the desired effect. Always allow each coat to dry fully before applying the next. This patience ensures a smooth, professional-looking finish. If you want to create designs or patterns on your barrel, use painter’s tape to mark out the design before you start painting.
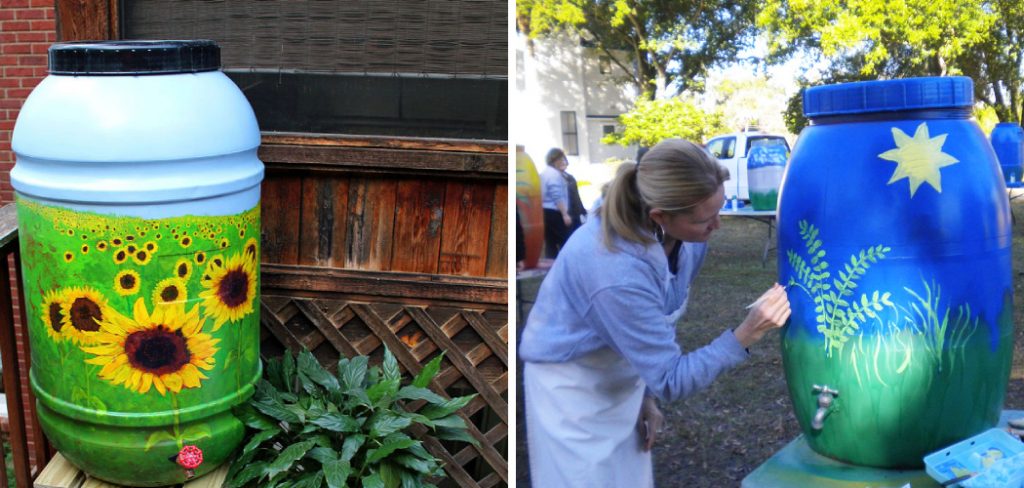
Step 4: Create Designs (Optional)
If you want to elevate the look of your rain barrel, consider adding a design. You could add simple stripes, polka dots, or a more intricate design like a landscape or floral motif. To do this, first sketch your design on paper to get an idea of how it will look. Then, using a pencil, lightly outline the design onto your barrel.
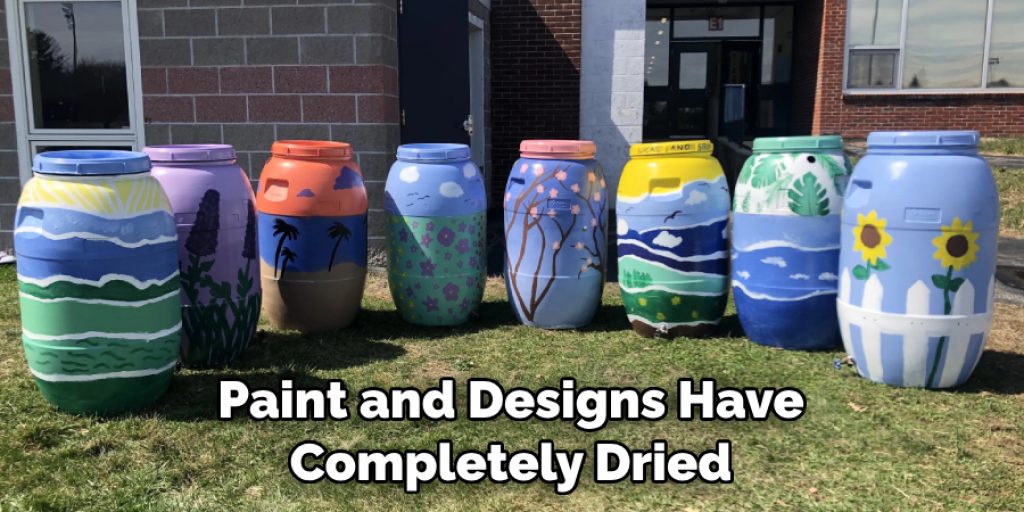
Step 5: Seal the Paint
After your paint and designs have completely dried, it’s time to seal the barrel. This step is crucial as it protects your paintwork from the elements and ensures its longevity. Use a clear lacquer or sealer suitable for outdoor use and the material of your rain barrel. Apply the sealer liberally, ensuring that all painted surfaces are covered.
Depending on the product you’re using, you might need to apply more than one coat. Let each coat dry thoroughly as per the manufacturer’s instructions before applying the next. Once the sealer has dried, your painted rain barrel is finished and ready to be installed outdoors!
Step 6: Install Your Painted Rain Barrel
Now that the barrel is painted and sealed, it’s time to install it. Choose a location close to a downspout for easy water collection. You should use a stand or blocks to elevate the barrel, making it easier to fill watering cans. Once you’ve chosen the right spot, carefully position your barrel and attach it to the downspout using a rain barrel diverter kit. This will direct rainwater from the downspout into your barrel. Make sure your barrel is level and secure.
Step 7: Ongoing Maintenance
Maintaining your painted rain barrel is crucial to ensure its longevity and to keep it looking fresh and vibrant. Clean the barrel regularly to prevent algae or mold growth. If you notice any chipping or peeling on the paint job, it might be necessary to touch up the paint occasionally.
It’s also essential to check the rain barrel diverter for any blockages and clear them as needed. Regularly maintaining your painted rain barrel’ll ensure it remains an attractive and functional feature in your outdoor space.
Step 8: Enjoy the Benefits
With your painted rain barrel properly installed and maintained, you can now enjoy its many benefits. Not only does it serve as a visually appealing addition to your yard, but it also plays a practical role in conserving water and watering your plants.
The rainwater collected is free of tap water chemicals, making it better for your garden. Moreover, having your own source of water can lead to significant savings on your water bills. So sit back, enjoy the view, and feel proud of the functional artwork you have created.
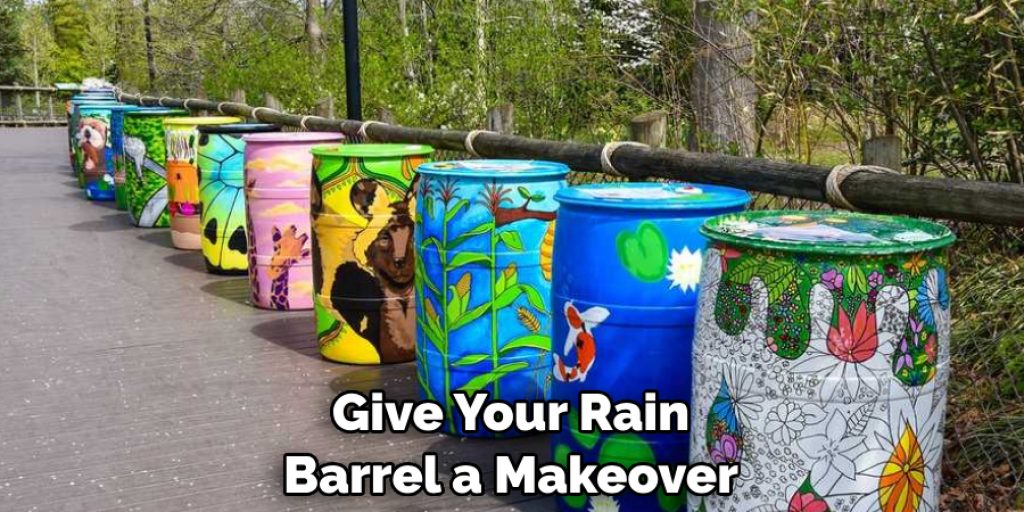
By following these eight easy steps, you can give your rain barrel a makeover to create a beautiful and purposeful feature in your outdoor space. You can transform an ordinary item into something extraordinary with patience and care! This is one project that will reap rewards for years to come.
5 Additional Tips and Tricks
- For extra protection, consider adding a sealant to the inside of your rain barrel. This will help keep out dirt and insects while keeping stored water fresh.
- To make it easier to carry heavy buckets of water from the barrel, attach a handle or two near the top.
- If you live in an area with more extreme weather conditions, consider adding a cover to your rain barrel to protect it from extreme temperatures.
- To prevent debris or leaves from clogging the spigot, attach a mesh screen or filter to the opening of the barrel.
- If you’re feeling creative, why not try out some fun and unique designs on your painted rain barrel? Paint letters or shapes, use stencils for intricate designs, or even add LED lights to it! With a bit of imagination and some simple DIY techniques, you can create something truly one-of-a-kind.
By following these steps and tips, your rain barrel will become an attractive addition to your outdoor space, providing practical benefits. You can even experiment with different paint colors and designs to create a unique look that reflects your personality. With some time and effort, you can transform an ordinary item into something special!
5 Things You Should Avoid
- Using interior paint on your rain barrel – it’s not designed to handle the elements and could quickly become damaged or degraded.
- They are skimping on safety gear such as goggles, gloves, and a respirator when using spray paint.
- Placing your rain barrel in an area where it will be inundated with direct sunlight – can cause the water to overheat.
- Overfilling the barrel can lead to water spilling over and wasted runoff.
- Applying too much sealant or other protective coatings can leave a slippery surface, which could be dangerous when carrying buckets of water from the barrel.
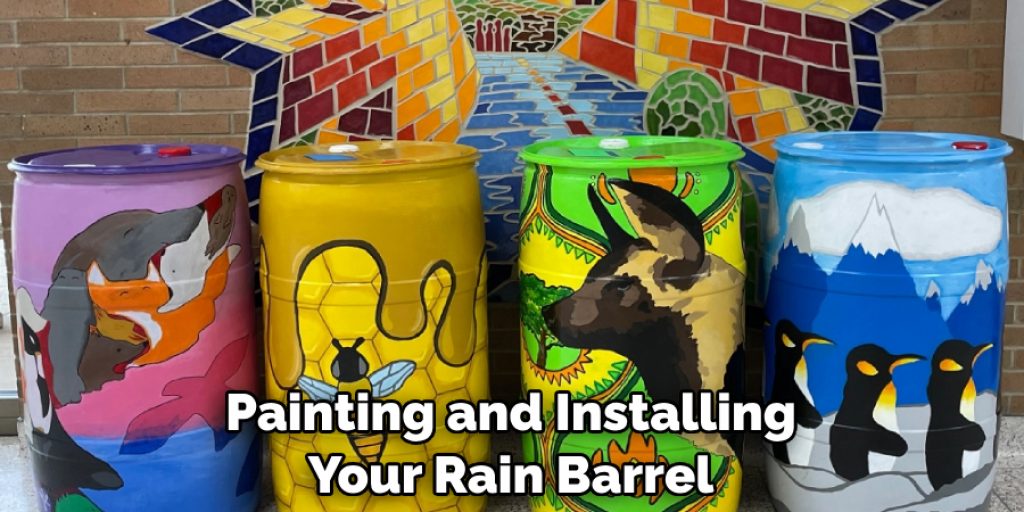
By avoiding these common mistakes when painting and installing your rain barrel, you can ensure your project is a success. With a little care and attention, you can give your rain barrel a new look that will last for years to come!
Conclusion
Anyone can paint a rain barrel; it doesn’t have to be hard or intimidating! If you feel crafty, painting a rain barrel is the perfect way to add a decorative element to your garden while also performing an important eco-friendly task—harvesting rainwater.
While there are many factors to consider when successfully painting a rain barrel, using quality supplies and following these simple steps can make it an easy and fun project for everyone involved.
Hopefully, the article on how to paint a rain barrel has taught you the basics of painting and sealing your barrel, as well as giving you some tips and tricks to get you started. With a little bit of creativity, you can transform an ordinary item into something extraordinary! Good luck with your project—we can’t wait to see what work of art you create!
Happy painting!
Angela Ervin
Angela is the executive editor of DIY quickly. She began her career as an interior designer before applying her strategic and creative passion to lifestyle and home. She has close to 15 years of experience in creative writing and online content strategy for housekeeping, home decorations as well as other niche efforts. She loves her job and has the privilege of working with an extraordinary team. She lives with her husband, two sons, and daughter in Petersburg. When she's not busy working she spent time with her family.


