How to Paint Aluminum Window Frames
Painting aluminum window frames is a great way to refresh the look of your home, especially if they are beginning to appear aged or weathered. It’s also an inexpensive and straightforward DIY project even for those with minimal painting experience.
In this blog post, we will walk you through exactly how to paint aluminum window frames that will make them look as good as new!
From standard cleaning prep steps all the way to important finishing touches – by following these simple tips and tricks, you’ll quickly gain confidence in potentially making an impactful change on one of the most integral elements of any living space – your windows!
Essential Materials
Given below are the tools and materials you will need:
Paint of Your Choice
T-SPLP (sun, moisture and mildew resistant) paint is the best choice for painting aluminum window frames.
Sandpaper
Metal-grade sandpaper is recommended to ensure that the surfaces are properly prepared before painting.
Primer
A good-quality metal primer is essential in order to ensure that the paint adheres well and lasts longer.
Painter’s Tape
Painter’s tape is used to ensure that the paint only covers the areas of the window frames that you want it to cover.
Painting Supplies
Brushes, rollers and a tray are also essential for painting the aluminum window frames.
13 Step-by-step Guidelines on How to Paint Aluminum Window Frames
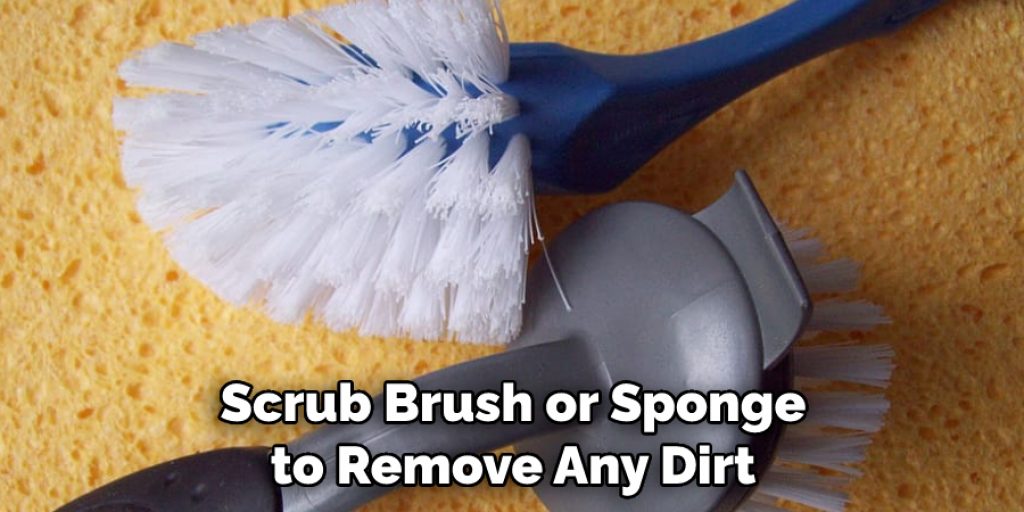
Step 1: Clean the Aluminum Frames
The first and most important step is to thoroughly clean the aluminum window frames. Use a mild detergent, warm water, and a scrub brush or sponge to remove any dirt, grime and other debris that may be present on the frames. If there is any mold or mildew, use a cleaner specifically designed for removing these. It is important to make sure that the frames are totally clean before starting.
Step 2: Sand the Aluminum Frames
Using medium or fine grit sandpaper, lightly sand the aluminum window frames. This helps to create a better surface for the paint to adhere to. Be sure to clean away any dust that may be left behind. If there are any dents to fill in, now is the time to do so. But, be sure to use the same type of paint as you will be using for the frame.
Step 3: Apply Primer
Using a good-quality metal primer, apply an even coat of primer over the entire frame. The primer will help ensure that the paint adheres well and lasts longer on the aluminum window frames. Allow the primer to dry completely before moving on to step 4. Although you can use a brush or roller to apply the primer, using a sprayer will yield better results.
Step 4: Paint Away!
Once the primer is fully dry, begin painting your aluminum window frames using either a brush or roller. Use painter’s tape if you need to mask off areas that you don’t want painted. Apply an even coat of paint and make sure to cover all the surfaces. It is best to use two thin coats of paint rather than one thick coat. Allow the paint to dry completely between coats.
Step 5: Let it Dry
Allow the paint to dry completely before moving on to step 6. Depending on the type of paint you are using, this can take anywhere from 1-3 hours. If you are using a sprayer, make sure to keep the nozzle moving in order to avoid over-application of paint. This will help to ensure that the paint adheres properly and is evenly distributed.
Step 6: Check for Coverage
Once the first layer is fully dry, inspect your window frames for any areas that were missed or need additional coverage. If needed, you can add a second layer of paint after allowing the first layer to dry completely. It is important to check the coverage of each layer and ensure that it is even.
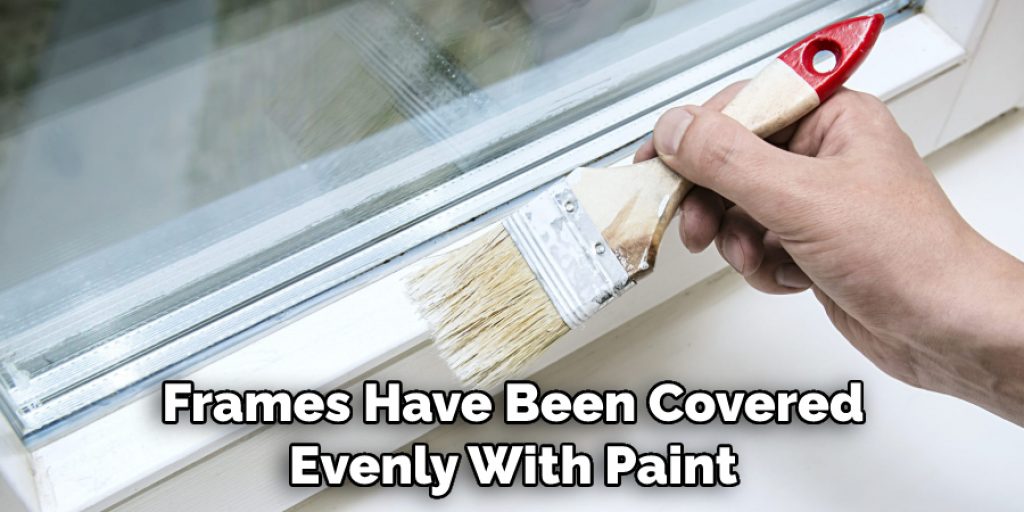
Step 7: Remove Painter’s Tape
After making sure that your aluminum window frames have been covered evenly with paint, remove any painter’s tape that was used. This will help ensure that the paint doesn’t peel off due to improper adhesion.
Step 8: Sand
Once the paint is dry, use fine-grit sandpaper to lightly sand the frames. This will help to create a smooth and even finish. Be sure to clean away any dust that may be left behind after sanding. But, be sure not to sand too hard in order to avoid damaging the paint. It is also important to avoid sanding over any areas of the frames that may be weaker or softer than others.
Step 9: Apply Clear Coat
Using a clear coat sealant, apply an even layer over the entire frame in order to protect against weather damage and UV rays from fading the paint. Allow this to dry completely before moving on to step 10. It is best to use a sprayer for this purpose, as it will provide the most even coverage. Otherwise, a brush or roller can also be used.
Step 10: Reinstall Windows
Now that your aluminum window frames are fully painted and sealed, you can reinstall them into their respective spots in your home or office space. Remember to be careful when doing so, as not to damage the frames or paint. Otherwise, you can now enjoy your new aluminum window frames, painted to perfection!
Step 11: Clean Up
Once the windows have been reinstalled, clean up any mess that may have been made during the painting process. Make sure to dispose of all used materials properly. It is also important to remember to clean and store all of your painting tools safely. If there are any unused cans of paint or primer, make sure to store them in a safe place for future use.
Step 12: Enjoy!
Now you can sit back and enjoy your newly painted aluminum window frames! The fresh paint job will give a new look to your space and help keep it looking great for years to come. This is a great way to update the look of your home or office without having to replace the windows completely. So, take some time and enjoy your hard work!
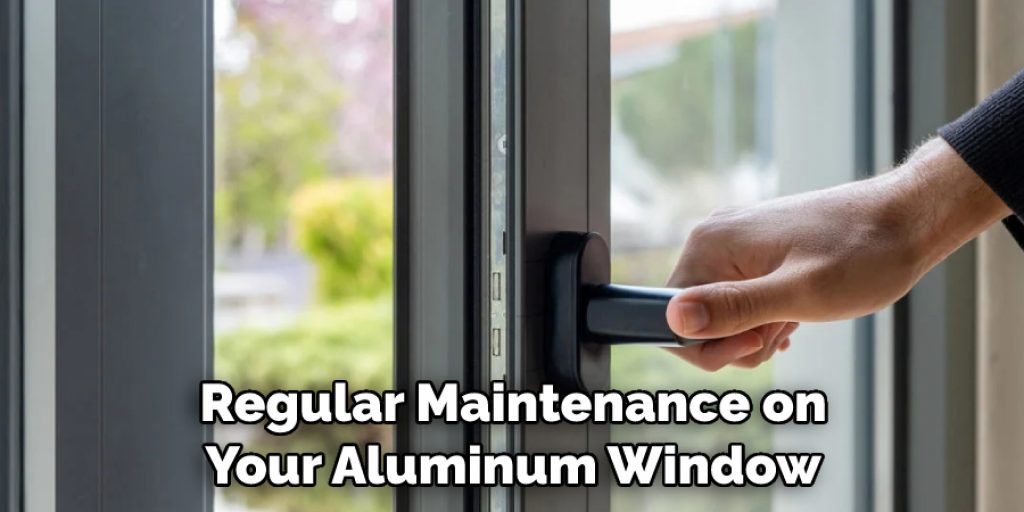
Step 13: Maintenance
It is important to perform regular maintenance on your aluminum window frames in order to ensure that they stay looking great. This includes cleaning them regularly, checking caulking around glass panes and re-painting when necessary. With proper care and attention, your aluminum window frames can last for many years.
Follow these 13 steps on how to paint aluminum window frames and you can quickly and easily give your aluminum window frames a new look with just a few hours of work. Painting aluminum window frames is an easy job that anyone can do, even if they don’t have experience in DIY projects. With the right supplies and some patience, you too can create beautifully painted aluminum window frames!
Do You Need the Support of a Professional?
If you find yourself stuck or need extra help with your aluminum window frames, then it might be best to call in a professional. A professional can provide advice on the best products to use and how to properly paint your windows for maximum durability and longevity. They will also have the right tools and equipment needed to get the job done quickly and efficiently. So don’t hesitate to reach out if you find yourself needing a little extra help!
How Much It Will Cost?
The cost of painting aluminum window frames will depend on the size and number of windows you are looking to paint. On average, it can cost anywhere from $100-$400 for a complete paint job. This may vary depending on your location, the type of materials used and any additional services needed. Make sure to do your research and shop around for the best prices before starting any project.
Frequently Asked Questions
Q: How Should I Clean My Aluminum Window Frames Before Painting?
A: It is important to thoroughly clean your aluminum window frames before you start any painting process. You can use a degreaser or soap and water to remove any dirt, dust, and debris that has built up on the frames. Be sure to rinse with clean water and let it dry completely before proceeding with any painting steps.
Q: What Types of Paint Are Best for Aluminum Window Frames?
A: The best type of paint to use for aluminum window frames is high-quality, water-based acrylic paint. This type of paint is designed to adhere to metal surfaces and is resistant to weathering and fading over time. It is also easy to clean and maintain.
Q: How Many Coats of Paint Do I Need for Aluminum Window Frames?
A: Generally, two coats of paint should be enough for aluminum window frames. The first coat will act as a primer and sealer, while the second coat will provide a durable and long-lasting finish. Be sure to let each coat dry completely before proceeding with the next one.
Q: How Long Does it Take for Paint to Dry on Aluminum Window Frames?
A: It will usually take about four hours for the paint to dry completely on aluminum window frames. This may vary depending on the type of paint used and the temperature and humidity levels in your work area. It is best to wait the full four hours before touching or using your window frames.
Conclusion
Painting aluminum window frames is an easy and inexpensive way to refresh the look of your home. The key to success lies in thorough preparation and starting with a quality primer. Taking time for proper masking and using a sprayer for greater coverage can increase the chances of achieving an even, professional finish.
Of course, it’s important to follow manufacturer guidelines for using any type of paint or brush and be sure to work in a well-ventilated area. With patience, practice, and following these steps on how to paint aluminum window frames, painting aluminum window frames can be a rewarding experience that will leave you with beautiful results that last!
Angela Ervin
Angela is the executive editor of DIY quickly. She began her career as an interior designer before applying her strategic and creative passion to lifestyle and home. She has close to 15 years of experience in creative writing and online content strategy for housekeeping, home decorations as well as other niche efforts. She loves her job and has the privilege of working with an extraordinary team. She lives with her husband, two sons, and daughter in Petersburg. When she's not busy working she spent time with her family.