
How to Paint Garage Walls
Are you tired of looking at your garage’s dull and dirty walls? Do you want to spruce up your garage space without breaking the bank? Painting your garage walls is an easy and inexpensive way to update the look of your space.

With just a few tools and some elbow grease, you can transform those drab walls into a beautifully painted and refreshed backdrop. In this blog post, we’ll take you through seven easy steps on how to paint garage walls like a pro.
Can You Paint the Garage Walls?
Transforming a garage can be an exciting home improvement project, but there are a few things to consider before painting the walls. First, it’s important to understand the type of material the walls are made of, as certain surfaces may require special preparation or paint.
Additionally, if the garage is attached to the house, it’s important to take proper ventilation and safety precautions to avoid harmful fumes. However, with the right materials and knowledge, painting the garage walls can give the space a new look and make it a more functional part of your home.
Why Should You Paint Garage Walls?
Are you tired of staring at your garage’s dull, gray concrete walls? Consider freshening up your space with a new coat of paint. Not only does painting garage walls enhance the appearance of your garage, but it also protects the walls from damage. Moisture and humidity can build up in garages, causing walls to become damaged over time.
Painting the walls helps to seal them and protects against this damage. Plus, a newer, cleaner look may motivate you to spend more time in your garage, whether you’re working on projects or want a more organized space. So, why not give your garage a fresh coat of paint and see the difference it can make?
7 Easy Steps on How to Paint Garage Walls Like a Pro
Step 1: Prep the Walls
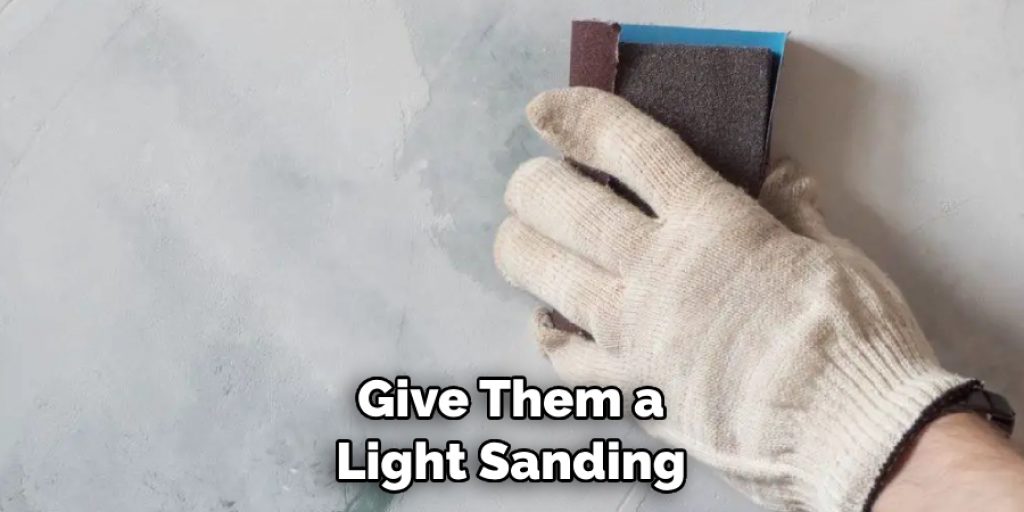
Before starting any painting project, it’s essential to prep the walls properly. Begin by cleaning any dirt, grease, or grime from the walls using a mixture of water and mild detergent. Once the walls are clean and dry, please give them a light sanding to remove any rough spots or peeling paint. Finally, protect any areas you don’t want to be painted with tape, plastic sheets, or drop cloths.
Step 2: Prime the Walls
Priming is an important step in any painting project. This base coat will help the paint adhere better to the wall and ensure your chosen color appears correctly. Apply a layer of primer to the walls using a roller or brush, and let it dry according to the manufacturer’s instructions.
Step 3: Paint the Walls
Once the primer is dried, you are ready to paint the walls. Choose high-quality paint for garage walls that resists dirt, grease, and stains. Begin by cutting in around the edges of the wall with a brush and then use a roller to paint the rest of the wall evenly. Be sure to follow the manufacturer’s instructions and apply the paint in thin layers for the best results.
Step 4: Let the Paint Dry Thoroughly
After the painting is done, it’s recommended you let the paint dry thoroughly for four to six hours. Keep the area ventilated, and avoid any direct contact with the walls. Once the paint is completely dry, you may apply a second or third coat if needed.
Step 5: Clean up the Area
Once the painting is complete, the only task left is to clean up the area. Remove all the protective tape and plastic sheets from the walls and surrounding areas. Check the walls for any touch-ups, and make necessary repairs before putting all the tools away.
Step 6: Add the Finishing Touches
Once the painting process is complete, you can add finishing touches to your garage. Invest in a few pieces of artwork or hang some shelves to create a more inviting atmosphere. You can also add storage solutions like cabinets or bins to help keep all your tools and supplies organized.
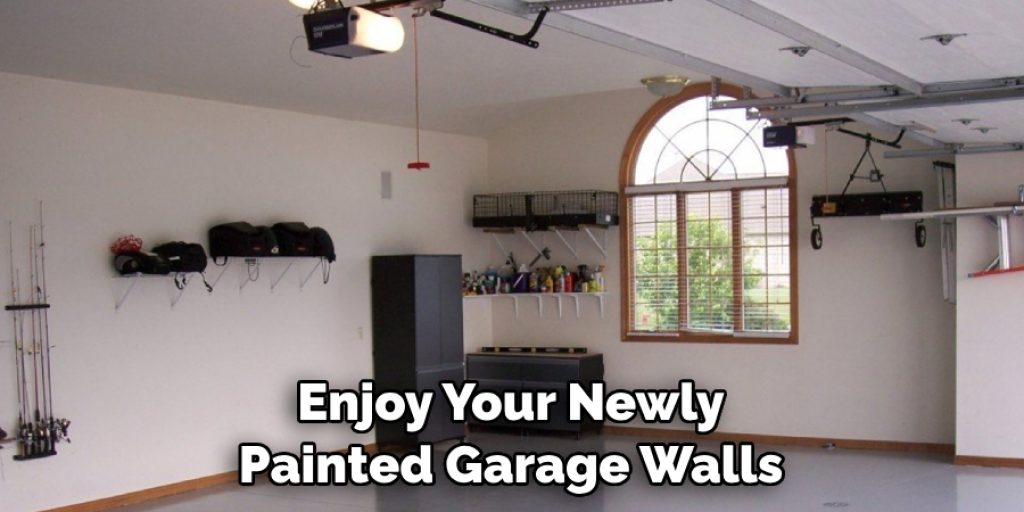
Step 7: Enjoy Your New Look!
Now it’s time to enjoy your newly painted garage walls. Make sure to take some before and after photos of the project so you can look back and be proud of what you accomplished. An updated garage space will not only look great but also save you time on future cleaning projects!
With these seven easy steps, painting your garage walls isn’t as daunting as it may seem. Take the time to do it right, and you’ll have a refreshed and stylish garage in no time.
5 Considerations Things When You Need to Paint Garage Walls
1. Surface Preparation
Surface preparation is essential when painting garage walls, ensuring the paint adheres properly and lasts longer. Before painting, it is important to clean the walls to remove any dirt or grime. Additionally, any holes or cracks should be filled with a spackling compound and sanded smooth. Finally, the walls should be primed with a high-quality primer before painting.
2. Paint Type
When choosing a paint for your garage walls, there are a few things to consider. Firstly, you should choose an exterior paint for masonry surfaces such as brick or concrete. Additionally, you may want to opt for a paint that is resistant to mildew and mold growth, as garages can often be damp environments. Finally, if you are looking for a glossy finish, then you should choose enamel paint rather than latex paint.
3. Color Selection
The color of your garage walls can make a big difference in aesthetics and functionality. If you want to create an inviting space, you may opt for bright colors such as yellow or orange. Alternatively, neutral tones such as grey or white may be more suitable if you are looking for something more subtle. Whatever color you choose, make sure that it complements the other elements in the room, such as furniture and flooring.
4. Paint Application
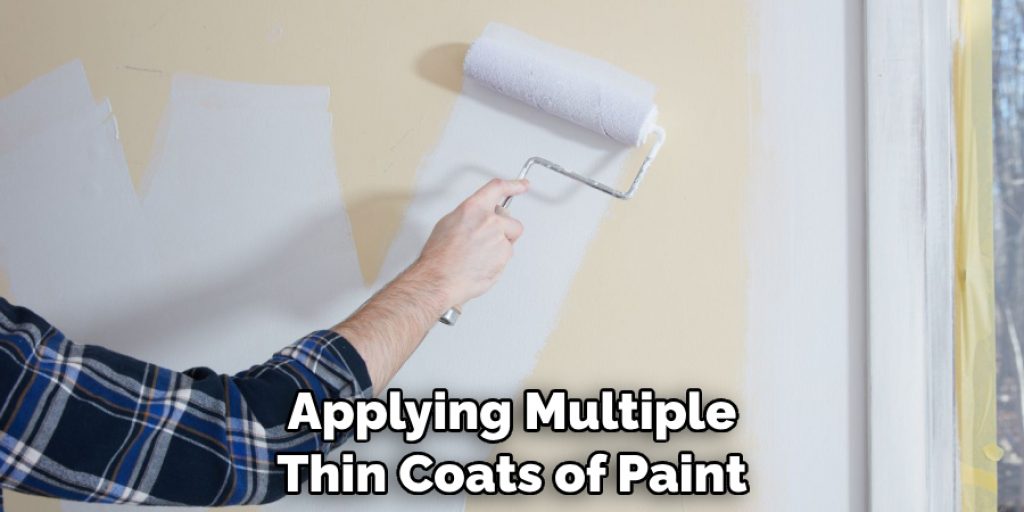
Paint application is also very important when painting garage walls. To ensure even coverage, it is best to use a roller rather than a brush, as this will help avoid streaks and brush marks on the wall’s surface. Additionally, applying multiple thin coats of paint rather than one thick coat is important to achieve the best results possible.
5. Clean Up
Finally, once the painting has been completed, it is important to clean up properly to avoid any messes or accidents from occurring later on down the line.
All brushes and rollers used during the job should be cleaned thoroughly with warm soapy water before being stored away for future use; any excess paint on surfaces should also be wiped away with a damp cloth before it dries completely. Any drips or spills should be cleaned up immediately to avoid staining the walls.
Benefits of Paint Garage Walls
You probably spend much time in your garage if you’re a car enthusiast. When looking to make improvements and upgrades to your space, painting your walls might not be the first thing that comes to mind. However, this simple task can make a huge difference in your garage’s overall look and feel.
Not only will painting your walls protect them from oil and other garage-related stains, but it will also make your space feel brighter and more inviting. A fresh coat of paint can do wonders for any room; your garage is no exception. Plus, with a wide variety of color options, you can easily personalize your space to make it uniquely your own. So the next time you want to give your garage a quick and affordable upgrade, consider painting your walls.
Some Common Mistakes People Make When Trying to Paint Garage Walls
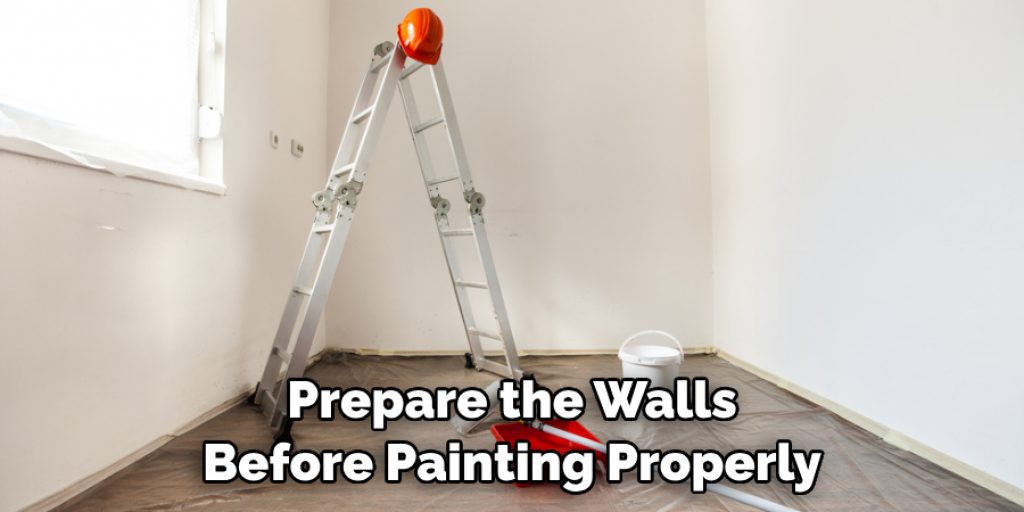
Tackling a garage paint job can sometimes be daunting, especially if you’re new to painting. It’s easy to make mistakes that can cost you time and money in the long run. One common mistake is failing to prepare the walls before painting properly. This can lead to the paint peeling or cracking later on.
Another mistake is applying too much paint at once, which can cause drips and leave an uneven finish. Additionally, not using the right tools and materials, such as low-quality paint or a cheap brush, can result in an unsatisfactory result. Don’t let these mistakes discourage you, though. With some patience and know-how, anyone can successfully transform their garage walls.
Conclusion
Painting your garage walls is a great way to give your space a fresh look and make it look well-organized. When painting, a little time, effort, and patience go a long way. You will get the desired result by following the above-given steps in no time.
So, what are you waiting for? Grab your tools, put our tips into practice, and transform your garage walls today! Thanks for reading our post about how to paint garage walls.
Angela Ervin
Angela is the executive editor of DIY quickly. She began her career as an interior designer before applying her strategic and creative passion to lifestyle and home. She has close to 15 years of experience in creative writing and online content strategy for housekeeping, home decorations as well as other niche efforts. She loves her job and has the privilege of working with an extraordinary team. She lives with her husband, two sons, and daughter in Petersburg. When she's not busy working she spent time with her family.


