
How to Plug Bathtub Overflow Drain Diy
You’ve used to have a hard time, and you’ve eventually got some time to relax. A hot bath is exactly what you want, but there isn’t a work blocker or plug in your shower. When you wanted to know how to obstruct a bath without even a socket, you’re in fortune!
Luckily, there are several fast home remedies that will avoid wasting your lavish shower water until you’ve had an opportunity to rinse away the pressure. Whenever you have actually to handle a bathtub without the need for a stopcock, such techniques can operate well. Whichever one fits better for you, seek such three short term fixes.
We’ll describe how and where to substitute your older-style bathroom sink drain with such a reduced lift-and-turn sewer for upkeep. Once you remove the old blocker, it is a real chore to configure the fresh one. And avoid dealing with the drainage with the leverage design, which traps all hair in the bath and substitutes it with a fresh one that does not have the problematic attachment
Essential Equipment
- Screwdriver with 4 in 1
- Fridge chisel
- Hacksaw
- Hammer
- Pilers
Instructions
Step-1:
Get a new blocker to replace your old drain-style nozzle. When the stopper in your bathroom sink nozzle-style no longer pops up due to damage or clogging of the connection, replace it with a much easier bath sink lift-and-turn look. The contact of lever drainage collects dust and hair like a magnet, which needs to be periodically washed to keep the drainage operating correctly.
There is no complex connection to reach out and clean the lift-and-turn drain — nearly all sticks in the drain-grate. Purchase the repair package for the tub stopcock in home improvement stores and home malls to continue this how to fix a task for the bathroom sink.
Step-2:
To remove the linkage, pull it quickly and firmly until it comes free. Once the tie is removed, tighten the new overflow tray. Discard the excess material and remove the upper link from the excess tube. Turn off the sink stopcock and remove the lower link. If both components of the linkage are removed, tug firmly as they may be attached within the outlet tube.
Step-3:
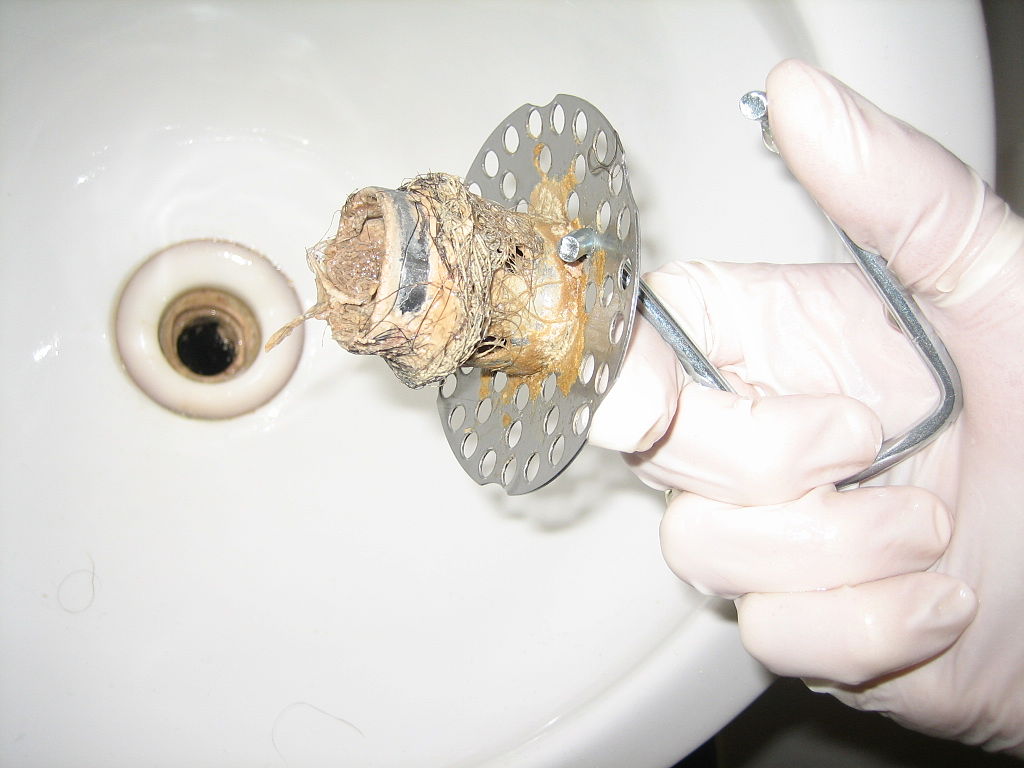
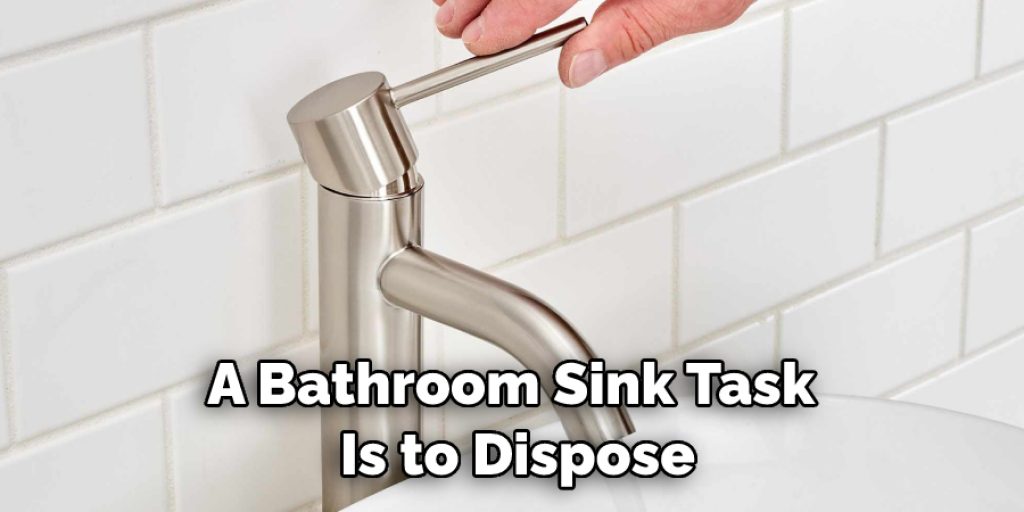
The hard thing about this well how to erase a bathroom sink task is to dispose of the aged bath sewage blocker’s bodies, and after that, it is just all downslope. Remove debris of the aged blocker. If you have difficulty messing it out, consider warming it up with a dryer adjusted to “severe.”
The warmth can loosen up the putty of the old construction worker. You can also chop the more former self of the tub sink blocker with a rotating saw and steel blade, but just be cautious since it is nice to split into and harm the shower—1/4 in. Split a tier for a micro hacksaw, big and tight in the aged stopper core.
Step-4:
Cut a 1/4 inch gap for a miniature hacksaw in the aged stopper frame. Monitor ongoing performance to ensure you don’t even chop into the bath. Use a 3/4-inch wedge and cold chisel in the trim hole and pound in a counterclockwise direction with a tool to loosen the blocker. (Be careful while trying to hammer to prevent scraping the enameled bath). Turn off the stopper frame and discard it.
Step-5:
Flip onto another gasket. Then slide a pencil-sized construction worker putty bead and tap this around the lower part of the real body stopper edge—pin 8-in ‘jaws. Camshaft, the body rubs in the stopcock and strings it in the drainage pipe.
Everything that remains in this how-to eliminates a stopper bathroom sink job is putting the latest stopper body and stopper bathroom drain shower. Slip right the new rubber nozzle underneath the bath on the edge of the drainage pipe and install the existing drainage spindle on it with cleaner superglue.
Just use bushing provided, when the fresh strings vary significantly from the older models. Turn the stopcock into the body of the stopcock, and applaud you on the well-done work. When you have other problems with the shower, know how to solve a leaky faucet.
In Old Coffee Pod New-Purposes
Cover a tub sink with a serving size coffee cups or a slim disposable medicine cup. An empty cup or a 15 ml cup of medication might be the best type to obstruct the drain efficiently. Set the plastic container or bowl tightly into the sink (first at the lower part) and start filling the bath just to check how it is maintained. If it’s only a little too tiny, tie some dense cable ties over it to enhance the shield.
Keep a Lid to Useful
When the coffee seal does not fit excellently, try using a plain glass jar lid if the plastic filter is wide enough to cover the waterline. Put the top on the lower part of the tub, so it fits snugly. Build a tighter barrier by lessening the lid’s edge and pushing tightly while cleaning out the bath. Ultimately, the volume of water must be essential to maintain the cover in place.
The Plastic Bag Technique
Use a washing cloth or tiny sponge placed into a clear plastic bag to develop a makeshift drain cover. Tie a finely or soggy damp towel to a sponge that has been turned to align the discharge. Put the tissue or sponge from the inside of a sandwich plastic shopping bag.
Keep squeezing quite enough air as you want to, and fasten it and use a group of rubber to safeguard it. Fill the sack in the wash. The product will be extended to cover the gap securely, so the protective covering prevents liquid from leakage through the drain. Instead, load a plastic zip sack with liquid, secure it, and position over the sink.
Here’s a quick fix for a cracked or missing drain stopper: Grab a hard plastic connector from the supermarket. This will temporarily prevent waste from escaping and leaving you with a clean, dry bathroom sink.
Even as they all perform the same function — to maintain liquid in the bathroom if required and enable the tub to be drained anew — there are many various varieties of sink stoppers for bathrooms. Lift-and-turn, squeeze-and-pull, flip-it, and trip pulley are the most basic examples of bathroom sink drain blockers.
Recognizing which form you have can enable you to repair or remove your drainage blocker as it is needed. Several other types of sink stoppers could make this somewhat tricky for hair and particles to be frequently cleaned out.
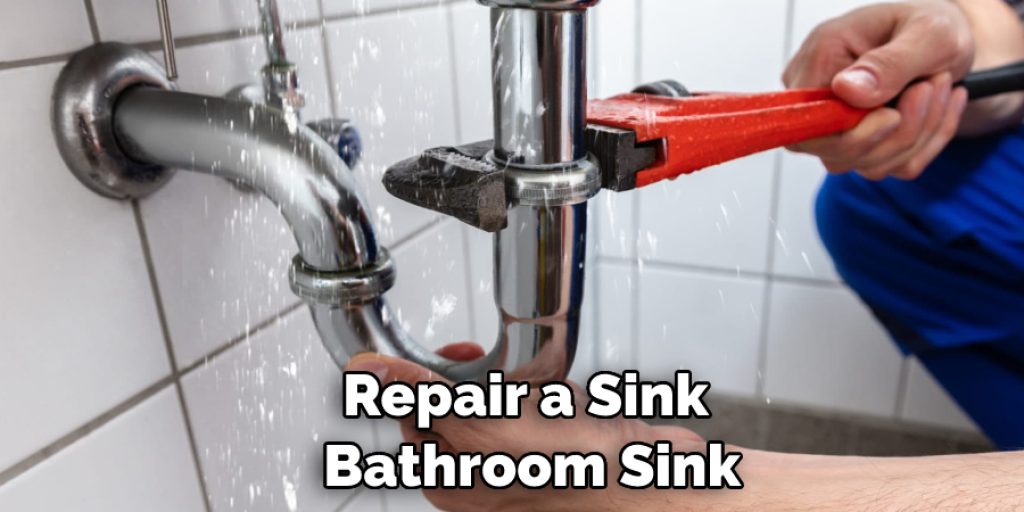
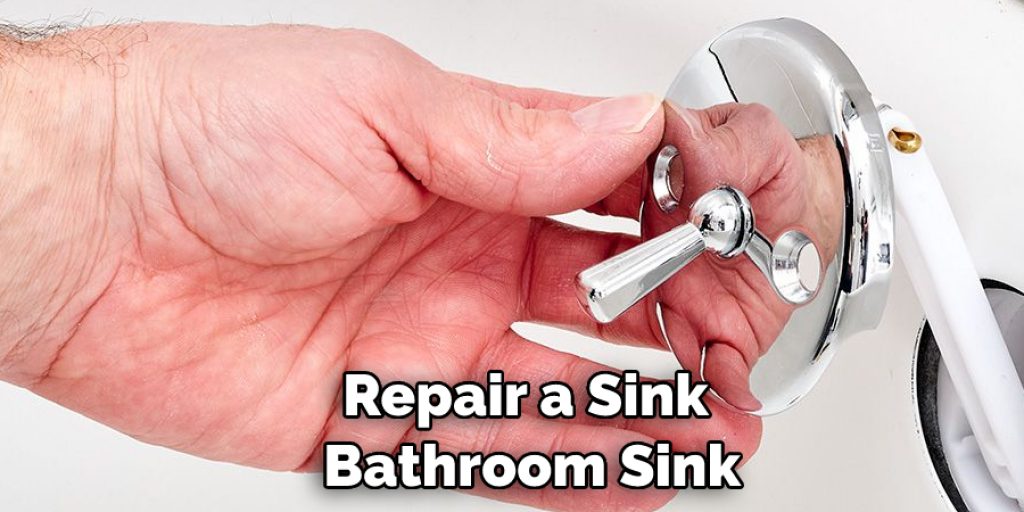
How to Repair a Sink Bathroom Sink
Bathroom sink drainage often doesn’t discharge though too as they ought to. Fortunately, it’s a simple job to boost the sealing and fluid movement. Below, our specialists at bathroom construction discuss how to repair several of the most can bathroom drainage system:
Drains Pop-Ups
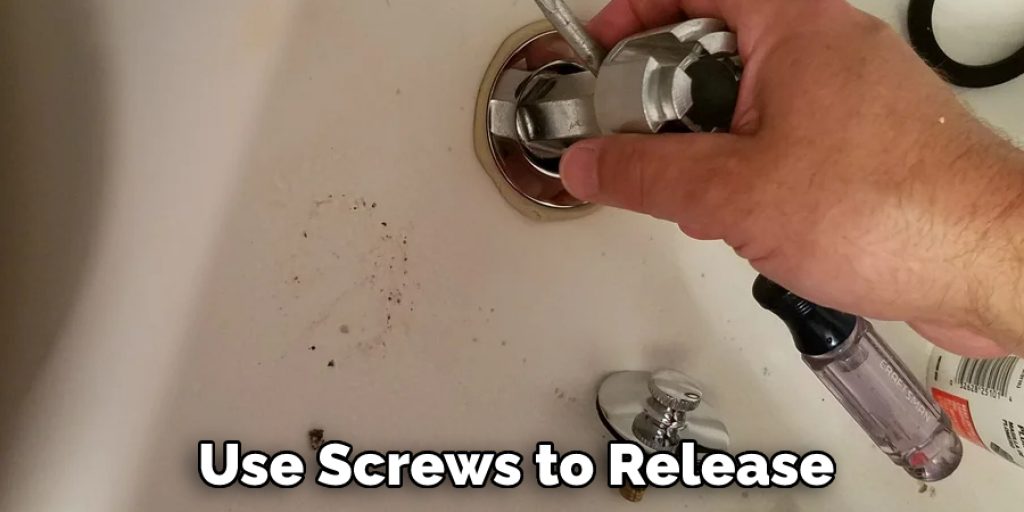
- Firstly, just use screws to release and replace the bolts on the faceplate for excess.
- First, detach from the dump the trip levers and attach.
- Afterward, start moving the rocker arm in the open spot, so the sink is in.
- Flip the installation around and squish until it ejects from the sewer.
- Next, drain both bath discharge and overspill discharge with a one-cup white vinegar remedy and one bowl baking soda remedy.
- Wash with warm water after 30 min.
- Use a cleaner and a slight surface cleaner to tidy the connection, rocker arm, and blocker.
- Reformat the installation of the ceramic insulator, arm and blocker, and the trip lever and connection.
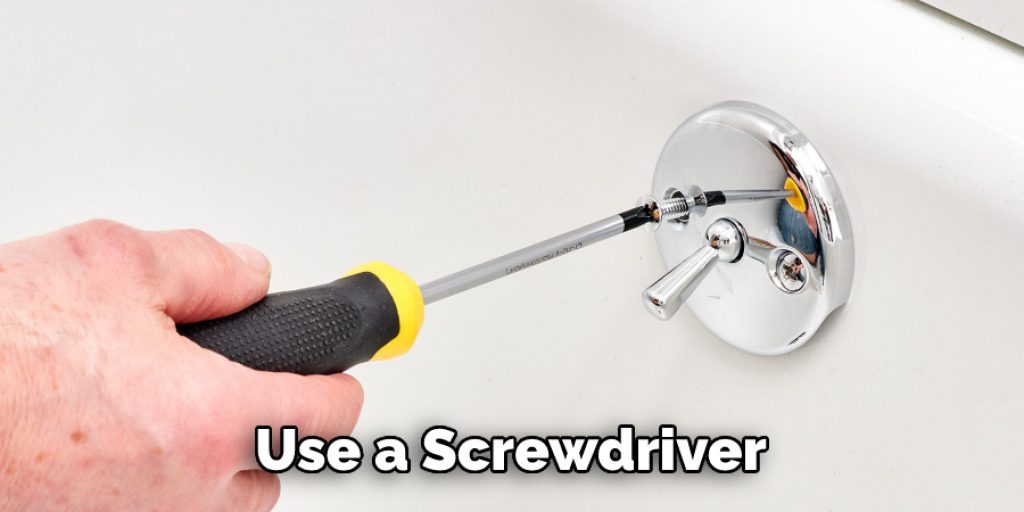
- When the drain is not running well, unscrew the knob with your screwdriver.
- Switch the rod clockwise direction and pull it, then fasten the nozzle.
Drains Lift & Turn
- Firstly, utilize your screws to release and eliminate the screwdriver on the metal backplate for outflow.
- Raise the drain cover on afterward.
- Then find the setscrew underneath the hook it up’s edge.
- Remove the setscrew and take out the connector.
- Wipe both the sink pipe and the leaking sink with one cup of white vinegar and one cup of baking soda remedy.
- Wash with warm water, following 30 min.
- Eventually, wipe the leak faceplate and reformat the drainage.
Trains Plunger
- Firstly, use the screws to release and replace the bolts on the faceplate for excess.
- Be sure that the link and plunger are separated too.
- First, using a cleaner and a soft cleaner solvent to wash the plunger and attachment.
- Afterward, an answer to one bowl of white vinegar and one bowl of baking soda will wipe both the bath discharge and the overspill drain.
- Wash with warm water, following thirty min.
- Tidy your connection, plunger, overspill faceplate, and sewer plug, and reformat.
- Verify for drain by partly having to fill the tub and sealing the pipe.
- So open the door, and test the movement of water.
Frequently Asked Questions
Why Does My Bath Overflow Smell?
The most common reason for a bath overflow to smell is due to a clogged drain.
If your sink is blocked, the first thing you should do is try running hot water through it to see if that clears the blockage. If not, you’ll need to unblock the drain using a plunger or pipe cleaner. If that doesn’t work, it’s time to call a professional.
Can You Remove Bathtub Overflow Drain?
There are different solutions for different bathtub overflow drains. Some of the best solutions would be:
1. If you have a tub spout, you can use a plunger to remove the water from the overflow drain and then use your toilet plunger to get rid of any remaining water in the overflow drainpipe.
2. You can also take a bath towel and place it over the overflow drain, then use an electric drill with a rubber-type bit to clean out the outlet valve.
3. Lastly, you can cut off some tubing and wrap it around your hand so that you can reach into the overflow drainpipe to remove debris or blockage in it.
Where Does the Overflow Drain Go?
The overflow drain is where the water that cannot go down the sink drains out of the sink. The overflow drain is usually located in the back of your sink and can be found by looking for a small hole near or below your sink’s faucet.
Why Is My Tub Overflow Leaking?
The first thing that comes to mind is that the overflow tube has either been clogged or the gasket on the overflow is damaged. If you have a small tub, then it may be due to a low water level in the tank. This can be fixed by adding more water and/or a new water filter cartridge.

However, if your tub is large enough, then it could be because of air getting into the tank through one of its openings (either the overflow tube or faucet). It would help to check these areas for blockages or leaks.
Why Does My Bath Overflow Smell?
The first thing that comes to mind is that you might have a clogged drain. You can try using a plunger or use boiling water and a towel to loosen the blockage. However, if the problem persists, then there may be something wrong with your bathtub overflow drain valve, which needs to be replaced.


