How to Prep Garage Floor for Epoxy
Epoxy is a great way to give your garage floor an aesthetically pleasing, durable finish. With the right preparation and use of epoxy, you can create a protective seal that adds luster and longevity to your garage floor. Properly preparing your garage floor for epoxy will ensure it adheres properly and lasts a long time. Here are a few steps to take when prepping your garage floor for epoxy.
Prepping a garage floor for epoxy offers several advantages. Epoxies create a durable and long-lasting surface that is resistant to water, oil, gasoline, and other liquids, making them ideal for garages and other workshops. An epoxy coating also makes it easier to clean the floor because dirt and grime do not adhere as easily to the surface. An epoxy finish can also add a touch of style to the garage. Epoxies come in various colors and finishes so that you can customize your floor to your preferences. In this blog post, You will learn in detail how to prep garage floor for epoxy.
Step-by-Step Processes for How to Prep Garage Floor for Epoxy
Step 1: Inspect the Floor
Before beginning any work, it is important to inspect your garage floor for any damage or excessive dirt buildup. If you find any cracks, chips, or other issues, you may need to repair these before applying the epoxy. Once you have inspected the floor and identified any issues that need to be addressed, it is time to clean it thoroughly. This can be done with a pressure washer or using hot water and detergent.
Step 2: Remove Old Paint and Coatings
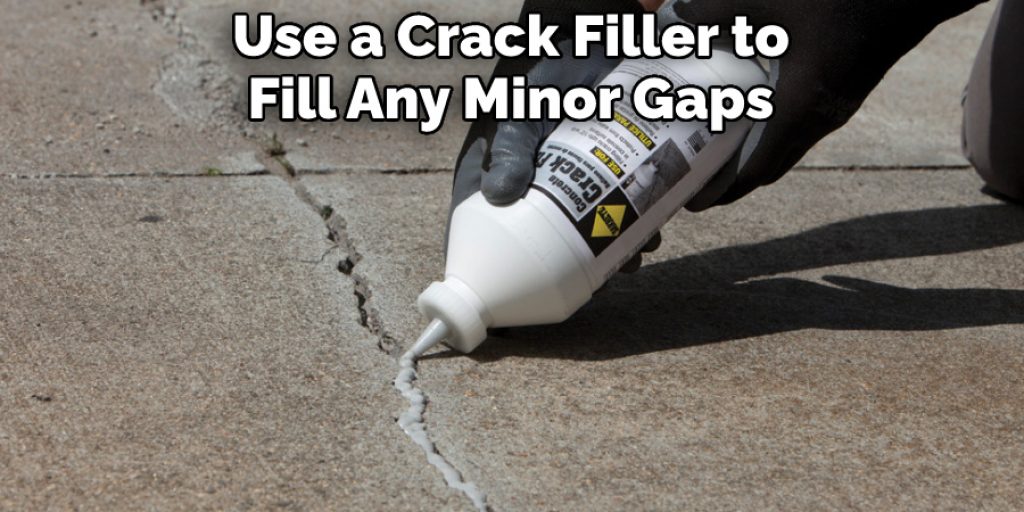
If your garage floor has old paint or coating, you need to remove this before applying the epoxy. This can be done by using a chemical stripper or sandblasting. Be sure to wear appropriate safety gear when removing the old layer of paint. Once you have removed the old coatings, it is important to repair any cracks or small holes that may be present in your garage floor.
This will help ensure a seamless bond between the epoxy and the floor when applied. You can use a crack filler to fill any minor gaps or use a concrete patch for more serious damages.
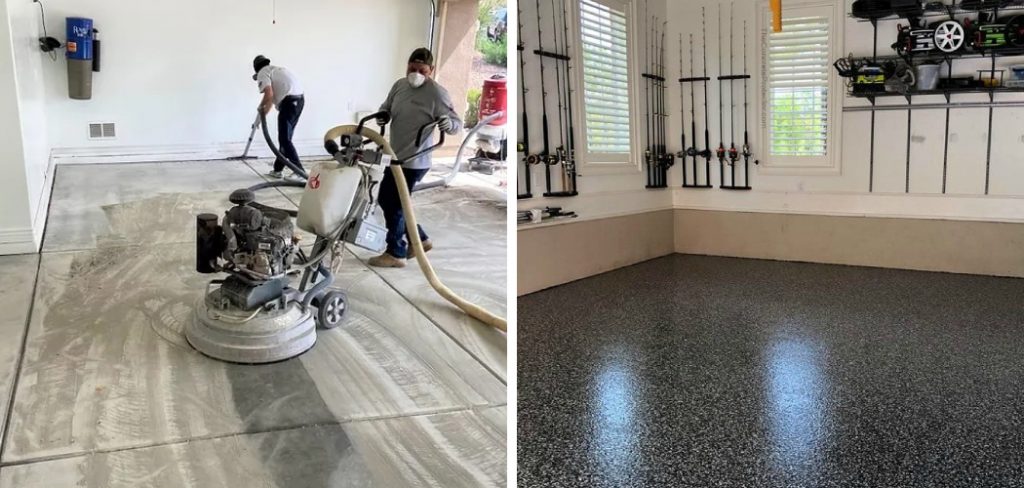
Step 3: Abrade the Surface
Once you have completed all repairs, it is important to abrade the floor’s surface. This can be done by using an abrasive brush or a floor grinder. This will help ensure that the epoxy adheres correctly and evenly to your garage floor after applying it. After you have abraded the floor, it is important to prepare it for epoxy application by using a shop vacuum to remove any dust or debris that may be left on your garage floor. This will help ensure that the epoxy adheres properly and evenly when applied.
Step 4: Apply Epoxy Primer
Once you have vacuumed away all debris, applying a primer before applying the epoxy coating is important. This will help ensure that your garage floor is properly prepared for epoxy application and create an even bond between the epoxy and the floor. Before applying the epoxy, it is important to mask off all areas that it should not cover. This will allow you to ensure that only the coating areas are covered when the epoxy is applied.
Step 5: Apply Epoxy Paint
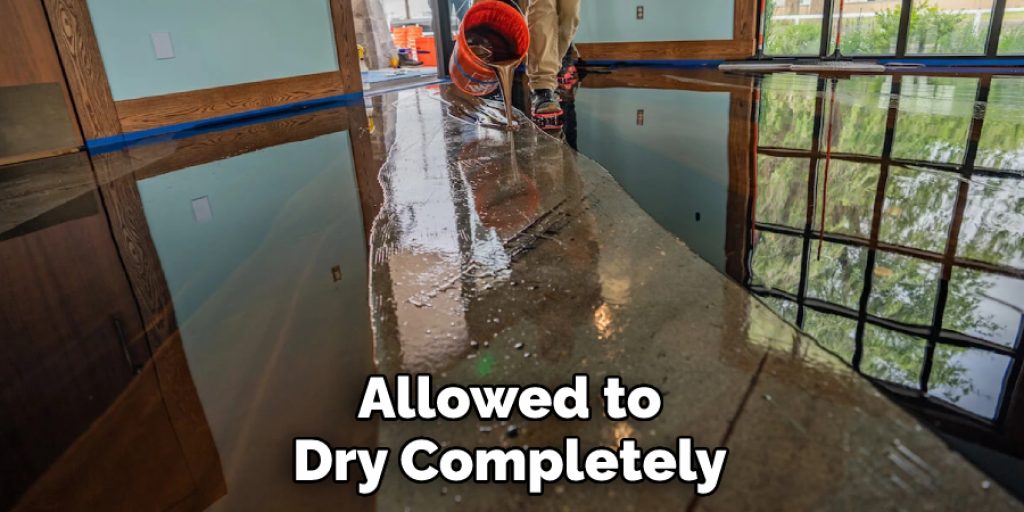
Once you have prepped the garage floor and masked off any areas, it is time to apply the epoxy paint. Make sure you use a roller or brush specifically designed for applying epoxy coatings. Once your epoxy coating has been applied, let it dry completely before walking on it or placing any furniture or items on it. How long the epoxy will take to dry depends on the temperature, humidity, and other environmental factors.
Step 6: Enjoy Your Newly Coated Garage Floor
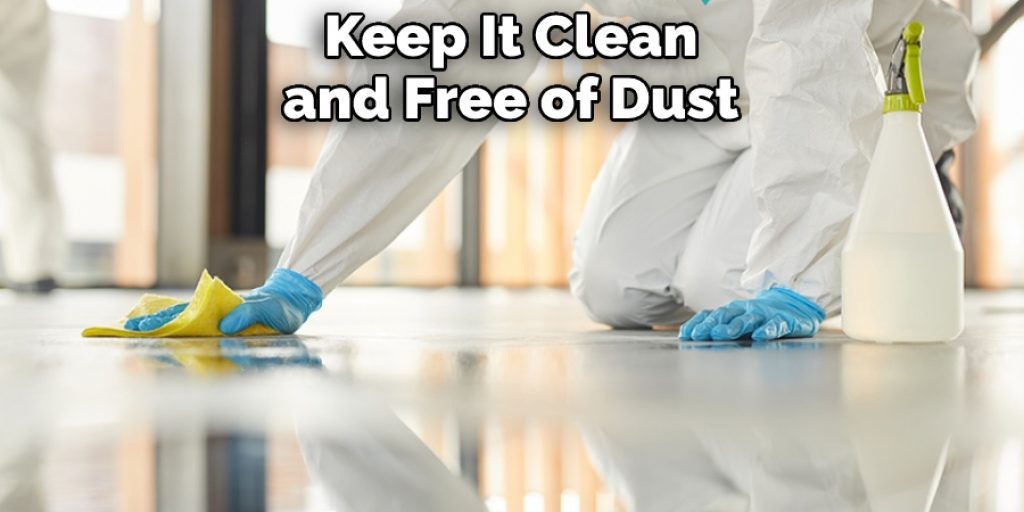
Once your epoxy coating has completely dried, you can enjoy the beauty of your newly coated garage floor! Now, you must keep it clean and free of dust, dirt, and debris. This will help ensure that your epoxy coating lasts for years to come!
These steps will help you successfully prepare your garage floor for epoxy application. Following these steps carefully can help prevent any unforeseen issues or complications with the epoxy coating.
Safety Tips for How to Prep Garage Floor for Epoxy
- Wear safety equipment such as gloves, glasses, and respirators while prepping the garage floor.
- Make sure to read all instructions carefully before beginning your project.
- Clear the area of any obstructions to give you ample space for working on the garage floor surface.
- Thoroughly clean the garage floor with a pressure washer to remove any dirt and debris.
- Use an etching solution or acid wash to ensure that the surface is properly prepared for epoxy.
- Allow the garage floor to dry completely before applying the epoxy coating.
- Always work in a well-ventilated area to avoid exposure to toxic fumes.
- Apply the epoxy in a single layer and make sure to follow all instructions on the product label for optimal results.
Following these safety tips will help ensure that your garage floor is properly prepped for epoxy, making it look great and last longer.
How Deep Should Any Cleaning Process Go to Ensure a Successful Epoxy Application?
When preparing a garage floor for epoxy, it is important to clean the surface as thoroughly as possible to create a smooth and level finish that will properly hold the epoxy. The cleaning process should involve removing dirt, dust, grease, and oil from the concrete surface. This may involve using pressure washing or even light sanding if there are stubborn stains.
Additionally, any existing paint must also be removed to ensure proper epoxy coating adhesion. Once all of this is done, the surface should be allowed to dry completely before moving on to the next steps.
For best results, a deep cleaning process is recommended to go as far down into the surface as possible to ensure that the epoxy will stick securely and last as long as possible. If a deep cleaning process is not done, the epoxy may peel or chip off more easily and quickly than if it had been applied to a properly prepared floor. Taking the extra time necessary to do this deep clean can really pay off in the end with a smooth, durable epoxy coating.
Are There Any Special Considerations for Using a Primer or Sealer Before Applying the Epoxy?
When preparing a garage floor for epoxy, you may wonder if there are any special considerations to consider when using a primer or sealer before applying the epoxy. Generally speaking, it is recommended to use a primer or sealer before applying an epoxy coating on concrete surfaces. Primers and sealers provide protection from moisture, dust, and other debris that can interfere with the adhesion of the epoxy coating.
They also create a smoother surface for application, which helps to ensure an even finish. Additionally, primers and sealers may help block out any concrete stains that could affect the appearance of the finished product.
When choosing a primer or sealer, ensure the product is compatible with the epoxy coating you intend to use. As a general rule, it’s best to use a primer or sealer specifically designed for use with epoxy coatings. In addition, you may want to consider using an epoxy-compatible cleaner on the garage floor before applying the primer or sealer to ensure that the surface is free of dirt and other impurities.
How Much Does a Typical Garage Floor Epoxy Project Cost?
The cost of a typical garage floor epoxy project will vary depending on the size of the area, the type and quality of materials used, and other factors. Most typically, you can expect to pay anywhere between $2,000 – $8,000 for a full epoxy coating. This cost includes labor and supplies such as primers, coatings, topcoats, and cleaners. For a smaller project, such as sealing or painting the floor, you can expect to pay between $800 – $2,000.
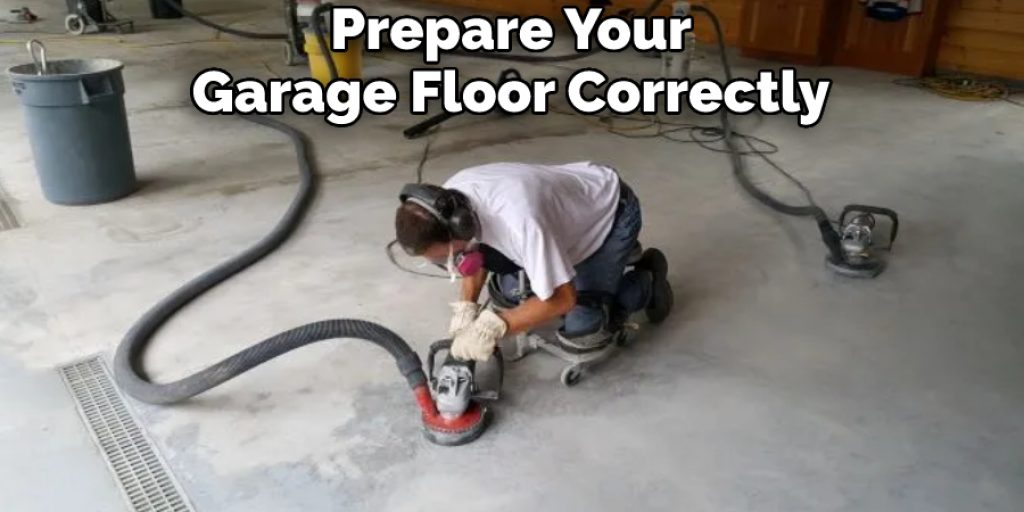
Before starting an epoxy coating project, it is important to prepare your garage floor correctly. This involves cleaning the surface of any dirt, grease, and oil stains and patching any cracks or holes. Proper preparation is important for the success of your epoxy coating. Professional installation may be required depending on the materials used, existing floor conditions, and other factors.
Conclusion
In conclusion, prepping a garage floor for epoxy is a multi-step process that requires patience and attention to detail. Start with cleaning and degreasing the surface, followed by grinding down any high spots and filling in any cracks or holes, before finally applying an acid etch solution and a primer. Prepping your garage floor for epoxy will ensure a successful epoxy installation that will last and remain durable for many years. I hope this article has been beneficial for learning how to prep garage floor for epoxy. Make Sure the precautionary measures are followed chronologically.
Angela Ervin
Angela is the executive editor of DIY quickly. She began her career as an interior designer before applying her strategic and creative passion to lifestyle and home. She has close to 15 years of experience in creative writing and online content strategy for housekeeping, home decorations as well as other niche efforts. She loves her job and has the privilege of working with an extraordinary team. She lives with her husband, two sons, and daughter in Petersburg. When she's not busy working she spent time with her family.