How to Prepare a Wooden Floor for Tiling
Introduction
A wooden floor is a floor made of wood boards or sheets. It might look rough, but it can be quite beautiful. When it comes to tiles, most people prefer to put them on top of wooden floors in their homes because they feel that the tiles work best for such types of floors. However, you should realize that tiling over wooden floors is not an easy thing to do and requires some preparation to guarantee good results for the project. Today I will be discussing how to prepare a wooden floor for tiling.
Wooden Floor Vs. Wood Tiles: Which One Should You Choose?
Wooden floors can be used in rooms that you do not expose to cold or a lot of moisture. They are also better if they are made with solid wood, and there is no plywood involved, making them much more durable than other types of wooden flooring which use engineered wood. Solid wood floors are made from a single piece of hardwood, so they are very strong and durable. They can be used in rooms where the temperature is cool or warm, and you can use them in any room with an open door leading to another room.
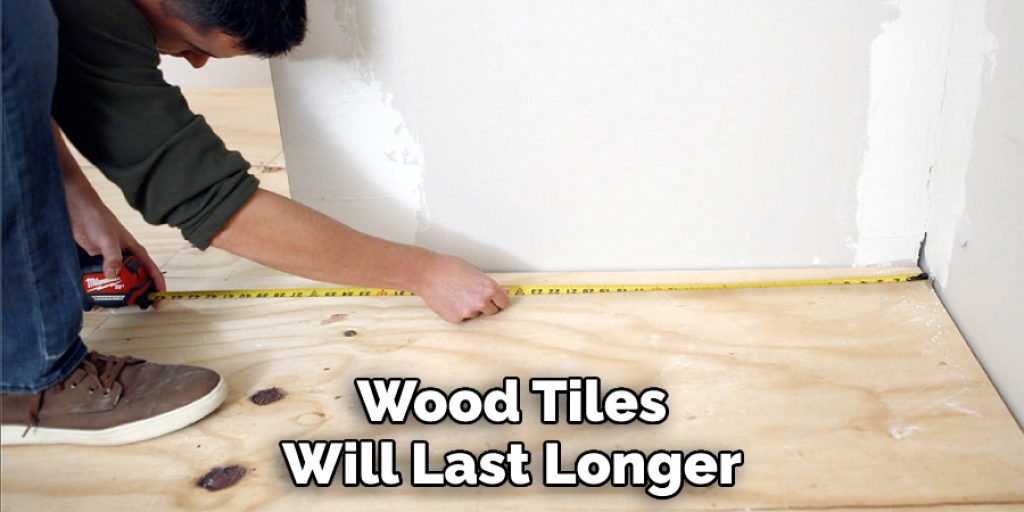
On the other hand, wood tiles will last longer, but both types need regular maintenance to keep their appearance rustic and natural. A properly sanded floor will have a smooth surface that is easy to wipe clean. If you plan to install wood-framed walls, it makes sense to use a wooden floor because it blends well with the wall frames. Wooden floors are also easy to install in all types of buildings. You can use screws, nails, or other fasteners to attach the floor to the wall. There is no need to install a special subfloor or baseboard.
Solid wood floors give your home a unique appeal while at the same time being cheaper than other types of flooring. Wood flooring adds a classic look to any house. Wood floors are easy to clean and can be refinished if they start to show wear and tear over time.
Wood floors will always require more maintenance than other types because, for them to remain watertight and prevent warping, the wood must be sealed regularly. Unfortunately, the sealers only work on softwoods. Hardwoods will absorb the sealer and change color, which means that they’ll need to be refinished every few years.
Still, if you have engineered hardwood, you cannot use a sealer containing a lot of oil or any solvent because this can damage the glue inside your floor that holds the glue planks together. There are also cases where softwood has been glued with a urea-based adhesive, and this can cause discoloration when using solvent-based sealers. The only way to prevent this is to use a water-based sealer, which will not damage the glue. However, a water-based sealer cannot penetrate as deep as an oil-based sealer, so it will not last as long.
Step-wise Guide on How to Prepare a Wooden Floor for Tiling
Here are some effective ways to sand and prep your wooden floor, whether made out of solid or engineered wood.
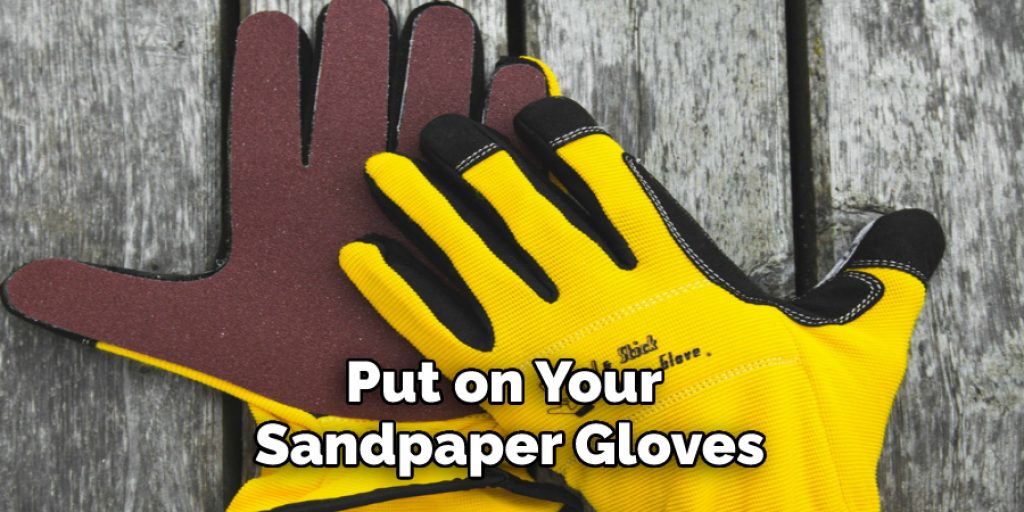
Step 1: Put on Your Sandpaper Gloves Before Starting
The first step is to put on your sandpaper gloves. These are an absolute necessity if you want to save yourself the trouble of getting sawdust all over your hands and, above all, if you do not want to inhale it accidentally. When you start with a wooden floor cleaning job, the best advice that anyone can give you is to wear a mask and eyeglasses and go easy on the vacuum cleaner.
Step 2: Remove All Furniture from the Area
Now that you have covered up your face as well as your hands, it is time to move onto step two, which involves removing all furniture from the area so that they will not get in the way while sanding or scrubbing down your wood floor. Again, keep in mind that we will not wash your furniture, and neither can you leave it in the middle of your living room.
Step 3: Set Up Your Vacuum Cleaner or Start Sweeping
Now that all furniture has been taken out from the room, a vacuum cleaner will be of no use whatsoever, so it is time to start sweeping down your floor with a broom. This step is crucial because if you are using a vacuum cleaner and not sweeping up the sawdust that tends to get scattered all over the area, then when you go to mop up the water on the next step, everything is going to float around, and this would defeat our purpose here.
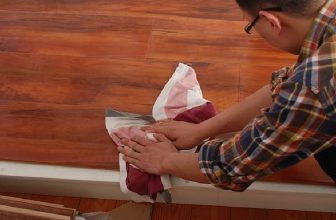
Step 4: Mopping Up with Water
Now comes one of the most important steps in the entire process; mopping up your wooden floor with water. You will be left with large amounts of sawdust on your floor after you finish sweeping and sanding it down, which is why mopping up everything with water is going to be a huge help for you in preventing any excess dust from spreading around.
If you were to rinse all the sand out off your wood floors, then this would make your floors slippery, and next thing you know, we will have a big problem on our hands when trying to move furniture back into the room.
As far as how much water should go onto your wood floor, that depends on two things: The radius of the area that needs cleaning, the type of shaded or sealed wood. Your aim here should be to sweep up as much dust as possible into a pile and pour water over it while scrubbing at it with the brush you should have picked from the start.
Step 5: Finally, Start Sanding Down Your Floor
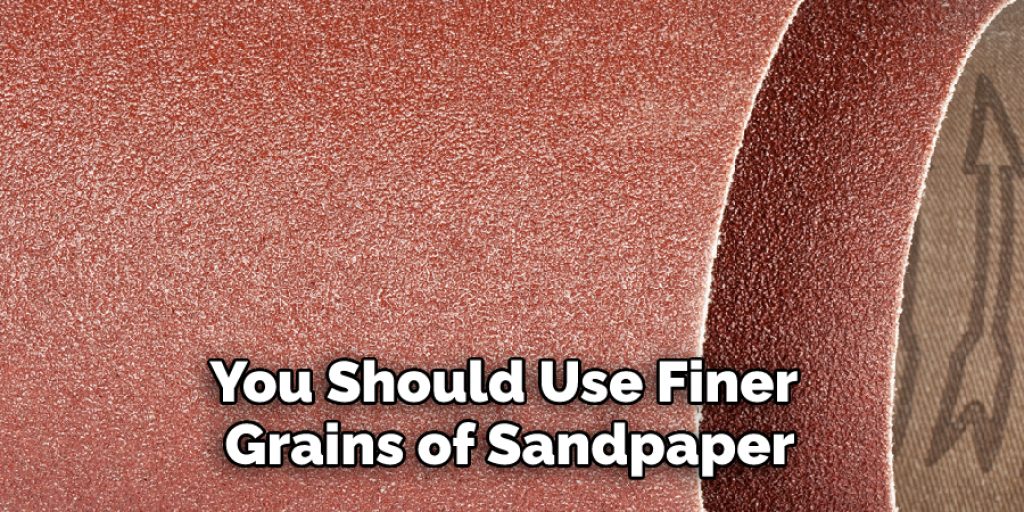
Here comes the moment of truth, beginning to sand down your floor. We suggest going over each area twice before moving onto the next step, and each time, you should use finer grains of sandpaper rather than coarser ones to ensure that all dust gets removed off, leaving nothing behind on your surface.
It is important to know here that if the wood floor has been sealed, it will not be possible for you to eliminate all stains or damage by simply applying fine sandpapers. If your wooden floor has been sealed, then it is time to look into other options, such as using a commercial cleaner or wood flooring cleaning machines.
Step 6: Re-Install Your Furniture
Once you get through with this step, the next thing you should do is find any kind of sealant that will help protect your wooden floor from moisture and stains, apply a coat over everything and finally install your furniture back in its place.
Precautions While Performing How to Prepare a Wooden Floor for Tiling
- Wooden floor preparation should be done only after removing all the old material, like paint and varnish. If any of these is left on a wooden surface, it will cause adhesives and grout problems. This could also cause tiles to get loose due to the expansion and contraction of the wood fiber.
- Before tiling, sanding should be done properly to remove all stains, splinters, and rough surfaces. Sand up to 30 grit or smooth finish for vinyl tile installation using urethane-based adhesive.
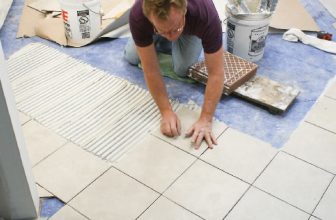
- Always prepare two to three coats of primer or sealer before laying down your ceramic tiles so that they stick well on the floor with the help of adThen, properly clean up the surface by wiping them off with a clean rag to remove any dust or dirt particles.
- Finishing can be done by applying 2-3 coats of quality sealer, water-based varnish, or conversion varnish to protect your floor from moisture and stains.
Can You Lay Tile Over Linoleum or Vinyl?
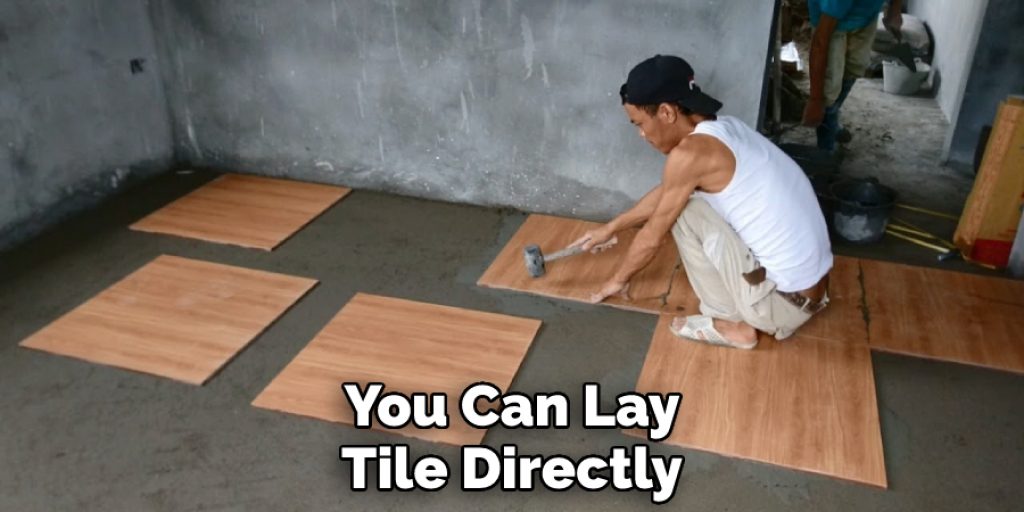
By using the right preparation, you can lay tile directly over linoleum or floating vinyl flooring. The key to success is learning how to remove adhesive from both the subfloor (linoleum) and the back of the vinyl sheet to interfere with setting tiles in place. For this to work, you must follow the instructions below.
For the most part, you can expect tiling a space with tile over linoleum or vinyl flooring in an existing home (and not in a new construction project). However, if your home was constructed before 1982 and has linoleum on the floor of any room, there is quite often lino underneath tile – unless they went to great lengths to remove all traces of lino from under the tiles!
How Do You Prepare a Surface for Laying Ceramic Tile?
Any surface could be used as a base for an attractive tiled covering, including wood floors, concrete slabs, brick walls, and bedrock (if you have a spare trillion years) as long as it’s smooth and flat enough to lie large sheets of paper on top of it without curling up at the edges. However, some surfaces are more compatible than others when being tiled.
For example, concrete is difficult because it’s hard to cut the tile accurately without cracking the concrete, and there are safety issues related to working with wet cement. Also, if you’re laying tile over an uneven surface of any kind, then grout joints will be visible between each row of tiles, thus completely ruining the tiling job. Slate floors have these same problems, too, so that they won’t be covered here either.
Unsuitable Subfloors for Tile: Concrete, Unfinished Wood Subfloors
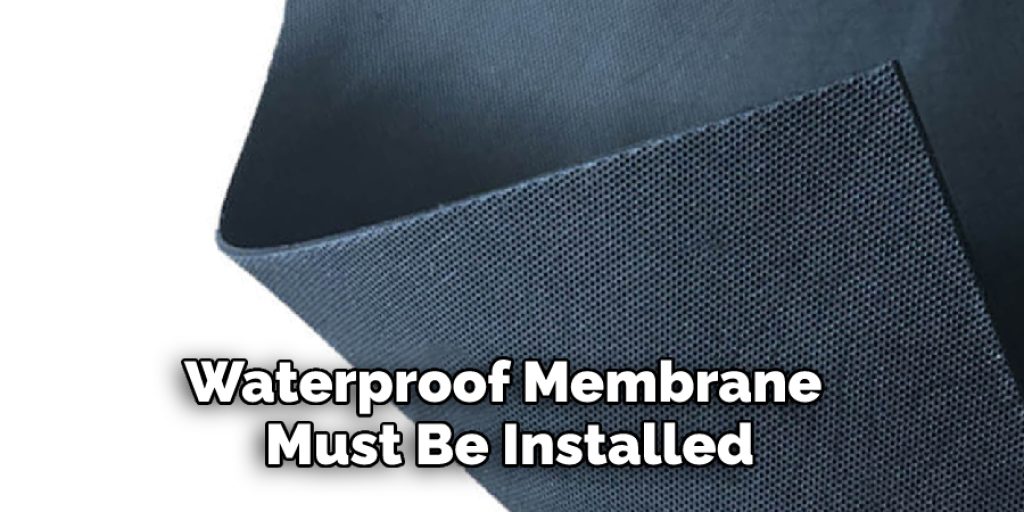
Concrete floors are not good for tiling. A waterproof membrane must be installed between the concrete and tiles to prevent water from seeping through over time. Even then, an expert must apply the membrane correctly so that moisture does not leak by it. It’s also a costly job because you’ll need someone who has special equipment for this task (trowels).
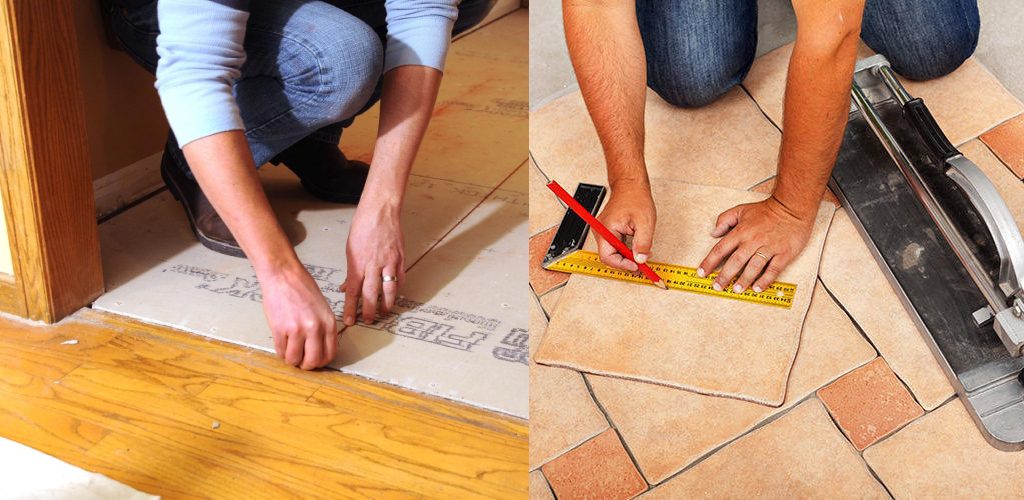
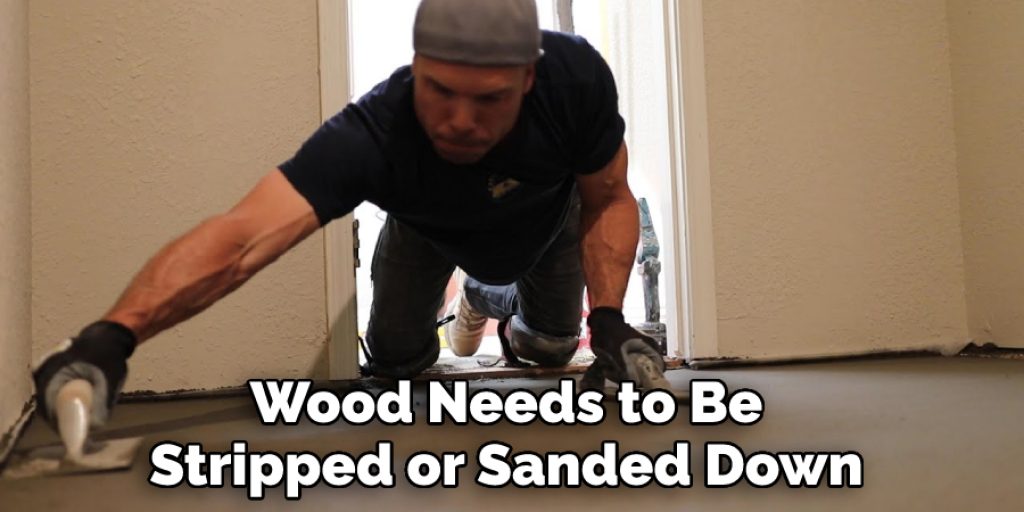
Wood subfloors will generally work well with the tile, but there’s preparation involved before laying your tile flooring. First, the wood needs to be stripped or sanded down to ensure that there is no existing finish on it, like varnish or stain, which could make grout lines more difficult to see later on down the road.
If there are nails or staples in the wood, they need to be driven out before tiling. Otherwise, you might have a difficult time removing them when the floor is laid down. Also, if the existing subfloor has moisture in it… water damage, or rot of some type, this can present a problem since mold/mildew may grow under your tile later on over time.
Frequently Asked Questions
What Can You Use Instead of Fixative?
Fixative is a type of adhesive that is used to fix paintings, photographs, and other artworks. It is made from a variety of materials, including water, oil, or varnish. There are many alternatives to fixative that you can use in place of it. Some of the most common alternatives include:
• Glue guns: These are powerful tools that can be used to attach objects together quickly and easily.
• Superglue: This is a strong adhesive that can be used to fix almost anything.
• Paint: You can use paint to fill in cracks and gaps in paintings and photographs.
Does Hairspray Protect Pencil Drawings?
Hairspray can protect pencil drawings if they are properly sealed in an airtight container. Hairspray will not damage the drawing, but it may cause it to become brittle over time.
Do Pencil Drawings Need Fixative?
Pencil drawings do not need fixative, but some people prefer to use them for a more stable drawing. Fixative can make the pencil lines less visible and also add an extra layer of protection to the paper.
Can You Laminate a Pencil Drawing?
Yes, you can laminate a pencil drawing. All you need is some heavy-duty paper and a laminator. First, trace the outline of the drawing onto the heavy-duty paper. Next, use a pencil to fill in the details of the drawing. Finally, use the laminator to laminate the drawing onto the heavy-duty paper.
Does Pencil Lead Fade on Paper?
Pencil lead does fade on paper, but it does so at a much slower rate than a regular pencil lead. The reason for this is that the graphite in pencil lead is more porous than the lead in regular pencils, which allows more light to pass through it and causes it to fade more quickly.
Conclusion
I hope this article has provided you all the information on how to prepare a wooden floor for tiling. Ensure proper safety while performing the process. Thank you, and have a good day!
You may read also – How to Install a Pre-hung Exterior Door in Concrete Block
Angela Ervin
Angela is the executive editor of DIY quickly. She began her career as an interior designer before applying her strategic and creative passion to lifestyle and home. She has close to 15 years of experience in creative writing and online content strategy for housekeeping, home decorations as well as other niche efforts. She loves her job and has the privilege of working with an extraordinary team. She lives with her husband, two sons, and daughter in Petersburg. When she's not busy working she spent time with her family.