How to Prepare for New Flooring Installation
There are few home improvement projects that can make big a difference in both the look and the feel of any room like new flooring installation. But if you want to get the most out of this upgrade, it’s important to start with diligent preparation. From clearing out furniture to budgeting for your project, having a plan ahead of time will help ensure long-term satisfaction after your new floors have been put into place.
In this post on how to prepare for new flooring installation, we’ll provide step-by-step advice on how to effectively prepare for new flooring installation so that you can enter your renovation feeling confident and ready for success!
Needed Materials
Below is a list of some materials you’ll need before the installation:
- Measuring tape
- Chalk line
- Level
- Underlayment material
- Installation tools (nails, screws, trowel)
11 Step-by-step Guides on How to Prepare for New Flooring Installation
Step 1: Determine Your Budget
Before you start planning your new flooring project, it’s important to determine how much you are willing to spend. This will help guide your decisions on the type of flooring material, quality, and installation options. It’s always a good idea to research the cost of different flooring materials and get quotes from various contractors before making a final decision. It’s also important to budget for unexpected expenses that may arise during the installation process.
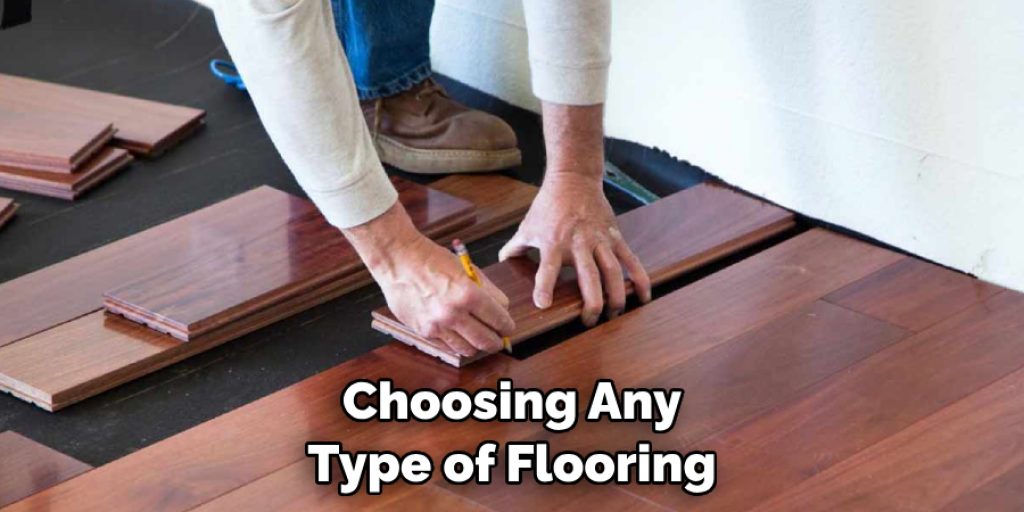
Step 2: Identify Your Needs
Before choosing any type of flooring, it’s important to identify your needs. What kind of room is it? How much traffic does that room receive? Do you have pets or children? These factors will help you determine the best type of flooring material for your space. But also keep in mind the style and aesthetic you want to achieve in the room. It’s important to find a balance between practicality and design. You can also consult with experts at your local flooring store for advice.
Step 3: Choose Your Flooring Material
Once you have a budget and know exactly what your needs are, it’s time to choose the right flooring material. There are various types of materials available such as hardwood, laminate, vinyl, tile, or carpet. Each has its own unique features and benefits, so it’s important to do your research and choose the one that best suits your budget and needs.
But also consider your personal style and the overall look you want for your space. However, it’s important to keep in mind that certain materials may require additional preparation or installation steps.
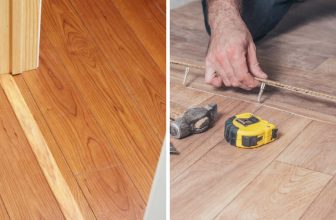
Step 4: Measure Your Space
Measure the room with Measuring tape where you will be installing new flooring. This will help you determine how much material you need to purchase for the project. Make sure to add a little extra material to account for any mistakes or miscalculations during installation.
Otherwise, if you run out of material before the project is complete, it could lead to delays or additional expenses. It’s always better to have extra material on hand. You can also consult with a professional installer for accurate measurements.
Step 5: Prepare the Space
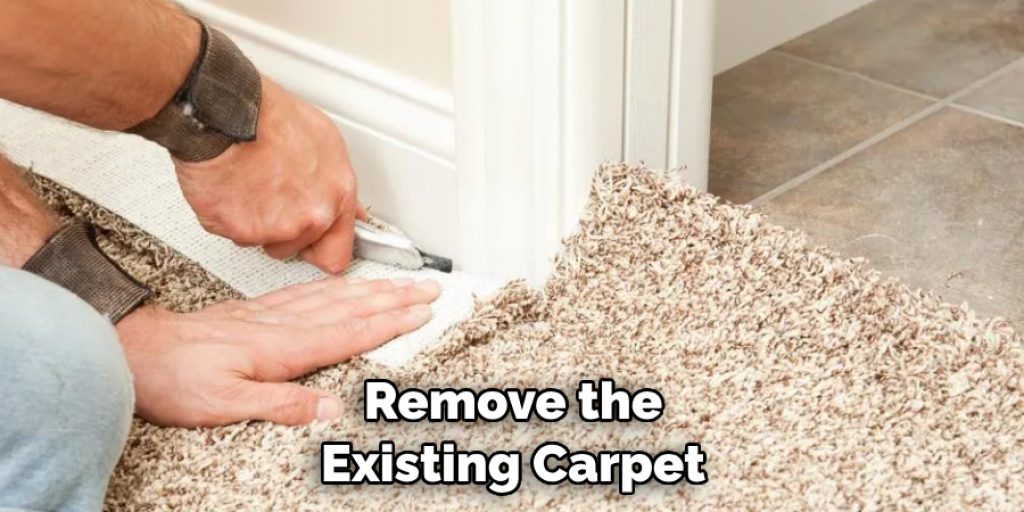
Before the installation day, remove all furniture and items from the room. This will make it easier for the installers to work and prevent any damage to your belongings. If you have heavy furniture that cannot be removed, consider hiring help to move it or protect it with drop cloths. It’s also important to remove any baseboards or trim along the edges of the walls to allow for a clean and precise installation.
Step 6: Clean Your Subfloor
Take the time to thoroughly clean your subfloor before installing new flooring. Remove any debris, dust, or dirt that may prevent the flooring from laying flat and causing bumps or unevenness. It’s important to have a smooth and clean surface for the new flooring to adhere to. You can also consult with your local flooring store for recommendations on specific cleaning products or methods.
Step 7: Acclimate Your Flooring Material
If you are using materials like wood or laminate, it’s important to let them acclimate to the room’s temperature and humidity level before installation. This will help prevent any warping or buckling after installation. You can typically leave the flooring in the room for a few days to acclimate but always check with the manufacturer’s recommendations.

Step 8: Lay Out Your Flooring Plan
Using your measurements, plan how you want the flooring to be laid out in the room. This will help you determine where to start and how much material you need for each section. It’s also important to factor in any patterns or direction of the flooring. Make sure to take your time and measure multiple times for accuracy.
Step 9: Install Underlayment
If your flooring material requires underlayment, make sure to properly install it before laying down the flooring. This helps with noise reduction and moisture prevention and provides a smoother surface for the flooring. But always check with the manufacturer’s recommendations for specific instructions on installing underlayment.
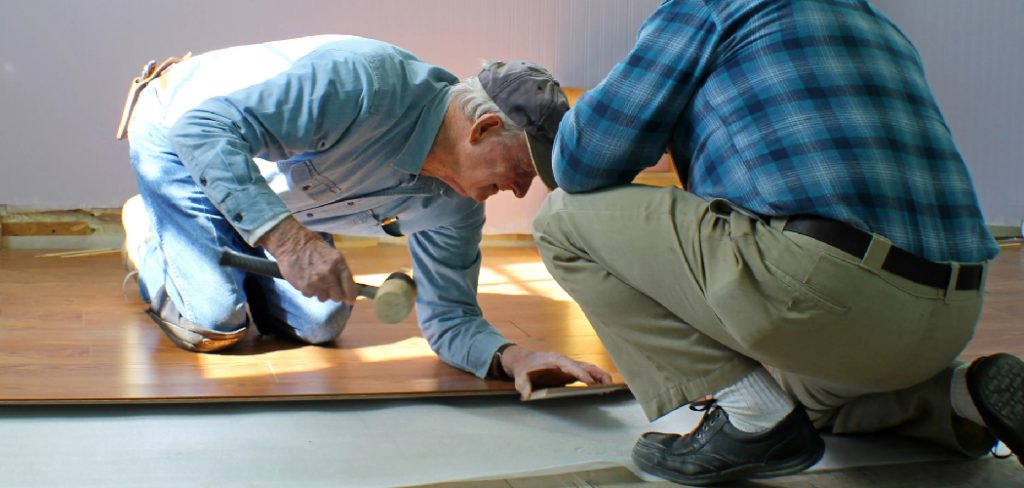
Step 10: Start Installing Your Flooring
Follow the manufacturer’s instructions carefully when installing your new flooring. Take your time and make sure each piece is properly secured before moving on to the next one. otherwise, you may encounter issues down the road. You can also consult with a professional installer for additional guidance and tips. But, if you decide to install the flooring yourself, make sure to have a friend or family member help for efficiency and accuracy.
Step 11: Allow Time for Proper Drying/Curing
After installation is complete, give your new flooring time to properly dry and cure before moving furniture back into the room. This will help prevent any damage or warping from occurring. Always follow the manufacturer’s recommendations for drying and curing times before resuming normal use of the room.
By following these 11 steps on how to prepare for new flooring installation, you can effectively prepare for new flooring installation and ensure a successful project outcome. Remember to do your research, plan ahead, and hire a professional if needed for the best results.
Now that you’re ready to start your project, get excited for the transformation that awaits! So, follow this step-by-step guide and you will surely achieve the desired results for your new flooring installation.
Do You Need to Use Professionals?
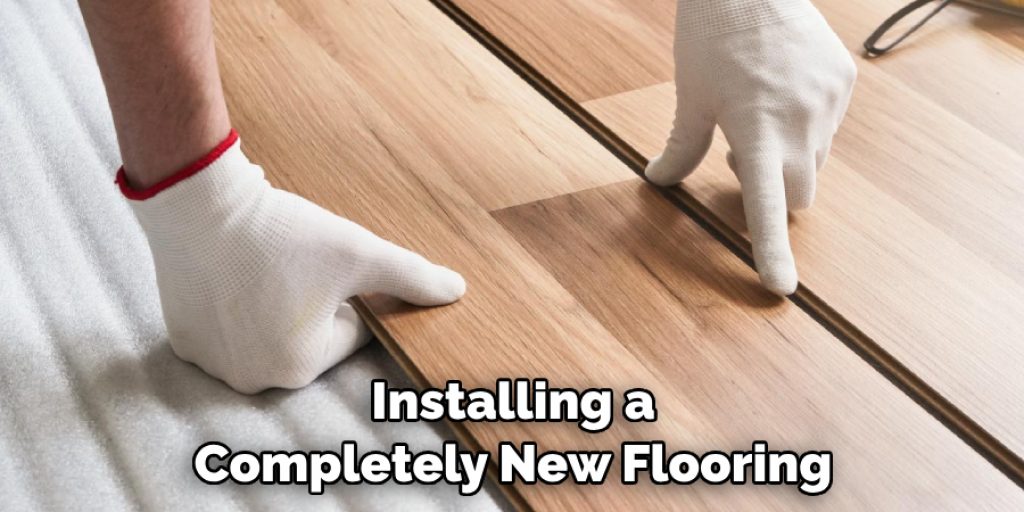
The answer to this question depends on several factors such as your budget, the type of flooring material you are using, and your own level of expertise. While there are many DIY resources available for installing a completely new flooring, it’s important to be honest with yourself about your skill level before taking on such a project.
If you have any doubts or concerns, it’s best to consult with a professional to ensure a successful and long-lasting installation. A professional can also help you choose the right flooring material for your needs, provide advice on maintenance and upkeep, and guarantee quality workmanship.
How Much Will It Cost?
The cost of new flooring installation can vary greatly depending on factors such as the type of material, size of the room, and any additional preparation or repairs needed. It’s always a good idea to get multiple quotes from different contractors and factor in any potential hidden costs before finalizing your budget.
Remember, investing in quality materials and professional installation will ultimately save you money in the long run by avoiding costly repairs or replacements.
Frequently Asked Questions
Q1. Should I Remove My Old Flooring Before Installing a New One?
Ans: Yes, it’s always recommended to remove old flooring before installing new one for better results and durability. It also allows for a proper inspection of the subfloor and any necessary repairs.
Q2. How Long Does It Take to Install New Flooring?
Ans: The time it takes to install new flooring depends on several factors such as the type of material, size of the room, and whether you hire a professional or do it yourself. On average, it can take 1-3 days for a professional installation and longer for DIY projects. It’s important to allow enough time for the flooring to properly acclimate and dry before using the room.
Q3. Can I Install New Flooring Over the Carpet?
Ans: No, it’s not recommended to install new flooring over the carpet as it can cause unevenness and affect the durability of the new flooring. It’s important to remove the existing carpet before installing new flooring. It’s also a good idea to remove any other existing flooring materials for best results.
Q4. How Can I Maintain My New Flooring?
Ans: To maintain your new flooring, regularly clean and sweep the surface to prevent the buildup of dirt and debris. Use manufacturer-approved cleaning products and avoid harsh chemicals or excessive water that can damage the flooring. Also, be mindful of any warranty guidelines for maintenance and care. So, follow these simple tips to keep your new flooring looking great for years to come!
Conclusion
In preparing for new flooring installation, it is important to consider your preferences and budget in order to determine the best flooring option for your home. You should also research the flooring installer you plan on working with and make sure they will complete the job right and according to local regulations.
With proper preparation, your project can become a reality. No matter what aesthetic style you choose for your home, new flooring installation can help enhance its beauty and value while providing you with another reason to be proud of it.
From wood-look planks or classic ceramic tiles, make sure you consider all options that match your lifestyle needs while providing great quality and design. So go for it–with thoughtful decision-making, planning ahead and selecting the right contractor – you’ll be well on your way to enjoying beautiful floors in no time! Thanks for reading this article on how to prepare for new flooring installation.
Angela Ervin
Angela is the executive editor of DIY quickly. She began her career as an interior designer before applying her strategic and creative passion to lifestyle and home. She has close to 15 years of experience in creative writing and online content strategy for housekeeping, home decorations as well as other niche efforts. She loves her job and has the privilege of working with an extraordinary team. She lives with her husband, two sons, and daughter in Petersburg. When she's not busy working she spent time with her family.