
How to Prevent Pencil From Smudging When Writing
Introduction:
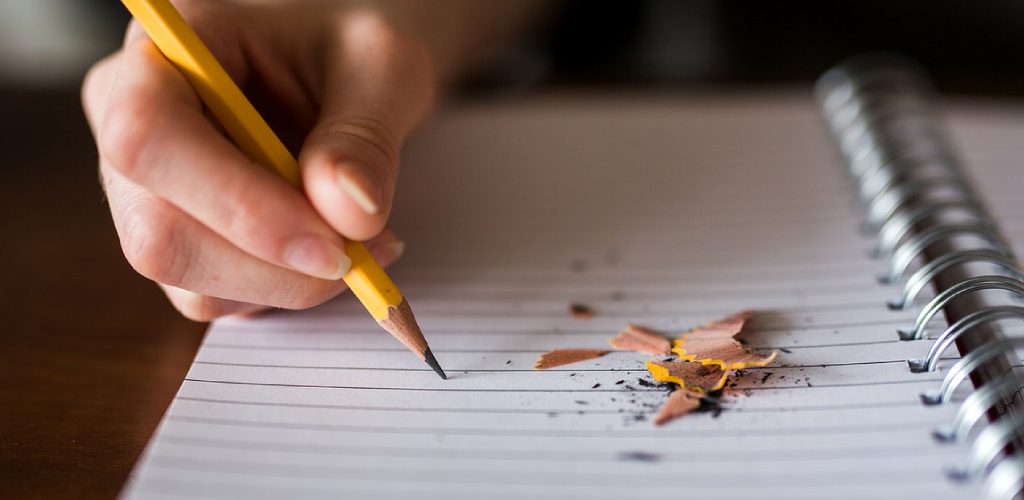
Pencil smudging is when a pencil tip has been used for a long time and becomes dirty. Sometimes the smudging can make writing difficult to read, especially if writing in dark colors. It is really annoying sitting down to a report or paper, and your pencil starts getting the words all mucked up! You have already spent hours on this paper, so why does it seem like every time you pick up that pencil, more smudge marks appear?
If only there were something you could do about it. Do not worry; there is. All you need are several easy methods to keep from having more of those unfortunate run-ins with smudges again. In this article, I will discuss how to prevent pencil from smudging when writing. So let us get started.
A Detailed Guide on How to Prevent Pencil From Smudging When Writing
Blending the Lead:
If you are smudging a pencil and notice that it is getting difficult to read, try rubbing the lead on some paper. By doing this, you will eliminate any excess graphite on the end of your pencil tip and write much easier.
Pencil Gripping:
To prevent your pencil from smudging while writing, make sure that your hand is not gripping your pencil too tightly. As an alternative to writing in a tight grip style, slowly move your fingers away from each other and grip the top of the pencil with less pressure than usual. Also, remember not to over tighten these muscles as they can become tired very easily. One key way to provide yourself enough control is by gripping the pencil in your fingers, ensuring that you can still wiggle them. The less tightly you grip the pencil, the better it will feel, and your hand won’t get as tired so quickly.
Pencil Point Angle:
If initially, your paper starts smudging while you are writing, try flipping the pencil around and holding it at a different angle. This adjustment method might be uncomfortable for some people, but it could help reduce some of the smudgings on your page.
Again, this method is not yet tested by me, so I’m not entirely sure how well or exactly why this works — but it’s definitely worth a shot if none of these other methods work!
Pencil Point Width:
This method is an alternative to the “Blending The Lead” tip above. While writing, if you notice that your pencil lead seems to be smudging while you write, try pressing harder on a point closer to the center of the pencil. Based on my research, it appears that this might fix the snubbing problem by thickening up your line.
Pencil Sharpening:
If you are having trouble with the pencil smudging while you write, try rotating your pencil. By doing this, your lead could be sharp enough to create a darker line that will not smudge against the paper.
Another option is to make sure that you have a very sharpened pencil point by making several light strokes in one direction on a piece of scrap paper. This helps eliminate any stray wood shavings left behind from an improper or blunt pencil tip.
Paper Surface:
Suppose you are still having issues with smudging your pencil while writing. Try writing on a smooth surface. If needed, this could be a glass (not frosted) tabletop, floor, wood deck, or even plastic! By doing this, the page will not move around as much, and you can avoid unnecessary smudges.
Pencil Sharpening Style:
The last way to decrease smudging when writing is to hold the pencil between your arm and hand. Do not grip the pencil too tightly by keeping your thumb on top of it; let it hang onto the end of the pencil by holding onto it loosely. Using this method, the pencil will be thinner, and you can create a more precise line than previously smudged.
How to Use a Sharpener for Pencil Properly?
Sharpeners are the best utensils to keep your pencils in top shape. Using a sharpener can also teach you how to prevent pencils from smudging when writing. If you don’t know which one is a good pencil for sketching, read this article now! This article will tell you everything that you need to learn about drawing tools. How to Use Pencil Sharpeners Properly? There are lots of kinds of sharpeners available on the market, and each has its own features. So before using, we must understand how they work properly:
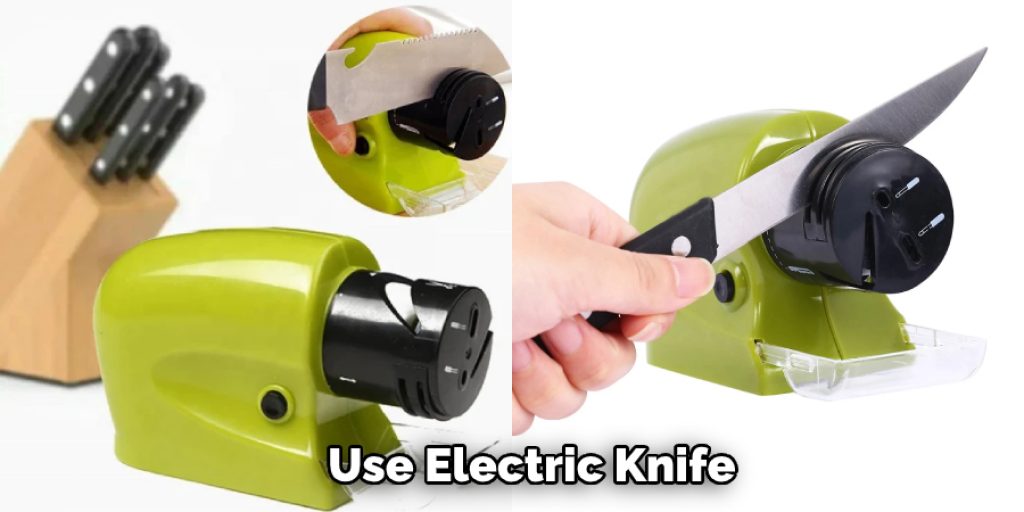
- Hand-held pencil sharpeners You can use manual or electric knife sharpeners. The process is usually similar with both types of sharpeners. You insert the pencil in a hole, flip it and then get your nice sharpened pencil out.
- Sharpener with cup or jar This kind of sharpeners are also for hand-held ones. Still, there is a big difference between these two kinds: The former has only one hole where you insert your pencil while the latter usually has four or five slots on which you need to put all pencils to have them all sharpened at once.
- Electric sharpeners These sharpeners can be used not only for wood pencils but also for colored or sanded ones, graphite and charcoal sticks, and colored lead. They are known for various names like electric knife sharpener, electric sharpener, and so on. So, as you can see, how to use a sharpener is not that difficult, right?
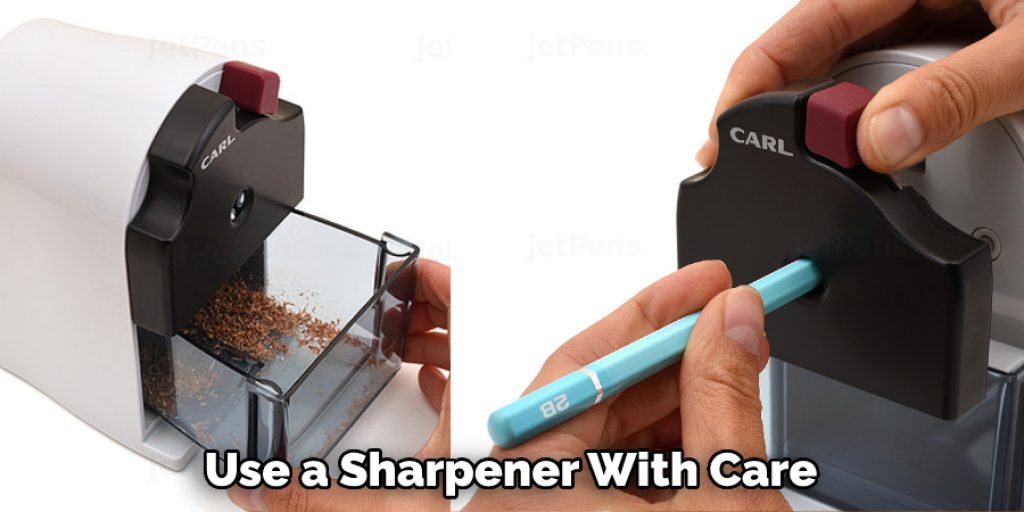
Now let’s see some tips for using pencil sharpeners properly: Don’t ignore your pencils. Once in a while, take few minutes and sharpen them all. This will prevent awkward situations, such as when the tip of your pencil falls off while you are writing or drawing. It is better to be safe than sorry! Use a sharpener with care.
To protect your fingers from getting injured, insert the sharpened end of the pencil in a hole a little bit deeper than usual. Then avoid sudden movements because they might break the thin part of your graphite shaft, leaving only bulky woody stuff at the other end, which wouldn’t be good for writing or drawing. Pay attention to your pencil.
To make it last longer and make sure you use it properly, pay close attention to its condition. If the wood is broken, get a new one instead of trying to sharpen this one because eventually, it might fall into pieces while you draw or write or even back in the shaper!
Frequently Asked Questions
Why Does My Pen Smudge?
There are a few reasons why your pen may smudge.
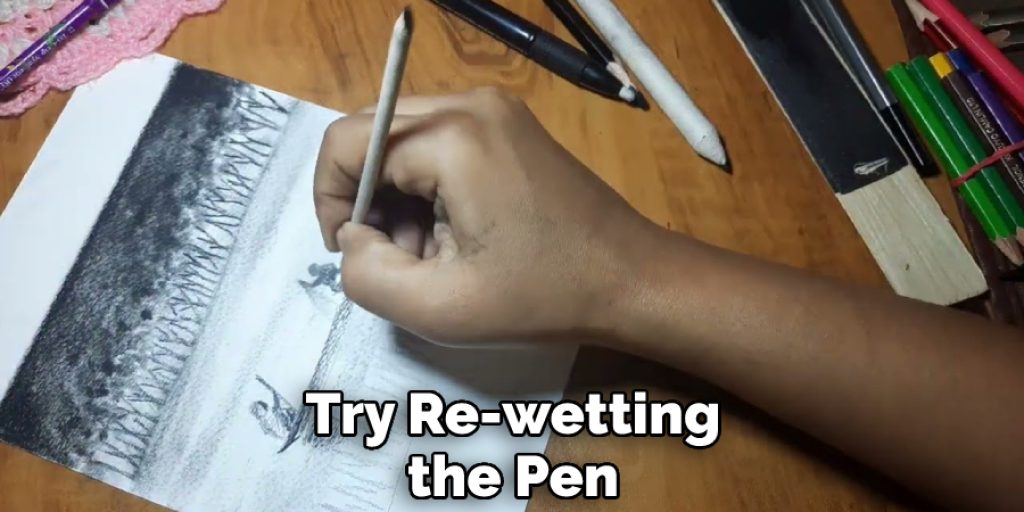
1. The ink in your pen may be too dry. Try re-wetting the pen by spraying it with water or using an alcohol-free eraser to remove any dried ink.
2. The pen tip may be clogged with dried ink or debris, which can prevent the ink from flowing smoothly onto paper. Try cleaning the tip of the pen with a cotton swab moistened with rubbing alcohol or a mild soap solution. Be sure to avoid using harsh chemicals or abrasives, as they could damage the pen’s barrel and nib.
3. The ballpoint pen cartridge may need to be replaced. Try replacing the cartridge with a new one if you notice that your ballpoint pen is not writing well.
Does Hairspray Stop Pencil Smudging?
Hairspray is not a reliable way to stop pencil smudging. Hairspray can make the pencil harder to erase, and it will also cause the ink to spread more easily across the paper.
How Long Does Pencil Last on Paper?
Pencils can last anywhere from 2 to 4 hours on paper, depending on the pencil type and how much you write. However, the graphite pencils will typically last longer than the lead pencils because they don’t contain much lead.
Why Is My Handwriting Better With a Pencil?
There are many reasons why handwriting is better with a pencil. Some of the benefits include:
• It is more difficult to erase mistakes with a pencil than with a pen.
• Pencils do not smudge or smear as easily as pens, making them ideal for writing in wet or dry conditions.
• Pencils are less likely to cause eye fatigue and headaches.
Conclusion:
I hope you have obtained all the necessary information on how to prevent pencil from smudging when writing. Thank you and have a nice day!
Elizabeth Davis
Elizabeth is a creative writer and digital editor based in the United States. She has a passion for the arts and crafts, which she developed from a young age. Elizabeth has always loved experimenting with new mediums and sharing her work with others. When she started blogging, she knew that DIYquickly would be the perfect platform to share her tutorials and tips. She's been writing for the blog from the beginning, and her readers love her helpful advice and easy-to-follow instructions. When she's not writing or editing, Elizabeth enjoys spending time with her family and friends.


