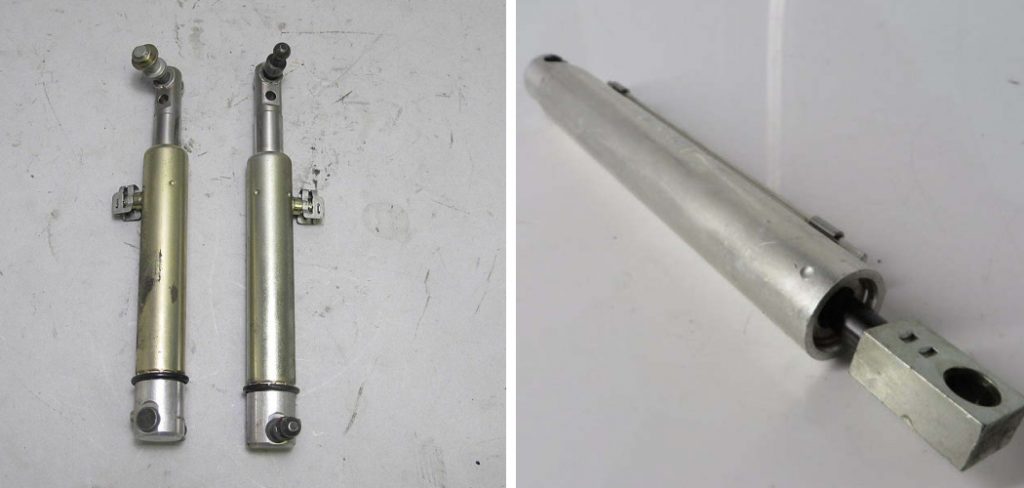
How to Rebuild Convertible Top Cylinders
Have you had trouble with your convertible top cylinders? It can be a real pain when they start to malfunction, especially if you’re unsure how to fix them. There are a lot of steps involved, and if you make a mistake, you could end up ruining the whole top.
In this blog post, we’ll show you how to rebuild convertible top cylinders using simple tools that you likely have around the house. We’ll also provide a few tips on things to keep in mind while rebuilding them. So without further ado, let’s get started!
Why Should You Rebuild Convertible Top Cylinders?
Convertible top cylinders are one of the most important components of your vehicle’s convertible top system. Unfortunately, these cylinders can become worn or damaged over time, causing your convertible top to leak or not work properly. When this happens, it is important to rebuild or replace the cylinders to ensure that your convertible top works correctly.
Two main reasons to rebuild your convertible top cylinders are to repair damage and improve performance. If your cylinders are damaged, they may no longer be able to hold pressure properly. This can cause your convertible top to leak or not work correctly. By rebuilding the cylinders, you can restore their strength and ensure they will hold pressure properly.
In addition, rebuilding your cylinders can also improve their performance. Over time, the seals in the cylinders can break down, causing them to leak or not work as efficiently. Rebuilding the cylinders will replace the seals and restore proper function.
What Things You’ll Need?
- New seals
- Hydraulic fluid
- A vise
- A mallet
- A clean rag
- A picket or small screwdriver
- A hammer
12 Steps Guide on How to Rebuild Convertible Top Cylinders
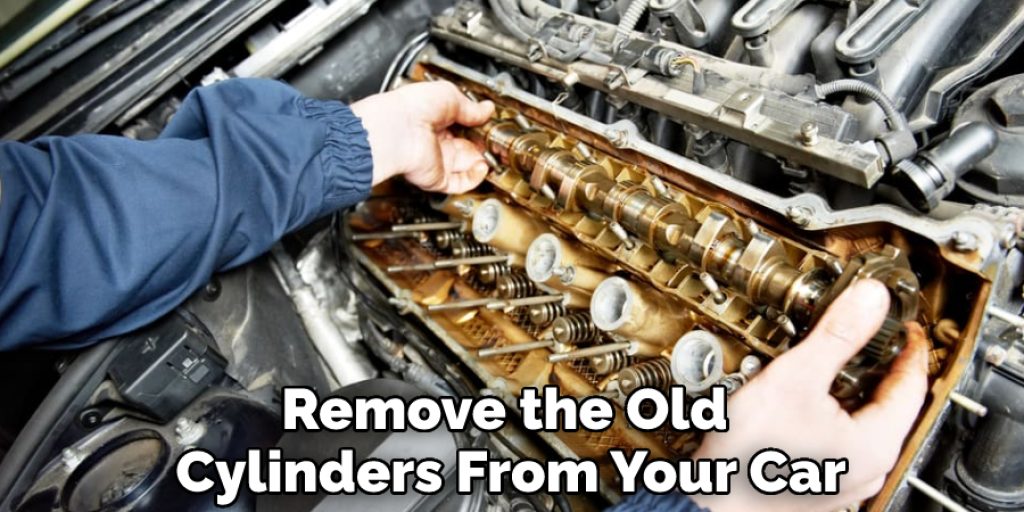
Step 1: Remove the Old Cylinders.
First, you need to remove the old cylinders from your car. To do this, you will need to use a socket wrench to remove the bolts that hold the cylinder. Once the bolts are removed, you can then pull the cylinder out of its mount. Ensure the new cylinders you purchase are the same size as the old ones.
Step 2: Inspect the Cylinders for Damage.
Once the old cylinders are removed, you must inspect them for any damage. If there is any damage, you will need to replace the cylinders. Check if the cylinders are bent, cracked, or otherwise damaged. If there is any damage, do not attempt to rebuild the cylinders. Make sure the new cylinders you purchase are not damaged.
Step 3: Clean the Cylinders.
Once you have inspected the cylinders for damage, you must clean them. You can use various cleaners to clean the cylinders, but you should avoid using harsh chemicals. A simple way to clean the cylinders is to use a solution of dish soap and water. If the cylinders are very dirty, you may need to use a more powerful cleaner.
Step 4: Inspect the O-rings.
After you have cleaned the cylinders, you must then inspect the O-rings. The O-rings are located on the piston of the cylinder. If the O-rings are damaged, you will need to replace them. Ensure the O-rings are the correct size for your convertible top cylinders. If the O-rings are the wrong size, they will not seal properly, and your convertible top cylinders will leak.
Step 5: Replace Any Damaged Parts of the Cylinders.
If you find any damage to the cylinders, you will need to replace the damaged parts. You can purchase replacement parts from most auto parts stores. Be sure to take the old part to the store to match it up with the new one. If the cylinders get damaged, they can cause serious problems with the operation of your convertible top.
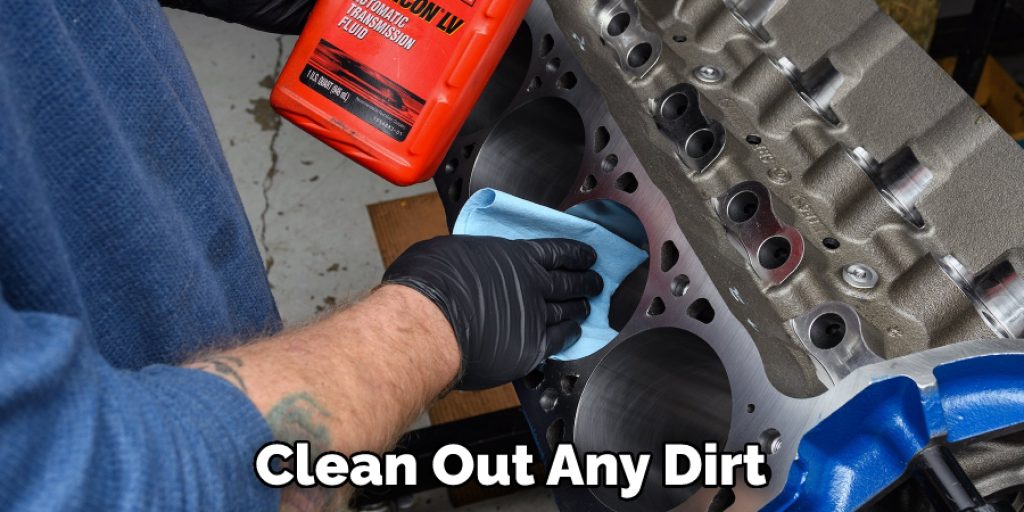
Step 6: Clean out the Mounting Area.
Next, you need to clean out the mounting area where the new cylinders will be placed. You can do this by using a rag and some brake cleaner. Make sure to clean out any dirt or debris that might be in the way. If the cylinders get cloaked in any way, it can cause major problems later on.
Step 7: Place the New Cylinders in the Mounting Area.
Now, take your new cylinders and place them in the mounting area. Make sure they are properly positioned and lined up before proceeding. Check if the alignment is right by looking through the top of the car. If the cylinders look crooked, they will need to be realigned.
Step 8: Install the Retaining Ring.
Once the cylinders are in place, you must install the retaining ring. The retaining ring is what holds the cylinders in place. You will need a socket wrench to tighten the retaining ring. Make sure it is tight enough so the cylinders will not move around. If there is any movement, it can cause major problems.
Step 9: Bleed the Cylinders.
After the retaining ring is tightened, you must then bleed the cylinders. This is done by opening the bleeder valves on each cylinder and letting out any air that might be inside. Once all the air is gone, close the valves. If you suspect any air might still be in the system, you can open the top and watch for any leaks.
Step 10: Connect the Cylinders to the Hydraulic Lines.
The next step is to connect the cylinders to the hydraulic lines. Start by attaching one end of each line to its respective cylinder. Make sure that the connections are tight so that there are no leaks. Once all the lines are attached, fill the reservoir with hydraulic fluid. If you see any leaks, tighten the connections until they stop.
Step 11: Fill the System with Hydraulic Fluid.
Now, you will need to fill the system with hydraulic fluid. This is done by opening the reservoir and pouring in the fluid. Make sure to pour it in slowly so you do not overflow the reservoir. Once the system is full, close the reservoir and check for leaks. Always use a clean funnel to avoid contaminating the hydraulic fluid when filling the system.

Step 12: Test the System.
Now it is time to test the system. First, open the reservoir and pump the handle a few times to build up pressure. Then, push down the convertible top to ensure it is functioning properly. If everything appears to be working, you can close the reservoir and put the top up. If you have any problems, make sure to bleed the cylinders and check for leaks.
Rebuilding your convertible top cylinders is a pretty straightforward process. First, however, you must take your time and do it right. If you do not follow these steps correctly, you could damage your cylinders or, even worse, your car. So, take your time, be careful, and enjoy your newly rebuilt convertible top cylinders.
Additional Tips and Advice
Here we have given additional tips on how to rebuild convertible top cylinders.
- Take your time and be careful while rebuilding your convertible top cylinders.
- Make sure all parts are clean and debris-free before reassembly.
- Lubricate all moving parts during reassembly.
- If there is any damage to the cylinder body, replace it with a new one.
- Make sure the O-rings are properly seated and sealed before reassembly.
- Torque all bolts to specifications during reassembly.
- Always use the proper tools when working on your convertible top cylinders.
- If you want your convertible top to operate like new, it is important to rebuild your cylinders properly.
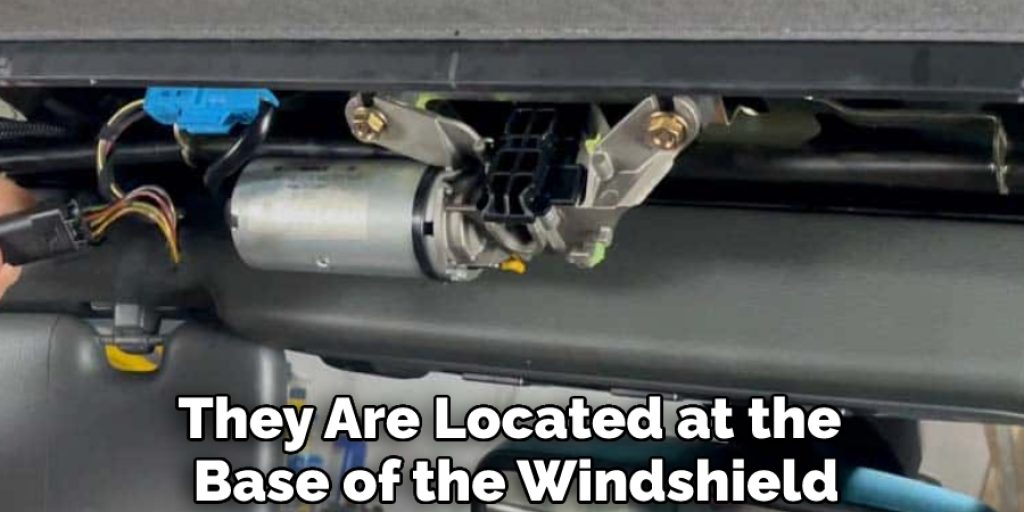
How Do Convertible Top Cylinders Work?
The key to a properly working convertible top is the hydraulic cylinders. There are typically two or four cylinders, depending on the car. They are located at the base of the windshield frame on each side. The cylinders push up on the convertible top frame when activated and hold the top up while you drive.
Over time, the seals in the cylinders can fail, causing oil to leak out. This will result in the cylinders being unable to hold up the top properly. In some cases, the cylinders can become completely frozen and will need to be replaced. Therefore, if your convertible top is not working properly, it is likely due to an issue with the cylinders. We have already discussed how to troubleshoot convertible top cylinders, so check this article out if you are having issues.
Can Hydraulic Cylinders Be Repaired?
The answer is yes, but it depends on the severity of the damage. If the minor damage, such as a small leak, the cylinder can be repaired by replacing the seals. However, the cylinder will need to be replaced if the damage is more severe, such as a major leak or a bent piston rod.
It is also possible that the cost of the repairs will exceed the cost of a new cylinder, so it is important to get a professional opinion before deciding to repair or replace the cylinder. If this is the case, we recommend that you replace the convertible top cylinder.
What Causes Hydraulic Cylinders to Fail?
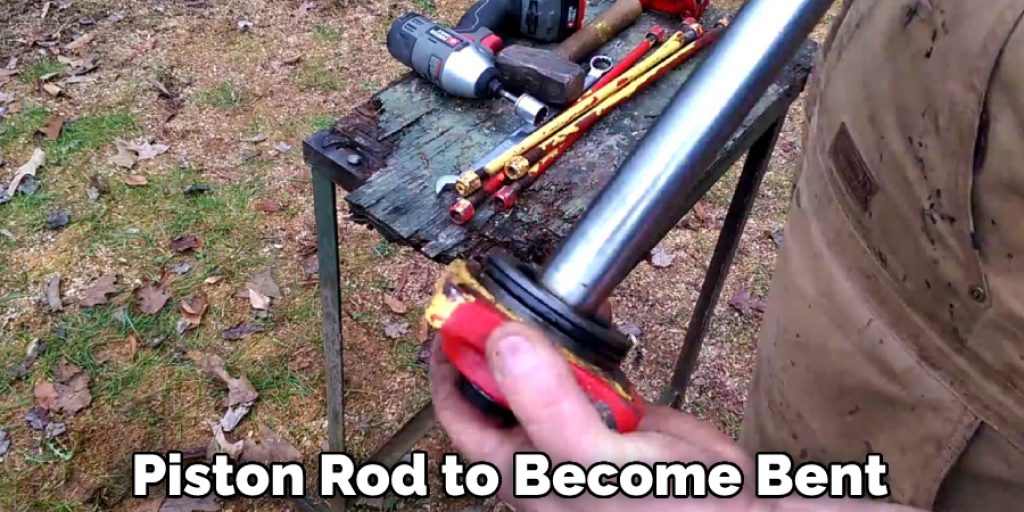
There are several reasons why hydraulic cylinders can fail. The most common reason is due to wear and tear. Over time, the seals in the cylinder will wear out, causing the hydraulic fluid to leak. This can cause the piston rod to become bent, eventually failing the cylinder. Another common reason for failure is due to corrosion.
If the cylinder is exposed to moisture, it can cause the metal to corrode and eventually fail. Finally, it can also happen that the cylinder is damaged during a collision.
How to Disassemble Convertible Top Cylinders?
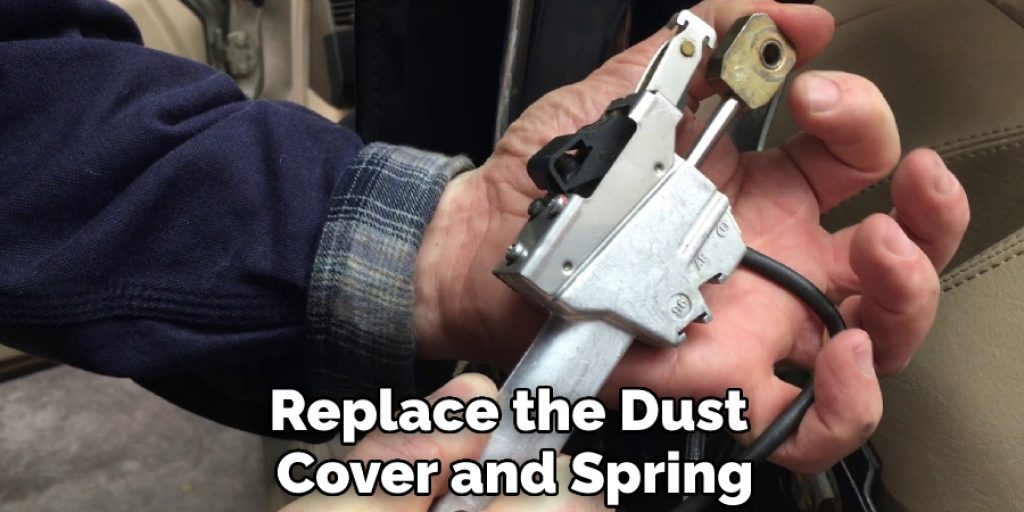
First, you need to remove the dust cover to disassemble the convertible top cylinders. There are two ways to do this. The first way is to use a putty knife or a flathead screwdriver. Gently insert the blade under the lip of the dust cover and pry it off. The second way is to use a pair of needle nose pliers. Grip the edge of the dust cover with the pliers and pull it off.
Once the dust cover is off, you will see a spring and a retainer ring. The retainer ring holds the spring in place. Use a pair of pliers to remove the retainer ring. Be careful not to lose the spring. With the retainer ring and spring removed, you can now remove the piston from the cylinder. To reassemble the cylinders, simply reverse the disassembly process.
First, insert the piston into the cylinder. Then, add the spring and retainer ring. Ensure the retainer ring is fully seated in the groove in the cylinder. Finally, replace the dust cover.
How to Clean Convertible Top Cylinders?
If your convertible top cylinders are not working properly, you may need to clean them. The best way to clean the cylinders is with compressed air. First, remove the dust cover and spring as described above. Next, insert the nozzle of the compressed air into the cylinder and turn on the air. Let the air run for a few seconds, then turn it off and remove the nozzle.
The compressed air will blow out any dirt or debris inside the cylinders. When cleaning the convertible top cylinders, wear eye protection and a dust mask to avoid inhaling particles. If you see any dirt or debris inside the cylinders, you can remove it with a soft cloth. Once the cylinders are clean, replace the dust cover and spring.
Final Words
Rebuilding convertible top cylinders may seem daunting, but with the right tools and instructions, it can be done relatively easily. In this blog post, we have walked you through how to rebuild convertible top cylinders so that you can have a smooth and functioning convertible top again.
Remember to take your time and double-check everything before moving on to avoid making costly mistakes. And if you have any questions along the way, don’t hesitate to reach out for help. We hope you found this blog post helpful and that it allows you to get your car’s convertible top back up and running in no time!