How to Rebuild Hydraulic Cylinders
If you have a hydraulic cylinder that needs repair, you may wonder how to rebuild it. Rebuilding a hydraulic cylinder is actually not as difficult as it may seem and can be done with the help of a few simple tools. So if your hydraulic cylinders need rebuilding, don’t despair!
It’s a process that can be done with the right tools and knowledge. In this blog post, we will walk you through the steps involved in how to rebuild hydraulic cylinders. We will also provide tips on making the process easier and more efficient. So, if you are thinking about rebuilding your hydraulic cylinder, read on for helpful information!
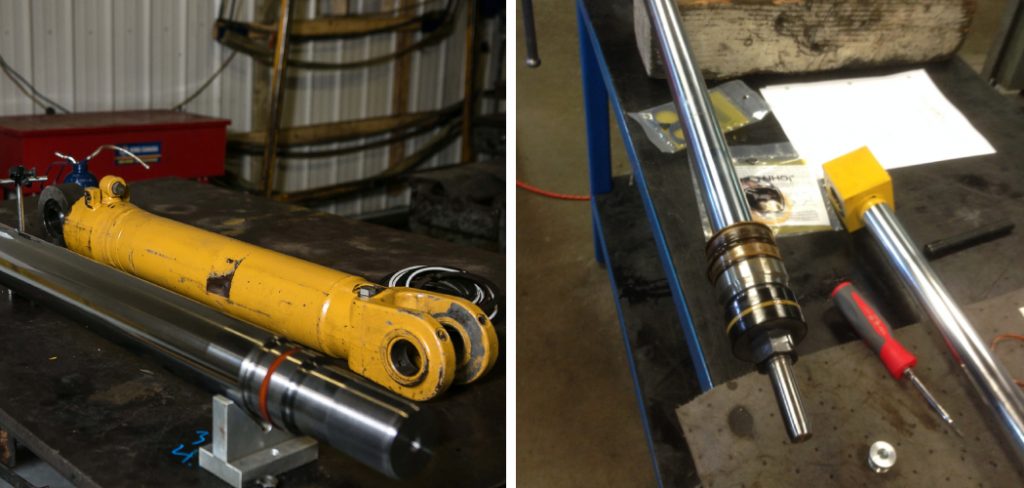
Why Do You Need to Rebuild Hydraulic Cylinders?
A hydraulic cylinder is a linear actuator that uses hydraulic fluid to produce linear force and motion. The cylinders are used in various applications, such as construction equipment, manufacturing machinery, and automotive engineering. For the cylinders to function properly, they need to be maintained and serviced regularly. Depending on the application, the frequency of maintenance will vary.
One of the most common maintenance tasks for hydraulic cylinders is a rebuild. Over time, the seals in the cylinder wear out and must be replaced. The piston and rod also need to be inspected for wear and damage. If the cylinder has been damaged, it will need to be repaired or replaced.
Tools and Materials Needed
- Socket set
- Wrench
- Hammer
- Punch set
- Strap wrench or vise grips
- Hydraulic cylinder seal kit
- Grease
- Clean rags
Step by Step Guide: How to Rebuild Hydraulic Cylinders
Rebuilding a hydraulic cylinder is not difficult, but it requires some knowledge and experience. It is also important to have the proper tools and equipment. The following steps will walk you through rebuilding a hydraulic cylinder.
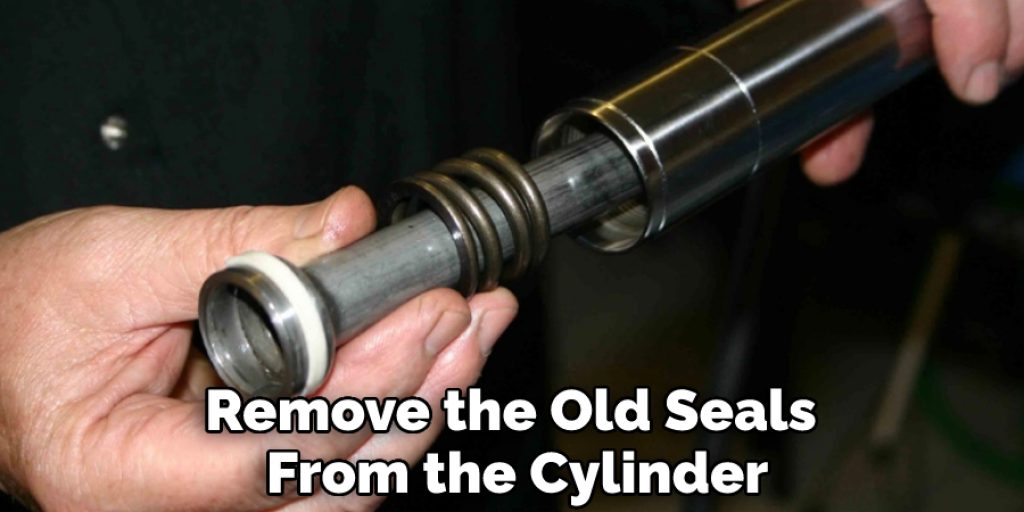
Step 1: Remove the Old Seals
The first step is to remove the old seals from the cylinder. This can be done with a seal puller or a similar tool. If the seals are difficult to remove, you may need to use a heat gun or other type of heating device. Once the seals are removed, inspect the piston and rod for wear and damage.
Step 2: Disconnect Any Plugs and Hoses
Next, you will need to disconnect any plugs or hoses that are attached to the cylinder. Once all of the plugs and hoses are disconnected, you can remove the cylinder from its mount. You need to ensure that the work area is clean and that all the tools are ready before rebuilding the hydraulic cylinder.
Step 3: Clean All of the Parts
Once the cylinder is removed, you must clean all its parts. This includes the piston, rod, housing, and any other components. Removing all dirt, debris, and old hydraulic fluid is important. This can be done with a clean cloth or brush. You may also need a solvent to remove any stubborn dirt or debris. Be sure to clean them thoroughly before moving on to the next step.
Step 4: Inspect All of the Parts
After cleaning all the parts, you must inspect them for wear and damage. The most common areas of wear are the seals and piston rings. If there is significant wear, you will need to replace the parts. In some cases, you may be able to repair the damage. Make sure the parts are in good condition before moving on to the next step.
Step 5: Remove the Rod Assembly
The next step is to remove the rod assembly from the cylinder. This can be done by unscrewing the retaining ring. Once the retaining ring is removed, you can pull the rod assembly out of the cylinder. Inspect the rod assembly for damage and wear. If there is significant damage, you will need to replace it. Make sure to clean all the parts of the rod assembly before reassembling.
To reassemble the rod assembly, start by putting the piston back into the cylinder. First, make sure that the piston is facing the right way. Next, screw in the retaining ring. Once the tight retaining ring, you can put the rod assembly back into the cylinder.
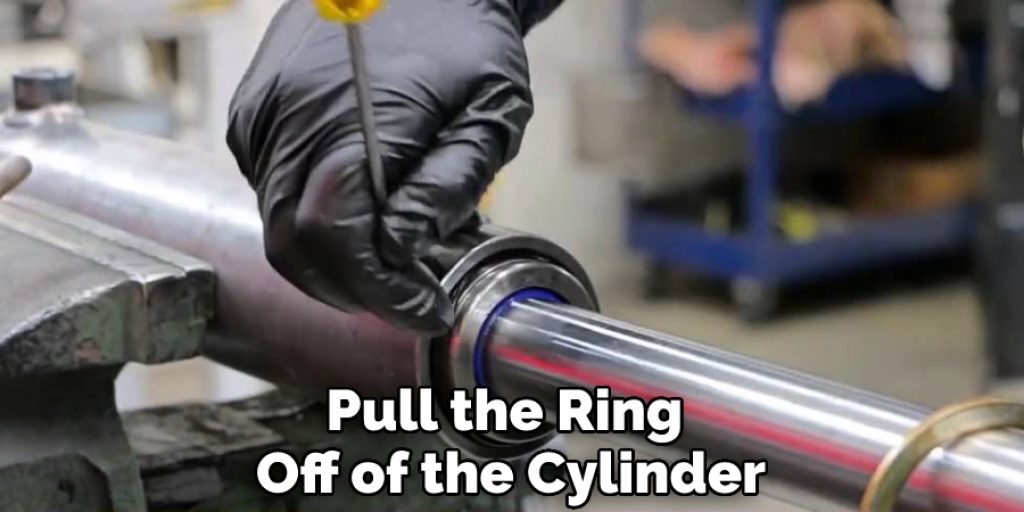
Step 6: Take Off the External Steel Wire Ring
The next step is to take off the external steel wire ring. This can be done by unscrewing the two screws that hold it in place. Once the screws are removed, you can pull the ring off of the cylinder. You will need to replace the external steel wire ring if it is damaged.
Step 7: Replace the O-rings and Seals
The next step is to replace the O-rings and seals. These are located at the end of the cylinder. To remove them, you must use a pick or a small screwdriver. Once they are removed, you can install the new O-rings and seals. Make sure that they are installed in the correct order. If the O-rings and seals are not installed correctly, they will not seal properly, and the cylinder will leak.
Step 8: Use Snap Rings to Punch on Cylinders
Once the O-rings and seals are installed, you can use snap rings to punch on cylinders. This will help to keep the seals in place. You can purchase snap rings at most hardware stores. Make sure that the snap rings are the correct size for your cylinder. If the snap rings are too small, they will not stay in place. If the snap rings are too large, they will be difficult to remove.
Step 9: Pull Out the Piston Rod
The next step is to pull out the piston rod. This can be done by unscrewing the retaining ring. Once the retaining ring is removed, you can pull the piston rod out of the cylinder. Inspect the piston rod for damage and wear. If there is significant damage, you will need to replace it. Make sure to clean all the parts of the piston rod before reassembling.
Step 10: Remove Burrs from Piston Rod
Check for any burrs on the piston rod. If there are any, use a file or sandpaper to remove them. Be careful not to damage the piston rod while doing this. Take a emery cloth and clean up the piston rod until it’s smooth.
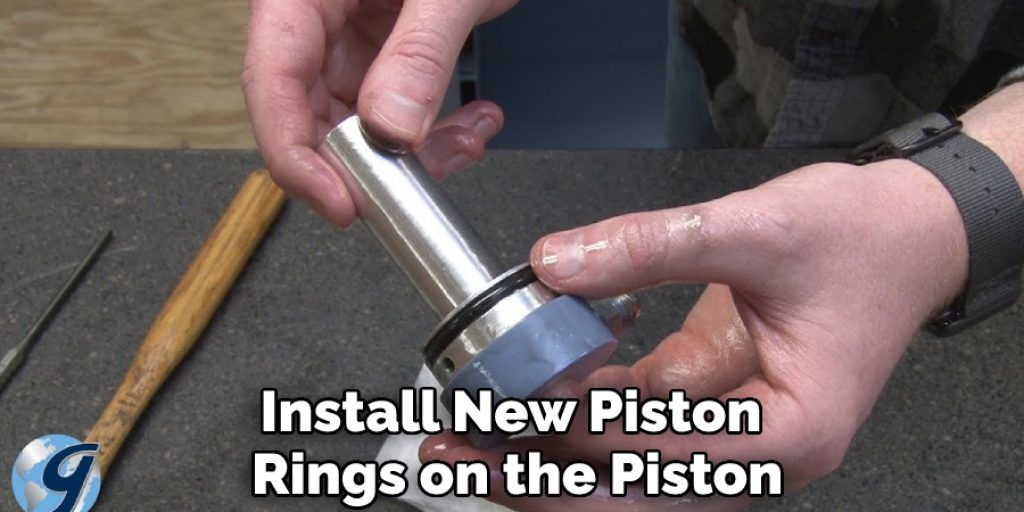
Step 11: Install New Piston Rings
Install new piston rings on the piston. Make sure that the piston rings are the correct size for your cylinder. If the piston rings are too small, they will not seal properly, and the cylinder will leak. If the piston rings are too large, they will be difficult to remove.
Step 12: Assemble Cylinder
Put the piston back into the cylinder. First, make sure that the piston is facing the right way. Next, screw in the retaining ring. Once tight, you can put the rod assembly back into the cylinder. Be careful not to cross-thread the retaining ring.
Step 13: Fill Cylinder with Hydraulic Fluid
Fill the cylinder with hydraulic fluid. Make sure that you do not overfill the cylinder. The fluid level should be just below the piston when it is in the top position. Also, check if there are any leaks in the system.
Step 14: Test Cylinder
Test the cylinder to make sure that it is working properly. Pump the piston up and down a few times to see if there are any leaks. Also, check to see if the piston moves smoothly. If everything seems to be working properly, your hydraulic cylinder is ready to use.
You can always consult a professional if you need help rebuilding your hydraulic cylinder. They will have the experience and knowledge to get the job done right.
Safety Precautions and Advice
- Disconnect the battery before beginning any work on the hydraulic cylinders.
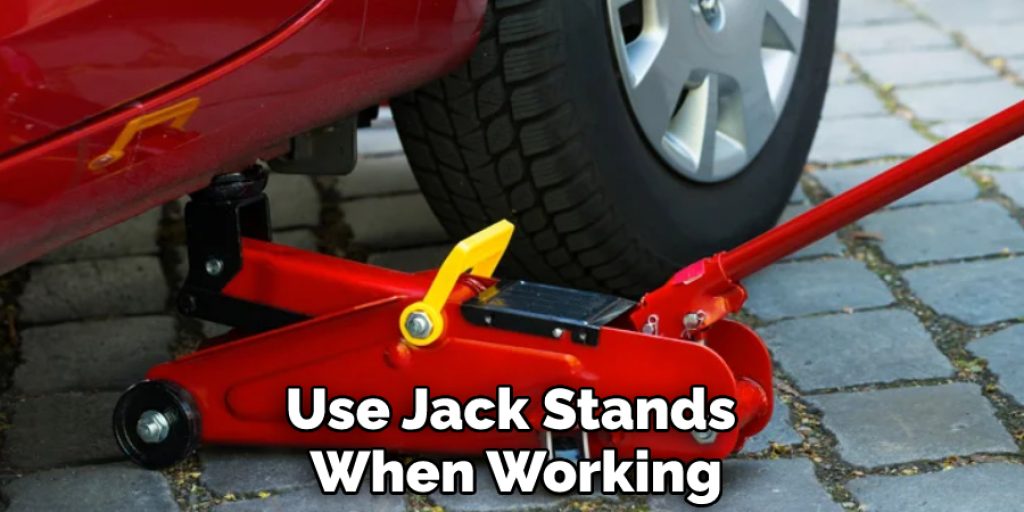
- Always use jack stands when working underneath a vehicle.
- Avoid using your hands to check for leaks in the hydraulic system. Use a piece of cardboard or paper towel instead.
- Be careful not to over-tighten bolts when reassembling the cylinders.
- If you are not confident in your ability to safely and correctly rebuild hydraulic cylinders, consult a professional mechanic.
- Always wear safety glasses when working with tools.
- When retaining the pistons in the cylinders during the rebuild, use piston rings or O-rings that are the same size as the originals.
- Ensure all surfaces are clean and debris-free before reassembling the cylinders.
Final Words
As hydraulic cylinders age, they may lose the ability to extend and retract fully. This can be due to several factors, such as wear on the seals and pistons or an accumulation of debris in the system. If your hydraulic cylinders are not functioning properly, it is important to rebuild them rather than replace them outright.
In this article, we have walked you through how to rebuild hydraulic cylinders from start to finish. In addition, we have provided tips on selecting the right parts and tools and how to assemble the new cylinder properly. Following these steps, you can rebuild your hydraulic cylinder quickly and easily. If you’ve any questions or need help, please don’t hesitate to ask a professional mechanic.

